

If you’re a fan of traditional, home-baked treats, then you’re in for a treat with my grandma’s old-fashioned oatmeal date-filled cookies. I LOVE these cookies and remember they were always on our cookie tray during the holidays. One bite of these yummy treats and I think you’ll agree, they bring back the flavor of the good old days, when dates were a very popular addition to baked goods. I’ll break down the simple process of making these cookies from start to finish in my step-by-step process from baking to assembly, variations you can try, and even tips on how to store and freeze them.
Low Down on Old Fashioned Oatmeal Date-Filled Cookies
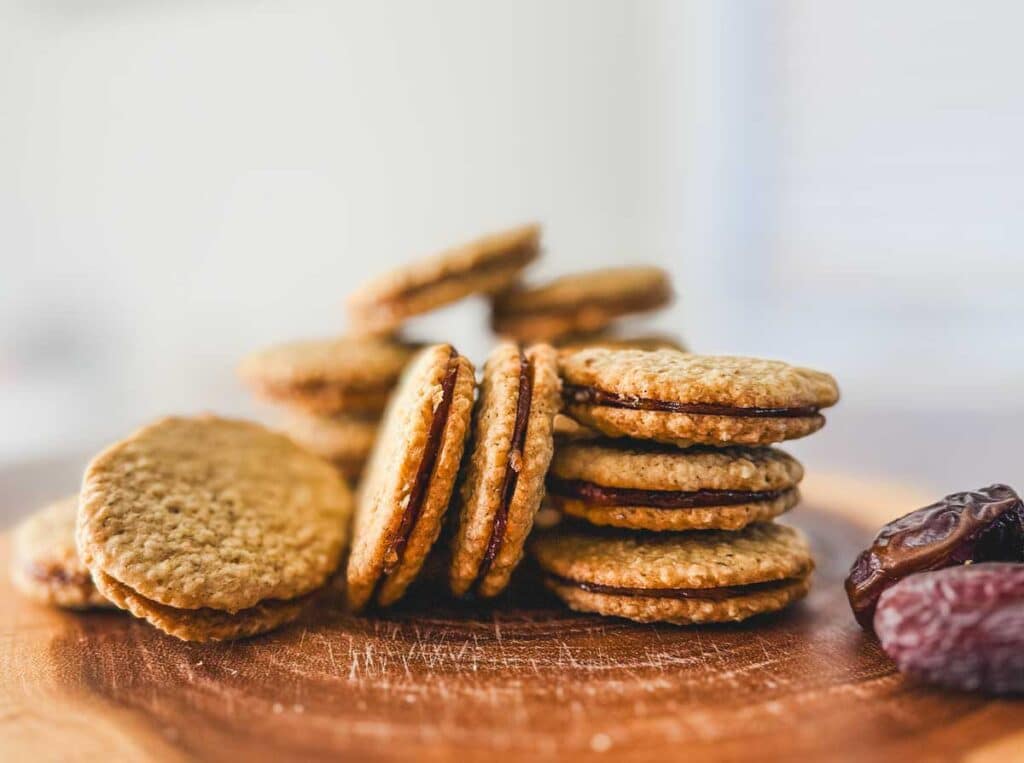
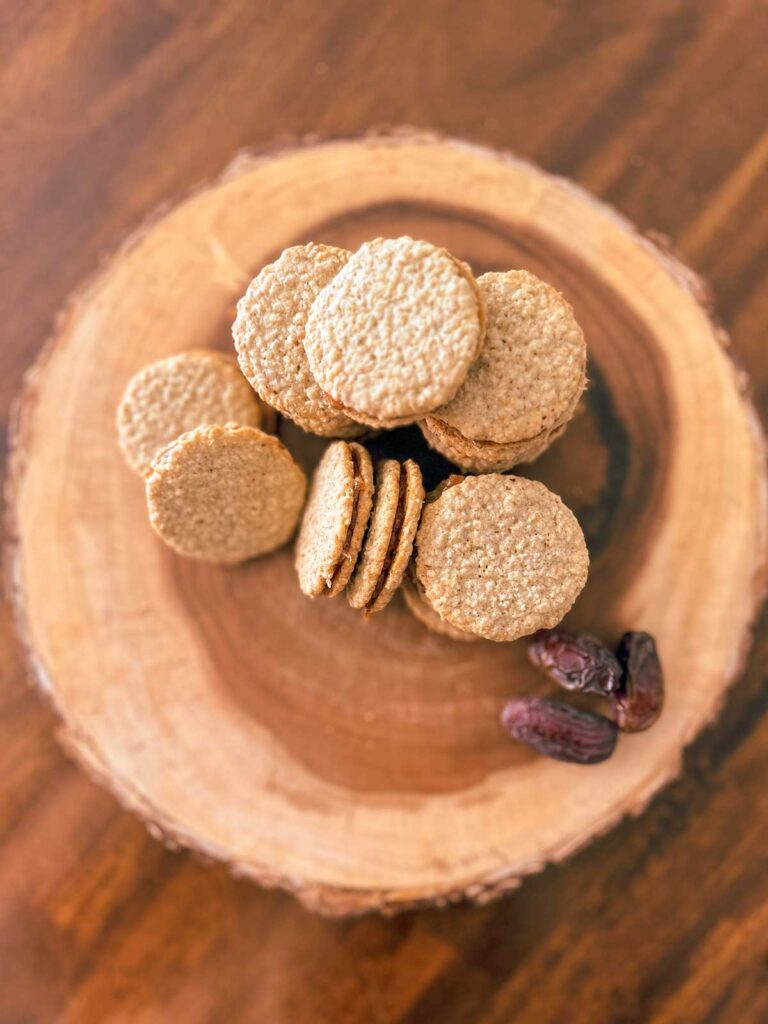
Before we get into the heart of this post, the recipe, it’s essential to understand what makes these old-fashioned oatmeal date sandwich cookies so special. These cookies are essentially two oatmeal cookies sandwiching a sweet, rich date filling. The oatmeal cookie provides a crisp, chewy texture, while the date filling adds that layer of sweet complexity. It’s the perfect combination of textures and flavors that make these cookies an all-time favorite, especially during the holidays.
The Ingredients
Before we get started, you’ll need to gather some staple pantry items. The ingredients for the cookies include:
- Butter: Essential for the richness of the cookie and should be at room temperature for easier mixing. (for many years, my family only used lard and you can as well if that is your preference)
- All Purpose Flour & Quick Oats: The combination provides the right texture for the cookie.
- Baking Soda: Provides some airiness to the cookie.
- Boiling Water: This is essential for combining the dough into a cohesive mixture.
- Granulated sugar: For a sweet crispy cookie outside.
For the date filling, you’ll need:
- Dates: These can readily be found in grocery stores and should be the whole dates rather than the prechopped ones.
- Granulated Sugar: This amount can be adjusted depending on your tastes, as dates are already quite sweet.
- Water: Used for cooking your dates and sugar for a spreadable filling.
How to Make Old Fashioned Oatmeal Date-Filled Cookies
The process of making the cookies is simple and straightforward. However, it does require a bit of time to cool the dough, shape and bake the cookies, and spread the date filling between the cookies. Here’s the step-by-step method:
Step 1: Preparing the Cookie Dough
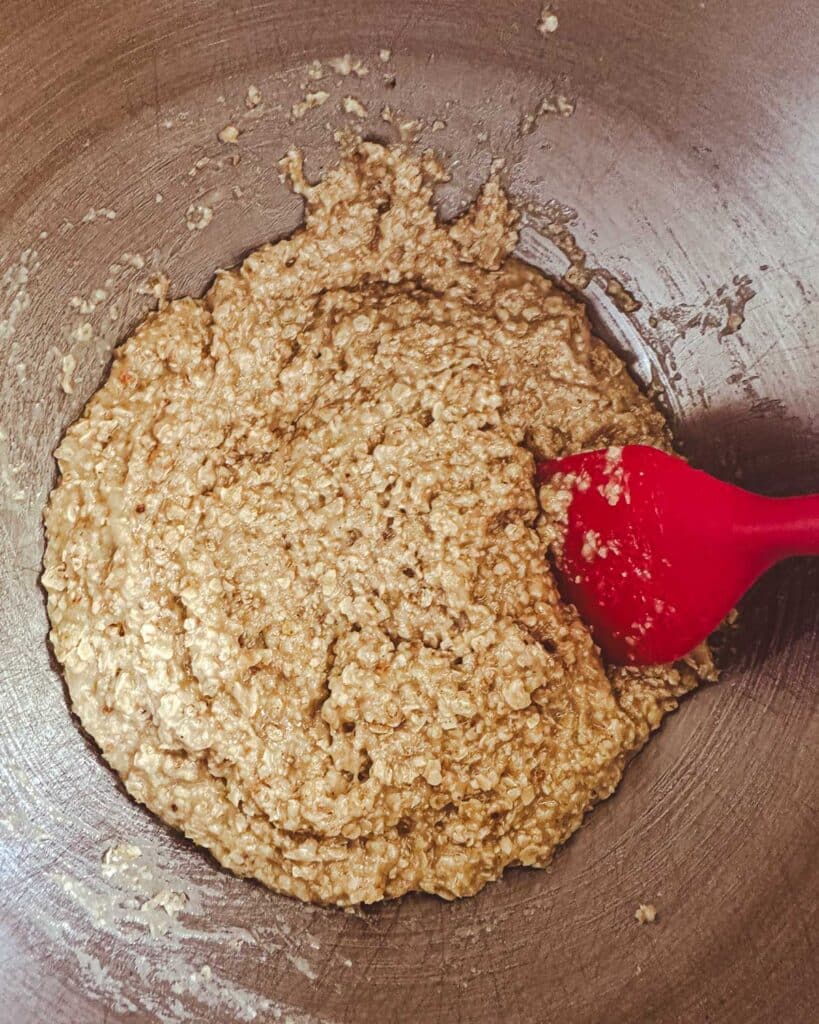
In a large mixing bowl, cream together the sugar and butter. Mix in the flour and quick-cooking oats. Next, add the boiling water and baking soda. Mix well. Your dough will be very runny but do not worry, it will firm up for baking.
You have two options for shaping your cookies, Freeze & Slice or Refrigerate & Scoop. My grandma and mom always followed Option A below with wax paper. If consistency of size/shape is important to you, I recommend you follow Option B for shaping. Regardless of your method, keep in mind that the dough will spread while baking.
Option A: Freeze & Slice
Lay out three sheets of wax paper and divide your dough in thirds between the three sheets forming a thick rope down the center. Roll and shape the dough in the wax paper. Freeze dough for at least 8 hours before slicing and baking.
Following this option, your cookie will be more rectangular due to the soft dough shaped in the wax paper and slicing the frozen cookie dough just before baking. You’ll want to be mindful of forming a consistent dough amount throughout the length of your wax paper so you have cookies that match during the assembly process. If circular cookies are your preference, you may try using a slice and bake keeper to help retain the shape of your dough as it freezes.
After the dough is frozen, just remove the frozen dough from the freezer, unroll, and slice a generous 1/8″ thick. Place cookies on an ungreased cookie sheet.
Option B: Refrigerate & Scoop
For a consistent-sized cookie, this is the easiest and requires less time to cool the dough. Simply cover and refrigerate your mixed dough for at least 4 hours. Scoop the cookie dough onto an ungreased cookie sheet. The best cookie scoop size for these cookies is 1 tablespoon size. With a glass dipped in flour, press cookie dough down lightly so it is uniform in width (about 1/8″ thick).
Step 2: Preparing the Date Filling
While your dough is chilling or freezing (depending on which option you chose) you’ll want to prepare your filling.

Remove the pits from your dates, slice, and chop them. In a saucepan combine chopped dates, water, and sugar. Bring to a boil. The mixture is ready when it has thickened. This happens quickly, so keep a close eye on the mixture and continue to stir as it comes to a boil. Let the filling cool completely.
Step 3: Baking the Cookies
Preheat oven to 325°F. Bake for 10 to 12 minutes, or until edges are very lightly browned. Once the cookie sheet is removed from the oven, quickly transfer the cookies to the cooling rack. Allow the cookies to cool completely before spreading with the date filling.
Step 4: Assembling the Cookies

Spread about a scant tablespoon of the date filling onto the flat side of one cookie, then sandwich with another cookie, flat side down.
These cookies are so rich, you do not need to put a lot of filling in the sandwich.
Variations to Try
While the basic old-fashioned oatmeal date sandwich cookies are delicious, you can always experiment with different flavors. Here are a few variations you can try:
- Adding Nuts: Chopped walnuts or pecans can be added to the date filling or oatmeal cookie dough to make date-nut oatmeal cookies.
- Sprinkling Sugar: You can sprinkle a little turbinado sugar on top of these cookies for an extra hint of sweetness.
Tips for the Perfect Oatmeal Date-Filled Cookies
Here are some tips to make the perfect old-fashioned oatmeal date sandwich cookies:
- Room Temperature Ingredients: Room temperature butter and eggs are a must for these cookies.
- Proper Measurement: Measure ingredients properly and use the scoop and level method for measuring the flour, as too much flour can dry out the cookies.
- Ungreased Cookie Sheet: As much as I love using silicone mats for my cookies, they do not work for these sandwiches. An ungreased cookie sheet is the very best way to bake these.
- Remove Baked Cookies from Pan Immediately: Due to the sugar content in the cookie dough, these cookies will harden once they cool. Be sure to remove them to a cooling rack almost immediately after removing them from the oven.
Storing and Freezing Instructions
To ensure these delicious little cookies stay fresh for as long as possible, here is how to store and freeze them:
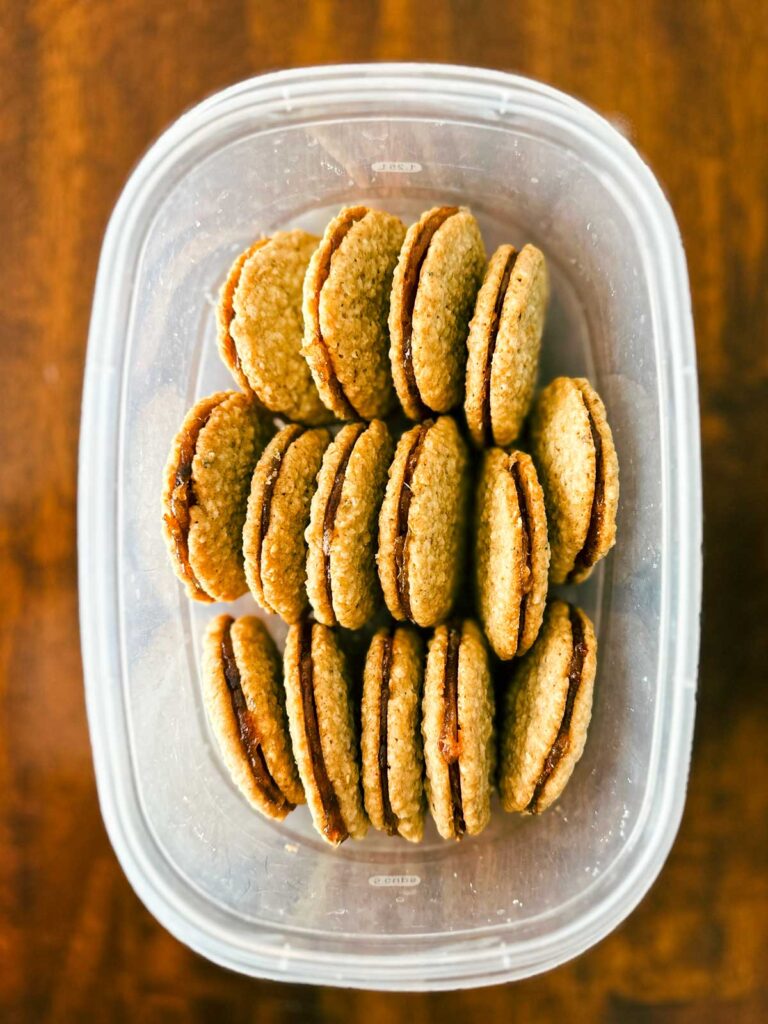
- Storing: Store in an airtight container for up to 5 days at room temperature or for 7 days in the fridge. Using parchment paper between the layers is a good idea so the cookies do not stick together.
- Freezing: Freeze the cookies using parchment paper between layers in a freezer-safe container for 2 to 3 months.
Our favorite way to eat these cookies is straight from the freezer. If you have only eaten them at room temperature, you have to try them frozen. Trust me!
Old-Fashioned Oatmeal Date Filled Sandwich Cookies
Ingredients
Cookie Batter:
- 1 ½ c. granulated sugar
- 1 ½ c. butter
- 1 ½ c. unbleached flour
- 4 ½ c. quick cooking oats
- ¾ c. boiling water
- 1 ½ tsp baking soda
Date Filling:
- 1 lb whole dates pitted & chopped
- ½ c. water cold
- 1 c. granulated sugar
Instructions
To Make Cookie Dough
- In a large mixing bowl, cream together the sugar and butter.
- Mix in the flour and quick-cooking oats.
- Add the boiling water and baking soda. Mix well.
- Your dough will be very runny but do not worry, it will firm up for baking.
- Freeze or refrigerate your dough depending on your preferences. See Options Below
Option A: Freeze & Slice
- Lay out three sheets of wax paper and divide your dough in thirds between the three sheets forming a thick rope down the center. Roll and shape the dough in the wax paper. Freeze dough for at least 8 hours before slicing and baking. Following this option, your cookie will be more rectangular in shape due to the soft dough shaped in the wax paper and slicking the frozen cookie dough. You'll want to be mindful of forming a consistent dough amount throughout the length of your wax paper so you have cookies that match during the assembly process. If circular cookies are your preference, you may try using a slice and bake keeper to help retain the shape of your dough as it freezes.Just before baking, remove the frozen dough from the freezer, unroll, and slice a generous 1/8" thick. Place cookies on an ungreased cookie sheet.
Option B: Refrigerate & Scoop
- For a consistent-sized cookie, this is the easiest and requires less time to cool the dough. Simply cover and refrigerate your mixed dough for at least 4 hours. Scoop the cookie dough onto an ungreased cookie sheet. With a glass dipped in flour, press cookie dough down lightly so it is uniform in width (about 1/8" thick).The best cookie scoop size for these cookies is 1 tablespoon size.
Prepare Date Filling
- While your dough is chilling or freezing (depending on which option you chose) you'll want to prepare your filling.
- In a saucepan combine chopped dates, water, and sugar. Bring to a boil.
- The mixture is ready when it has thickened. This happens quickly, so keep a close eye on the mixture and continue to stir as it comes to a boil. Let the filling cool completely before assembling sandwich cookies together.
- Let the filling cool completely before assembling sandwich cookies together.
Bake Cookies
- Preheat oven to 325°F.
- Bake for 10 to 12 minutes, or until edges are very lightly browned.
- Once the cookie sheet is removed from the oven, quickly transfer the cookies to the cooling rack.
- Allow the cookies to cool completely before spreading with the date filling.
Assemble Cookies
- Spread about a scant tablespoon of the date filling onto the flat side of one cookie, then sandwich with another cookie, flat side down.
- These cookies are so rich, you do not need to put a lot of filling in the sandwich.
Notes
- Store in an airtight container for up to 5 days or for 7 days in the fridge. Using parchment paper between the layers is a good idea so the cookies do not stick together.
- Freeze the cookies using parchment paper between layers in a freezer-safe container for 2 to 3 months.
- These taste the best straight from the freezer.
Nutrition
In Conclusion
My grandma’s old-fashioned oatmeal date sandwich cookies hold a special place for us, especially during the holidays. Don your apron and ready your baking gear, these cookies are worth every minute of preparation and calorie. Happy baking!