Like most of you, we recently celebrated Mother’s Day. Our day consisted of church, brunch, presents, shopping, and dessert for dinner. It was a big day and we needed whipped cream for our brunch, (strawberry whipped cream pancakes) and also for my favorite “fancy” dessert” my oldest made for me, Chocolate Mousse. I realized I hadn’t shared with you how to stabilize whipped cream yet, so today is the day.
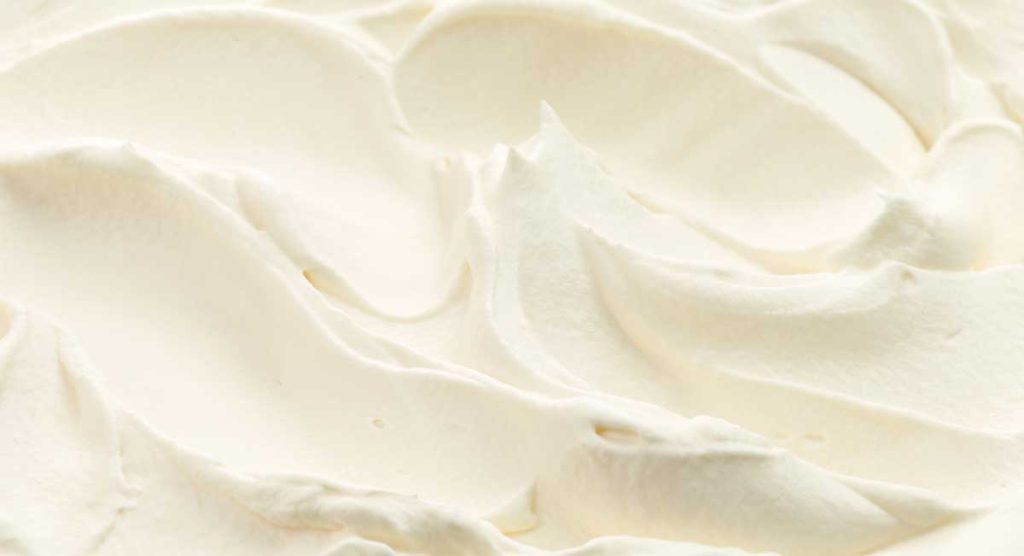
Homemade whipped cream is such a light and delicious topping that our family enjoys on shortcakes, pancakes, hot chocolate, chocolate mousse, pudding, ice cream sundaes, pie, & angel food cake. Without stabilizing whipping cream, it’s impossible for it to retain its light and airy texture for very long.
Without stabilizing the whipped cream, you’re lucky if you can store it refrigerated for an hour. Before long, the whipped cream is deflated and there is separated liquid at the bottom of your container. The process of stabilizing whipped cream is so incredibly easy so I’ll jump into that along with my favorite tips for getting whipped cream just the right consistency.
Tips for Perfectly Whipped Cream
If you’ve struggled with making whipped cream, below are my failure-proof tips.
- Type of cream: If you’re new to making whipped cream, be sure you select the correct cream. You’ll need to use heavy cream or whipping cream. Half-and-half, light cream, or evaporated milk will not whip up properly.
- Chill your cream: Make sure your cream is thoroughly chilled before you begin whipping it.
- Chill your mixing bowl & whisk: Make sure that your mixing bowl and whisk are very cold. This will help your cream to whip up faster and will also help it hold its shape. You can chill your mixing bowl and whisk in the refrigerator for about 15-20 minutes before you start.
- Use a stabilizing agent: This step is optional but I wanted to mention it here. We’ll cover the different stabilizing agents and how to incorporate them into your cream.
- Incorporate sugar and vanilla: If you use whipped cream as a garnish or topping, sugar, and vanilla extract are a must. Confectioner’s sugar will also provide additional stability and creaminess.
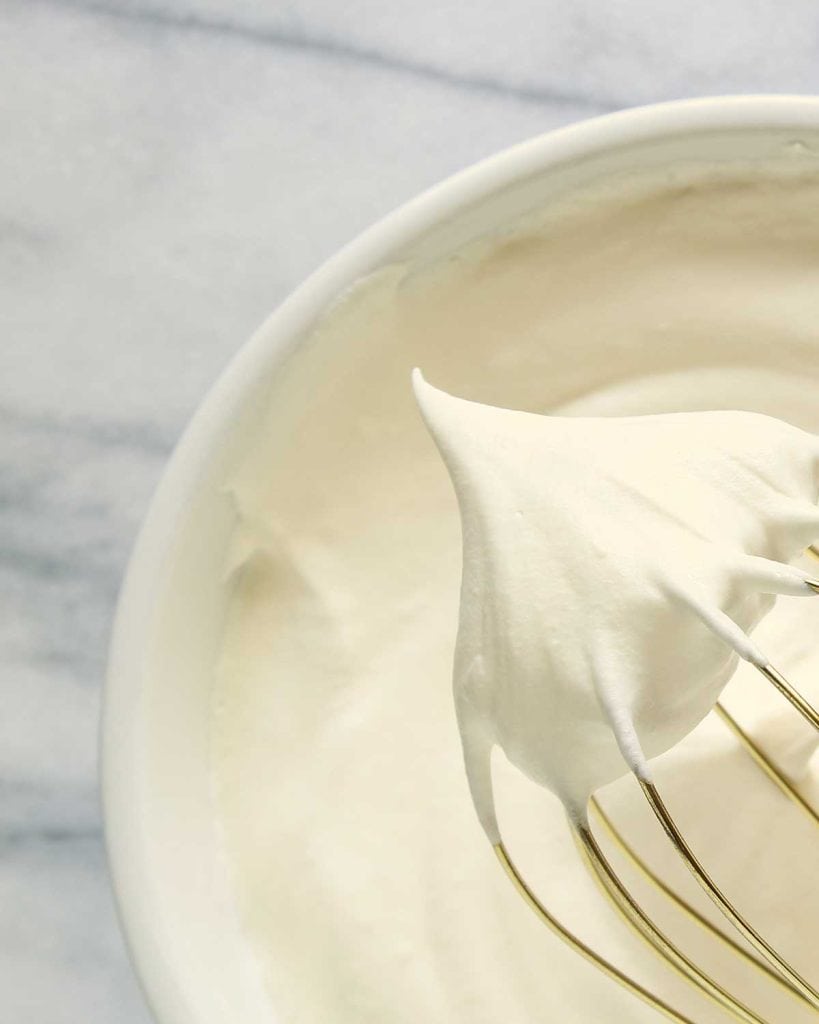
- Whip to the right consistency: When you’re whipping your cream, it’s essential to pay attention to its texture. You want to beat it until it forms stiff peaks, but be careful not to overwhip it, or it will become grainy and start to separate. If you continue to beat the cream, you’ll end up with butter.
- Fold in other ingredients gently: If you’re adding other ingredients to your whipped cream, like fruit or chocolate chips, be sure to fold them in gently so that you don’t deflate the cream. Use a spatula and a light hand to fold in the ingredients until they are evenly distributed.
- Serve immediately or refrigerate: Once your whipped cream is ready, you should either serve it immediately or refrigerate it until ready to use it. If you’re using a stabilizing agent, your whipped cream should stay fluffy and hold its shape for 6+ hours in the refrigerator.

7 Proven Stabilizer
As I mentioned above, you can use a stabilizing agent while you’re whipping the cream. Below is a list of stabilizers and the amount you will need per 1 cup of liquid cream. Note that some of these ingredients will impact the flavor of your whipped cream. You may adjust these amounts up or down depending on how stable you want your whipped cream to be.
- Gelatin – For medium-stable whipped cream, dissolve 1 teaspoon of gelatin in 1 tablespoon of cold water to dissolve it, and then add it to the whipped cream as you’re beating it.
- Cream of tartar: Use about 1/8 teaspoon of cream of tartar per 1 cup of cream.
- Cornstarch: Mix 1 tablespoon of cornstarch with 2 tablespoons of cold water, then add it to the cream as you’re beating it.
- Instant pudding mix: Add about 1-2 tablespoons of instant pudding mix per 1 cup of liquid cream.
- Agar agar: To use, sprinkle 1 teaspoon of agar powder in your cream as you’re beating it.
- Xanthan gum: Add 1/8 teaspoon of xanthan gum per cup of liquid cream.
- Meringue powder: Add 1 tablespoon of meringue powder per cup of liquid cream.
My personal go-to from this list of options is xanthan gum, which is widely available and used in gluten-free baking. Also, there is no effect on the flavor whatsoever.
Please note that the guidelines above are general. You may need to adjust the amounts of stabilizing agents you use based on your specific recipe and preferences. If you are unsure, you may start with a small amount of the stabilizing agent and add more as needed until you achieve the desired stability.
Final Thoughts on Stabilizing Whipped Cream
These tips and ideas will have you well on your way to more stable whipped cream. Your whipped cream will fluffy and smooth for much longer. I know I have enjoyed being able to sit with my family and guests and enjoy a meal and dessert without jumping up to whip cream last minute. So grab your whisk, your mixing bowl, and your ingredients, and get to whipping.
Blessings!