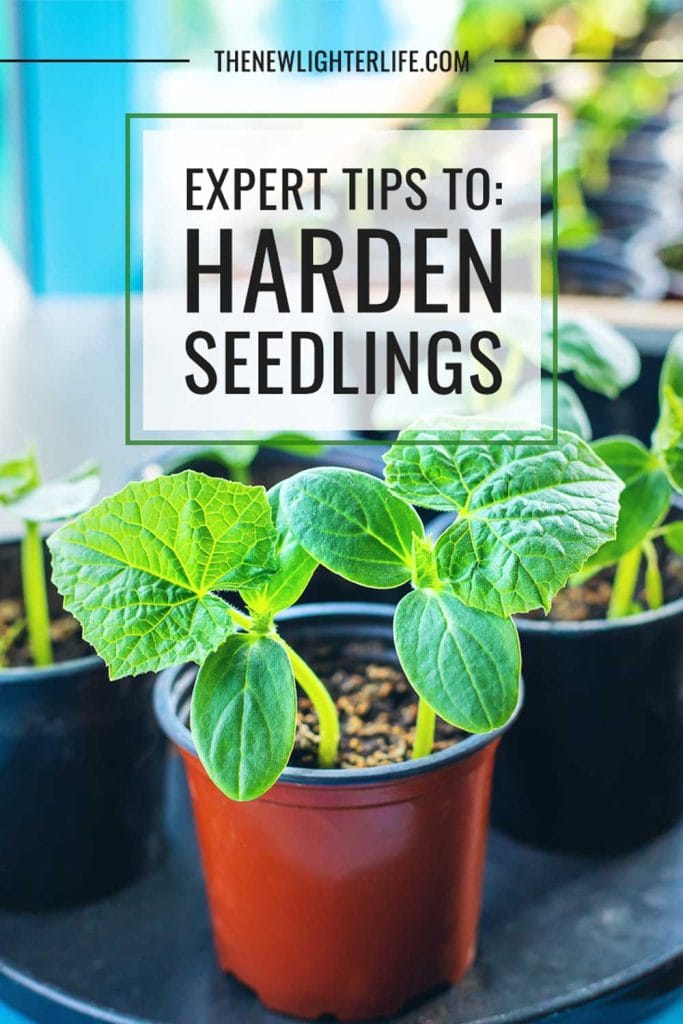
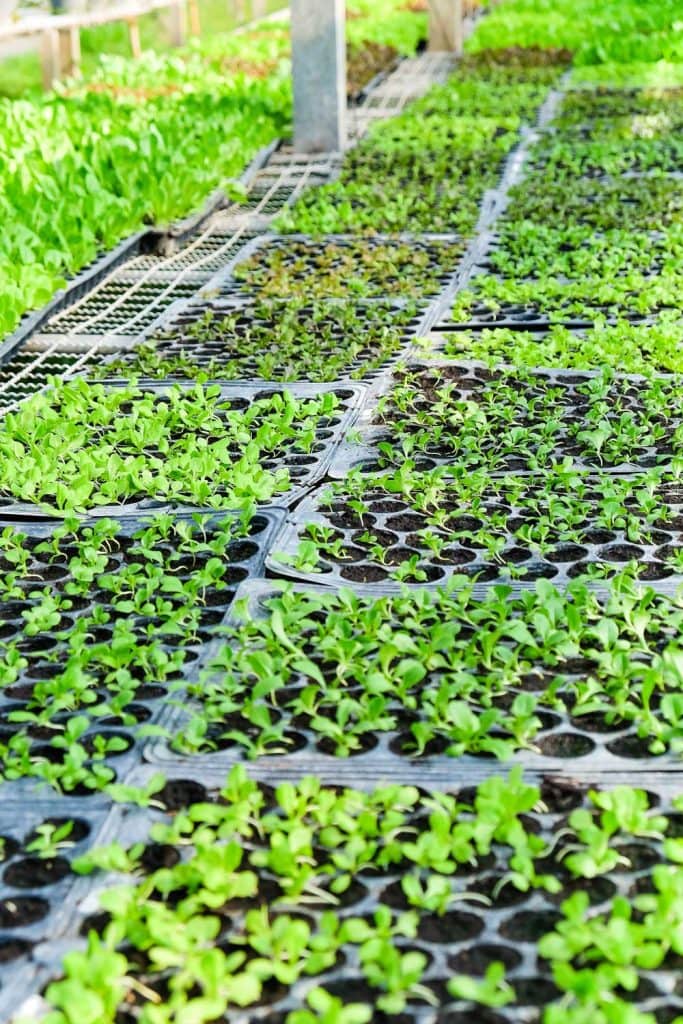
Spring is right around the corner, and it’s time to start preparing seedlings for their big move to the great outdoors. After many years of gardening and starting seeds indoors, I’ve got the skinny on hardening seedlings for outdoor planting. Today, we’ll dive into the process of preparing seedlings for the transition from their cozy, insulated indoor environment to the unpredictable world outside.
Do You REALLY Need to Prepare Seedlings for Outside?
You may be wondering why it’s so crucial to spend extra time and effort preparing seedlings for outdoor life. The truth is, most seedlings have been pampered throughout their early lives, protected from harsh weather conditions, pests, and diseases. This nurturing environment, while excellent for promoting rapid growth, can leave seedlings vulnerable when it’s time for them to venture outside.
Most gardeners I know have made the mistake of moving their seedlings from indoors (including greenhouses) to outside too quickly at least once. So if you’ve done this, rest assured…you’re in good company amongst gardeners. Still losing seedlings is a HUGE financial and time hit for your gardening efforts.
That’s where hardening seedlings come into play. By gradually acclimating our little green friends to the outdoor conditions they will soon face, we can help them develop the resilience they need to survive and thrive. This process not only ensures a higher rate of success when transplanting but also helps to prevent transplant shock, which can stunt growth and potentially jeopardize the health of your plants.
What is Transplant Shock & a Plant’s Adjustment Period?
Transplant shock occurs when seedlings are suddenly exposed to a new environment (above ground and below). The sudden change in conditions is hard on seedlings and they experience some level of shock. If the shock is bad enough, the plant may wilt, yellow, or even die.
To avoid this, most seedlings need to have an adjustment period, which helps them slowly adapt to outdoor planting. The adjustment process is known as hardening off. This process helps the plants acclimate to outdoor conditions, making the eventual permanent transition much smoother and less stressful for your little green ones.
Thickening the Cuticle & Toughening Up Seedlings
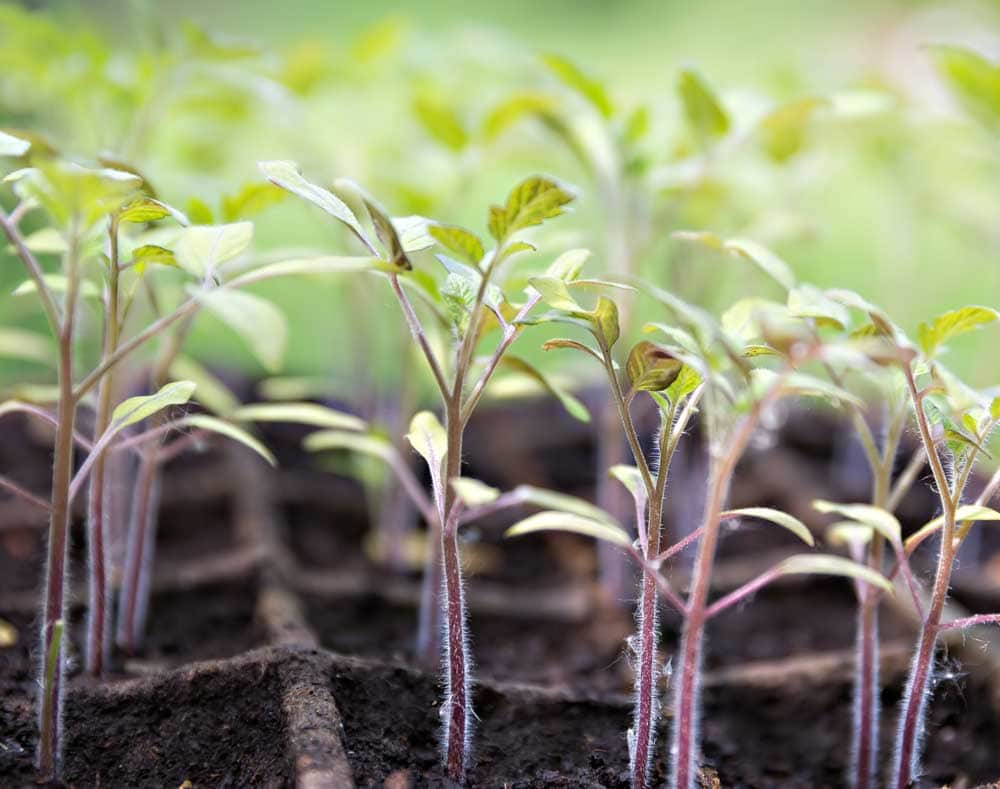
One of the critical aspects of hardening off seedlings is helping them develop a thicker cuticle – the waxy, protective outer layer of the plant’s leaves and stems. This thicker cuticle is a barrier against water loss, pests, and diseases, making it a crucial component of the plant’s defense system. By gradually exposing seedlings to outdoor conditions, we can encourage the development of a thicker cuticle, effectively “toughening them up” and preparing them for life outside.
Tips to Acclimate Seedlings for Outdoor Planting
It may feel like you have a full-time babysitting job but the results are well worth the inconvenience. In total, the entire process of hardening seedlings for outdoor planting takes about 7 to 10 days by following these tips.
1. Expose Seedlings Gradually
Start by placing your seedlings in a spot that is sheltered, such as a covered porch or under a tree. Your plants should remain outside for only a few hours the first day or two. You will need to gradually increase the time they spend outside, ensuring they receive more sunlight and exposure to the elements (wind and rain) each day.
I place my seedlings under my grill for the first few days of hardening since our deck is not covered. This way, they get exposure to sun and wind, which are both so important to hardening.
2. Adjust if There Are Signs of Shock
Be sure to monitor your seedlings closely. If they are developing lighter areas on the leaves, they are getting too much sun too quickly and are sunburned. Take a step back on your hardening off and lessen their direct exposure to the sun. Excessive wind will dry out your seedlings and may damage some of the leaves.
3. Increase Watering
Regardless of wind, I find that my seedling’s soil dries out quickly, so be sure to stay on top of watering. This is due to the higher daytime temperatures and humidity (or lack of humidity in the air)
4. Leaving Plants Out Overnight
Once your seedlings have become accustomed to the great outdoors, you can begin leaving them outside overnight. Start by leaving them out for a few hours after sundown, then gradually lengthen the time they spend outside each night. Keep an eye on the weather. If temps are going to drop below 40° F (4° C) I will not leave my seedlings out overnight unless I’m at the very end of my 10-day hardening-off period.
What About Greenhouse Seedlings?
Hate to be the bearer of bad news, but you still need to harden off seedlings grown in a greenhouse. Even though greenhouses get direct sunlight, the intensity of the light is not as strong as direct sunlight. By nature, a greenhouse has more consistent temperature and humidity levels. Also, greenhouses do not provide the wind or rain exposure that your seedlings will experience when they are planted outdoors.
Early Spring Planting Tips for Growing Plants Outdoors
When the time comes to plant your hardened-off seedlings outdoors, there are a few early spring planting tips to keep in mind:
- Choose the right location: Be sure to plant your seedlings in an area that provides the appropriate amount of sunlight, water, and nutrients for their specific needs.
- Prepare the soil: Amend and loosen the soil in your planting area to ensure proper drainage and nutrient availability for your seedlings.
- Plant at the right depth: Plant your seedlings at the same depth they were in their original containers, ensuring the root ball is completely covered with soil.
- Water well: After transplanting, water your seedlings thoroughly to help them settle into their new home and establish strong root systems.
- Monitor closely: Keep a close eye on your newly planted seedlings, checking for signs of pests, diseases, or transplant shock, and address any issues promptly.
Common Problems & Solutions in Transplanting Seedlings
Despite your best efforts, you may run into some issues when your transplant your seedlings to the ground. Here are some common issues and their solutions.
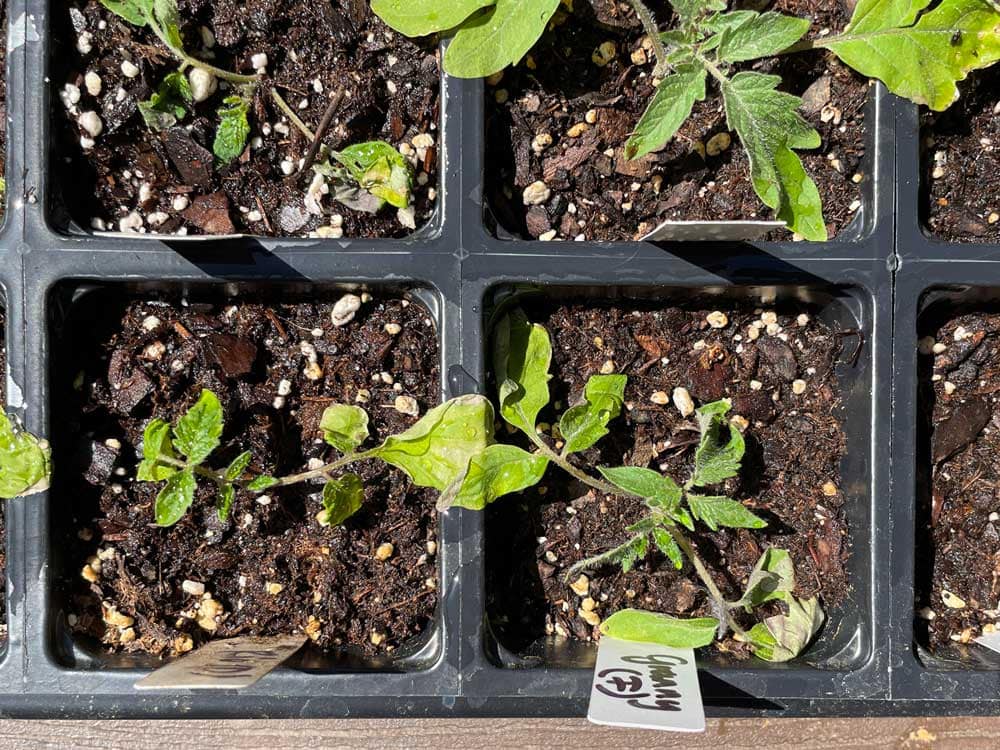
- Wilting: If your seedlings are wilting after transplanting, this may be a sign of transplant shock. Ensure you’ve adequately hardened off your seedlings and provide extra care, such as consistent watering and temporary shade, to help them adjust. I find that seedlings can be extremely resilient and bounce back (see my photo below for new growth on severely damaged seedlings).
- Pests and diseases: Keep a close eye on your seedlings for any signs of pests or diseases. Thankfully we have the internet to research specific issues and pests. Address any issues right away and keep track of solutions that worked (or didn’t) for next year.
- Root damage: Be gentle when handling your seedlings during the transplanting process to minimize root damage, which can lead to transplant shock. NOTE: If you’re seedlings have crammed the pot or seed tray and are compacted, you will want to gently tug at them to help them spread out in their permanent soil.
An Example of Seedling Resiliency
This photo below looks terrible but I wanted to share it with you to give you hope if you make mistakes in gardening and hardening off seedlings.
I’m experimenting with some different tomato seedling propagation and trellising techniques this year. My to-do list just keeps expanding and I made a rash decision to aggressively prune my seedlings for propagation.
I knew better but made a rash decision to go for it. My impulsivity resulted in significant damage to my plants and I nearly killed these tomatoes. (you should see the other guys – yeesh!) Still, this is the perfect illustration of just how resilient some plants may be.
There are new leaves in the center of the seedlings and it looks like these will make it. It would have been more prudent and wise of me to accomplish this major surgery on my baby tomatoes a few weeks ago, indoors, and under my grow lights.
Expert Advice for Success in Hardening & Planting
I know I just showed you a horrible example of damaged plants (again I knew better). But if you follow these crucial tips you will have successfully hardened off your seedlings and they will be thriving outdoors:
- Start early: Begin the hardening-off process about 2-3 weeks before your area’s average last frost date. This will give your seedlings plenty of time to adjust to outdoor conditions before it’s time to plant them in the ground.
- Be patient: The hardening-off process takes time and patience. Don’t rush the process, as doing so can lead to transplant shock and other issues.
- Monitor weather conditions: Be aware of any sudden changes in weather, such as cold snaps or heat waves, that could affect your seedlings during the hardening-off process. Adjust your exposure routine accordingly to protect your plants.
- Get to know your plants: Different plants have different hardening-off requirements. Research the specific needs of your seedlings to ensure you’re providing the best possible care during this crucial period.
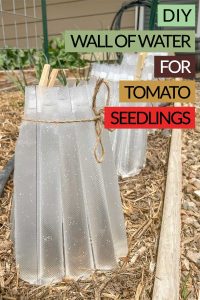
- Tools to plant early: If you want to get a jumpstart on planting, there are many gardening tools and DIY methods to get seedlings in the ground early such as my DIY wall of waters.

What About Using a Fan to Harden Off?
MI Gardener is one of my favorite gardening resources and they have an awesome heirloom seed selection that I referenced here. I highly recommend you check out their channel on YouTube. They go a little more into a specific hardening off-schedule that is worth checking out. The post also goes into getting a jump start in hardening seedlings inside with a fan.
I can speak from personal experience that using a fan on grow-light seedlings is beneficial. In fact, last spring, we took an RV vacation down to Florida and I had my fan on a timer and talked a friend into coming over and watering my seedlings while we were away for a couple weeks. I don’t doubt that the fan was helpful but I would not say it’s necessary by any means.
A Garden Jump Start Through Sound Hardening Techniques
Alright, friends! I’ve laid it out there. By following these tips and guidelines your lovely little seedlings will be well on their way to growing a healthy, robust in the garden. Just remember, the key to successful seedling preparation and transplant is patience and attention to detail, so don’t rush the process. With a little care and a lot of love, you’ll have a thriving garden in no time.
And don’t forget to share your success with other gardeners. Your insights and experiences can help others achieve the same success you’ve enjoyed.
Happy planting!