
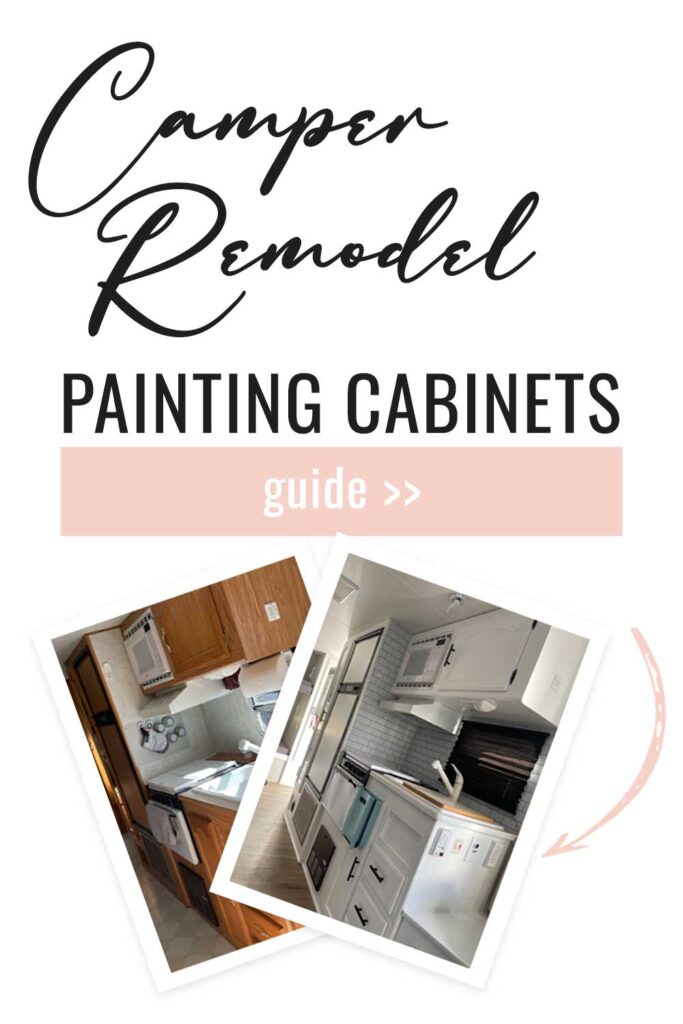
Today I’m going to share with you some tips and tricks for painting camper cabinets. This guide will help you update your RV in such a big way. I’ll share some photos with you of the update we did to our travel trailer last summer.
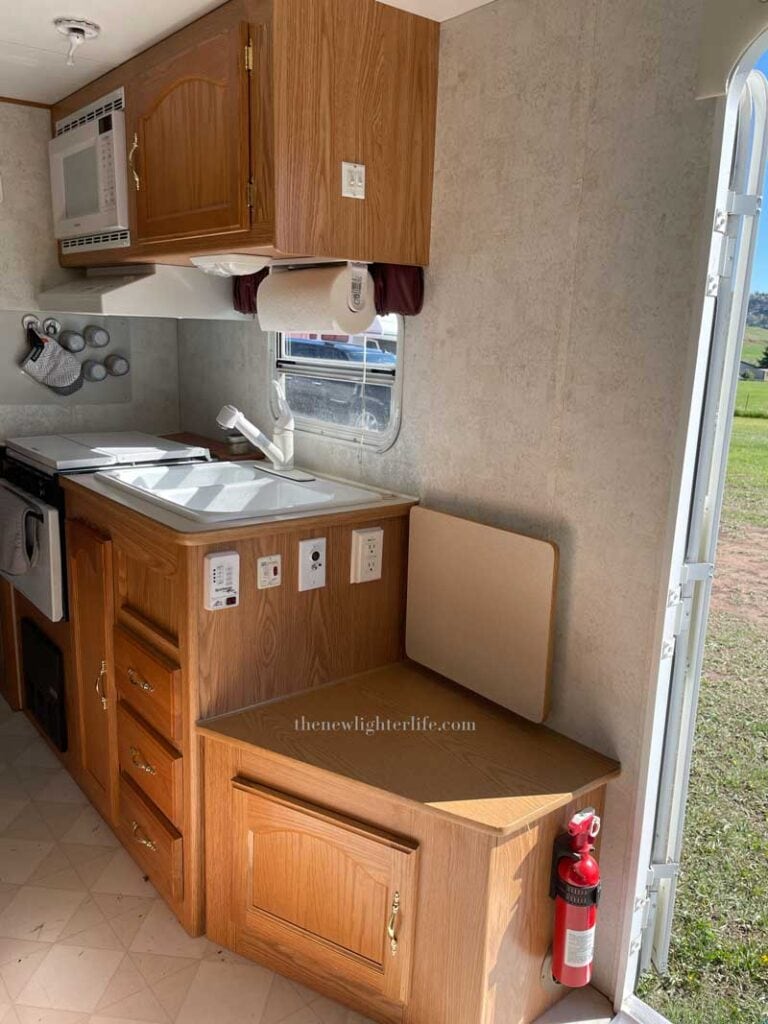
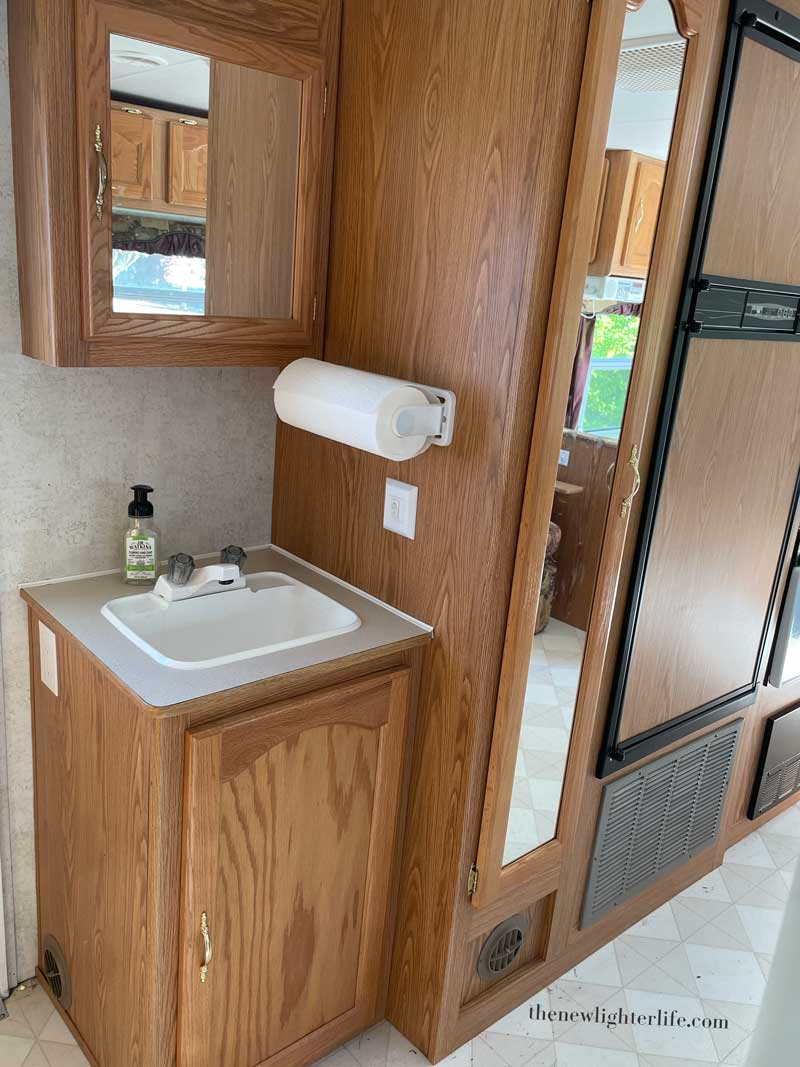
Before:
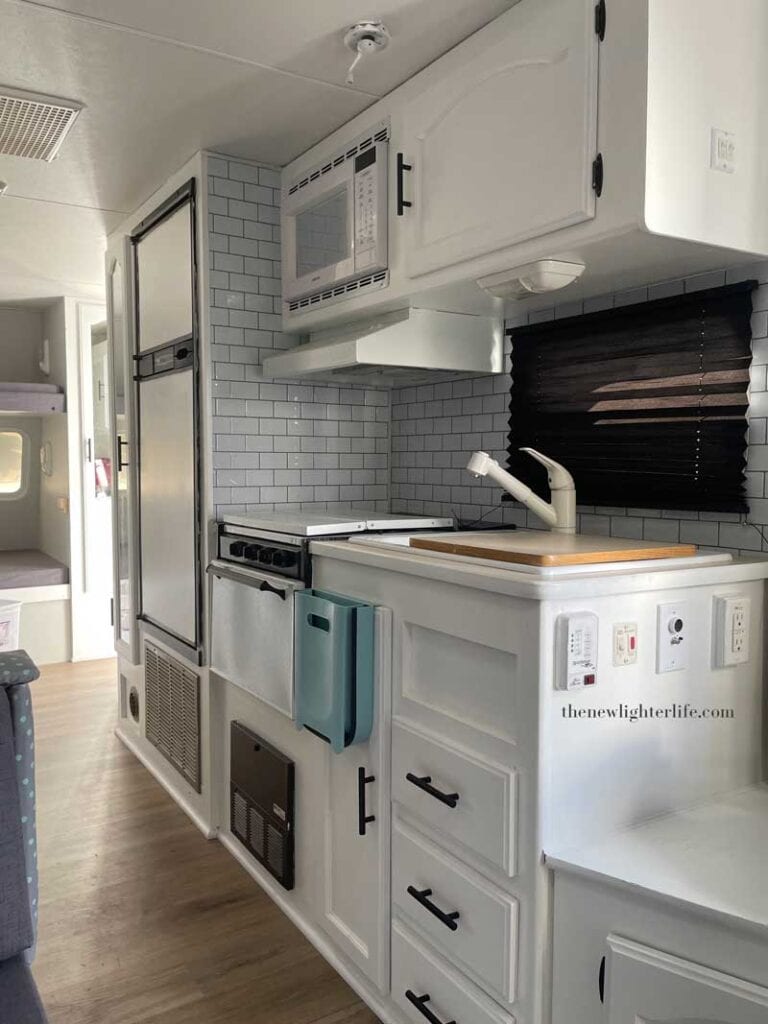
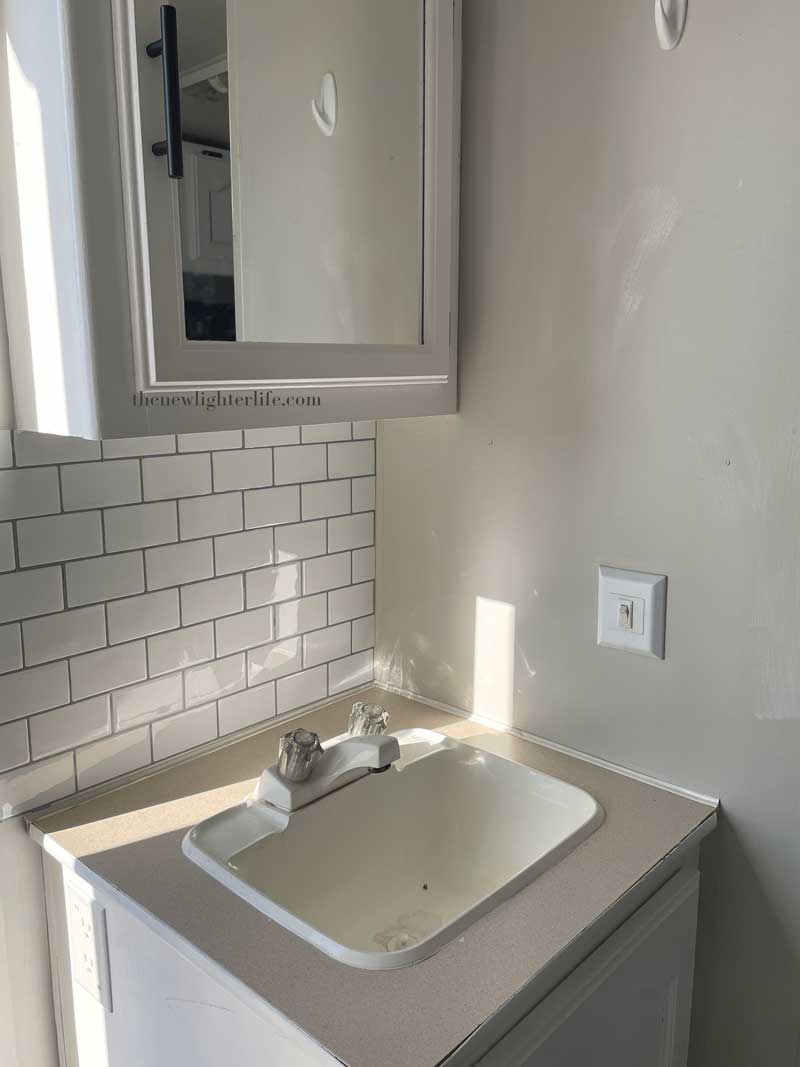
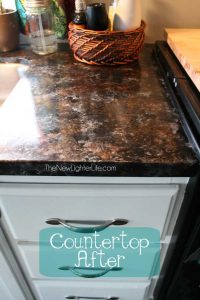
After:
Our History in Painting Camper Cabinets
This is not the first time we have undertaken cabinet painting in an RV. In fact, you may have read where we painted our cabinets in our 1996 Winnebago Adventurer way back almost 10 years ago. At the time, we used Nuvo Cabinet Paint and had great results. We were in our camper only about a year after we had painted the cabinets and I had no complaints about them at all.
However, for this camper remodel, I wanted to see what was available out on the market now since 10 years had passed. As much as I liked the Nuvo, I wanted to see about a more economical option for paint so I wouldn’t have to buy multiple kits.
A couple of years ago, we painted cabinets in our rental house and we used the Rust-oleum Cabinet Transformation kit. This kit comes in all sorts of colors and has a deglosser (to strip) a bond coat (color) and glaze (we didn’t use this). I have to say, we were really happy with the kit for our rental. I knew from experience that the kit comes with FAR more deglosser than necessary. In addition, I didn’t want to use a glaze, so started looking for other options.

I decided to see what was available locally in the realm of a good primer and cabinet paint. I plan on delving into how we painted the walls of our camper but as much as I loved that paint and the coverage, I didn’t trust that it would hold up for cabinets.
You guys probably know by now, that I really try to take shortcuts as often as I can. I guess it’s good I have a blog because I can share how these shortcuts work out. In this case, my method worked out in my favor. Here are some of my most important tips to share with you if you are undertaking painting your RV’s cabinets.
Essential Tips for Painting Camper Cabinets
- Do NOT Sand Your Cabinets – This is not necessary, especially if you follow my steps down below.
- Do NOT Use a Deglosser – As long as you clean your cabinets (see step 1 below)
- Use a Good Primer – Zinsser is my primer of choice and recommended on my bucket of paint.
- Use Cabinet Paint – Kits are NOT necessary. I was able to find this paint locally, (NOTE: it is NOT tintable).
- Use Quality Foam Rollers and Brushes – I LOVE Purdy brushes and rollers. There really is a difference in quality regarding brushes and rollers. I’ve tried cheap brushes and rollers and my biggest complaint is left behind bristles, clumping, and lint.
- Longer Dry Time Before Reattaching is Preferred – This is especially important for the paint. If you rush your 2nd coat, it takes even longer to dry at the end.
- Clean Brushes & Rollers Between Coats – Nothing is worse than crusted-up brushes. Cabinet paint is THICK so you want to not let them get gummed up. If you bought Purdy brushes/rollers they are an investment and worth taking care of. I HIGHLY recommend you buy a brush cleaning tool.
- Wrap Brush/Roller in Plastic – If you’re taking a quick break from painting, wrap your roller or brush in plastic right away. I use a plastic grocery sack or ziplock bag for this. This is super important as the paint is thicker already and unnecessary air exposure makes it more difficult to paint.
- Use a Magnetized Bucket and Liners for Paint – My girlfriend that has a painting business got me started on these buckets and liners. You want to keep all your paint away from the metal portion of your brush because it is really difficult to clean off. Using the magnet to hold your brush helps keep your brushes in top shape which means better coverage.
Basic Steps for Painting Cabinets
- Clean cabinets with vinegar/water to remove any oils and buildup.
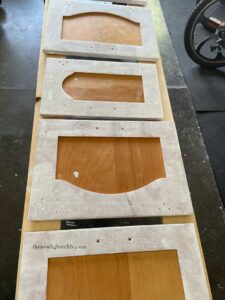
- Remove hardware, cabinet doors & drawer fronts.
- Apply 1 coat of primer to cabinets. For cracks and crevices, a brush works best. To reduce streaking and brush lines, use a foam roller on flat surfaces when possible.
- Once the primer is dry, apply 2 coats of cabinet paint, letting the paint dry at least 12 hours between coats.
- After cabinets, doors, & drawers are all painted, let them completely dry for at least 48 hours before reinstalling everything back into the camper.
NOTE: If you can wait longer for your paint to dry, it is better. My recommended times vary depending on the humidity and temperature.
You’ll see that the wall on the right is painted over. I did not use cabinet paint for this portion and it is still holding up well.
Final Thoughts on Updating RV Cabinets with Paint
- The Rust-oleum cabinet paint is VERY thick and has GREAT coverage.
- This paint is more affordable (especially locally) than other kits.
- Our cabinets look amazing!!
Overall, I cannot rave enough about this update. Painting old/crusty cabinets makes such a HUGE impact. We were super happy with our camper before we did the update but looking back, it is such a stark contrast. Definitely worth the time and effort.
Blessings!


3 thoughts on “Renew Those Cabinets: : A Step-by-Step Guide to Painting Camper Cabinets””