When we bought our Winnie, she was full of old light oak cabinets and a lot of fake wood panelling.
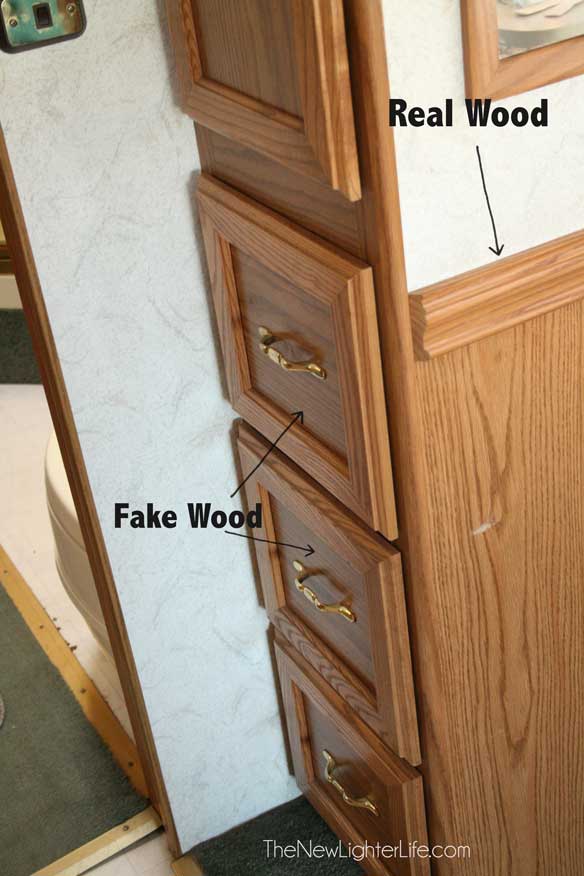
Even the fridge had paneling.
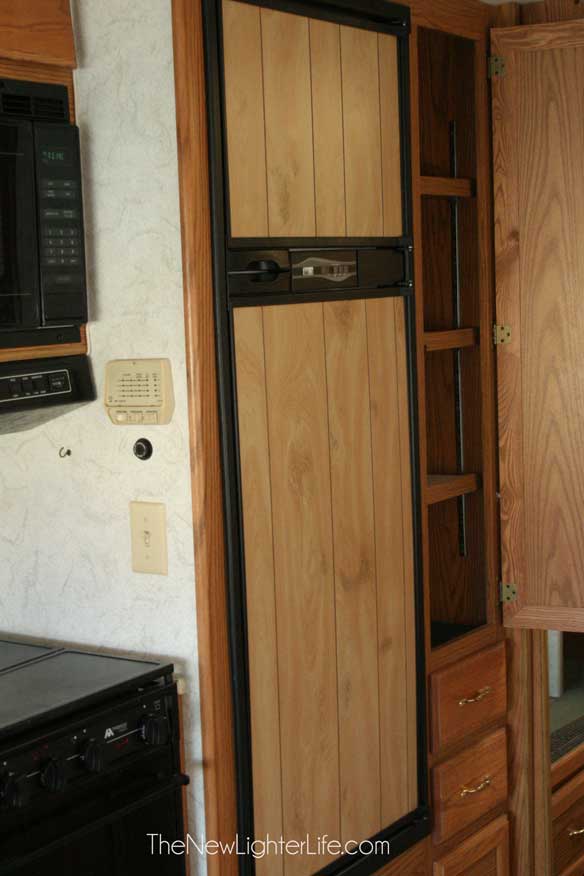
I’m not a big fan of light oak or fake wood paneling, so I urged Mark to paint the cabinets. As we were reading up on how to do this, we came across lots of advice.
Most of the instructions we found stressed the importance of sanding and included primer and enough prep work to make me suddenly fond of light oak and fake wood paneling. I had also read about painting with chalkboard paint to cover the need to primer and sand all-in-one.
We had settled on the chalkboard paint method until I came across a pin Pinterest about Giani Granite’s Nuvo Cabinet Paint. I watched the video and was intrigued. Minimal sanding (for fake wood areas). No primer. You didn’t even have to remove the cabinet doors.
I contacted Giani and was thrilled to be able to test their cabinet paint out. This is what came in my kit.
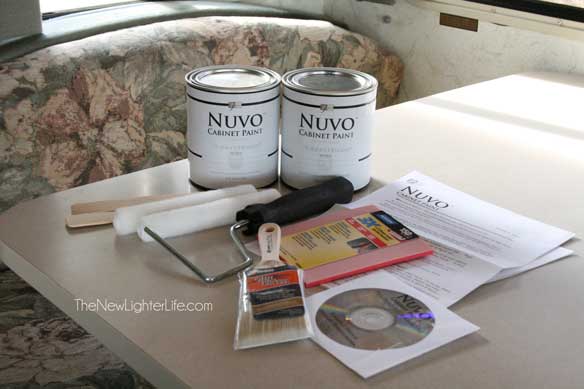
Everything I needed for the job. I figured I’d need more than 2 cans since there are so many cabinets in our RV, but I wanted to test it out before I bought any extra.
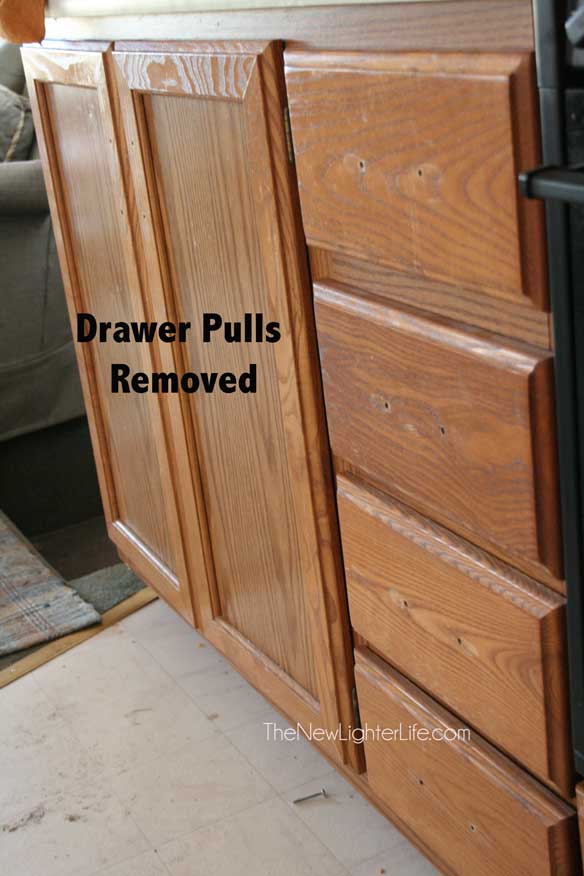
We decided to remove the cabinet doors because we were going to update the hardware and hinges. I prepped my surfaces by wiping them clean, (I used diluted orange oil) and also lightly sanded the fake wood. We used wood filler to fill some (though not all) holes.
Over the slide, we had fabric covered cabinet fronts that needed to be removed and there was a little strip of wood that needed to be prepped.
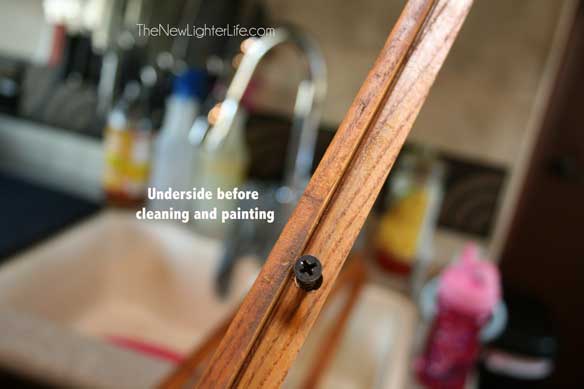
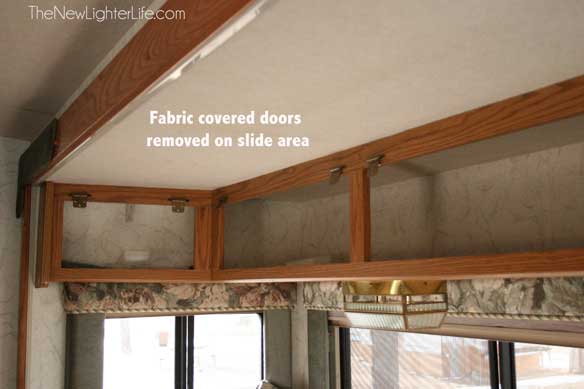
Next we painted like crazy. The paint went on very nicely and had great coverage. This paint is not normal paint. Which is great. When I was trying to wash the paint of my hands, it required some serious elbow grease. Given the fact that was going on cabinets, I was extremely happy about that.

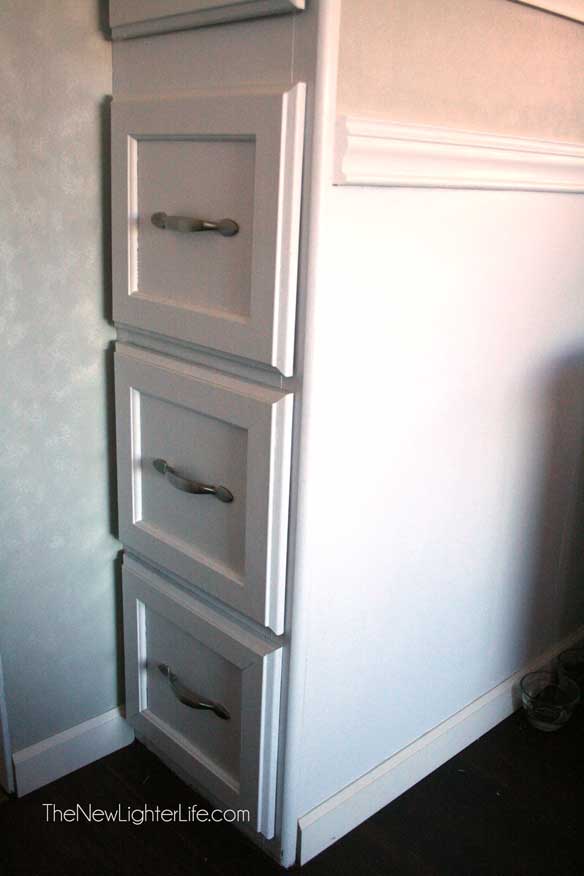
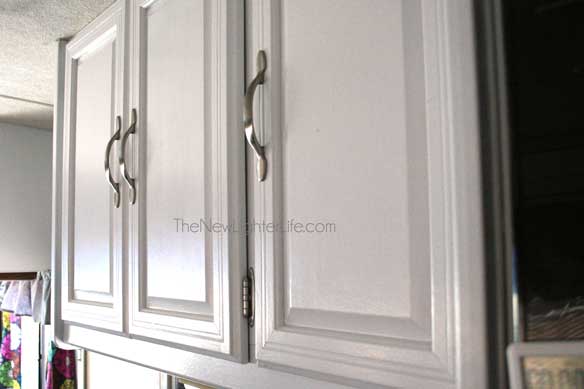
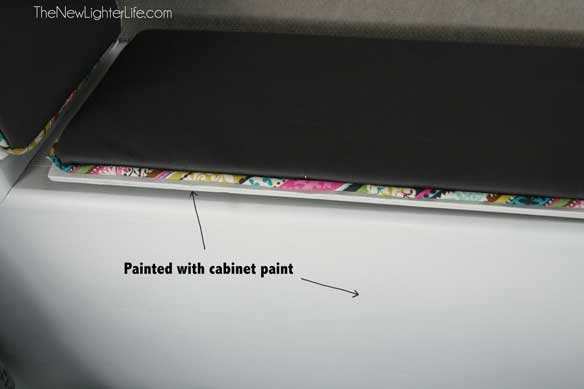
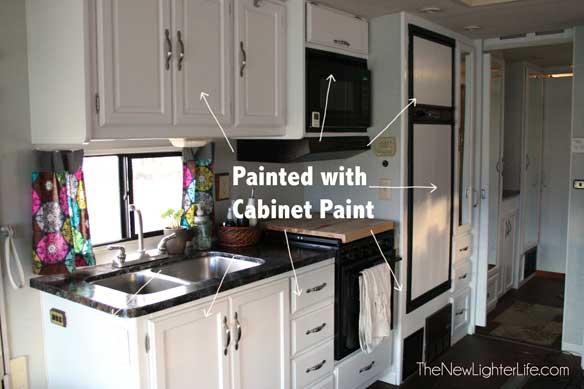
By the time we were done, we needed 5 cans of paint (but we covered all the cabinets in a 37 foot camper with Nuvo! So for about $175, we dramatically changed the appearance of our camper. I think this update was one of the most important updates we did and the Nuvo paint worked wonders. I love that we didn’t have to sand and primer. It was very easy to do.
The before…

And after…
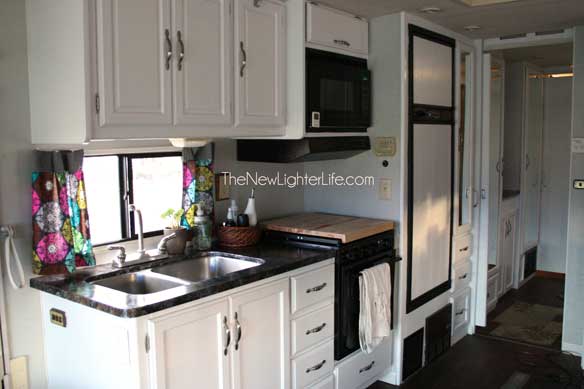
Amazing right??
If you’re interested in Nuvo’s Cabinet Paint it can be found, here. I can’t imagine having to go through all the steps we’d have had to if we’d gone another route.


Hi, your kitchen cabinets look great. I want to do the same on my 2002 Park Model Trailer, it also has light Oak, looks very dated. I will be doing this by myself and don’t want to get in over my head. How many coats of pain did you apply? How is it holding up. My biggest fear with paining cabinets it that the paint will start to chip and peal off.
Thanks,
Hi Jacqueline,
We’ve painted several a couple more different campers since our Winnebago Adventurer. The one we have the longest experience with is our Travel Trailer which we painted with Rustoleum cabinet paint. We sold that camper to our friends and they are gorgeous several years in.
As far as coats, I’m pretty sure we only needed to do 2 coats on the travel trailer. Our most recent Class C renovation should have had 3 coats. I’m wondering if Rustoleum changed their formula slightly. Cabinets are beautiful and the Rustoleum was far more cost effective. Good luck and happy painting!