
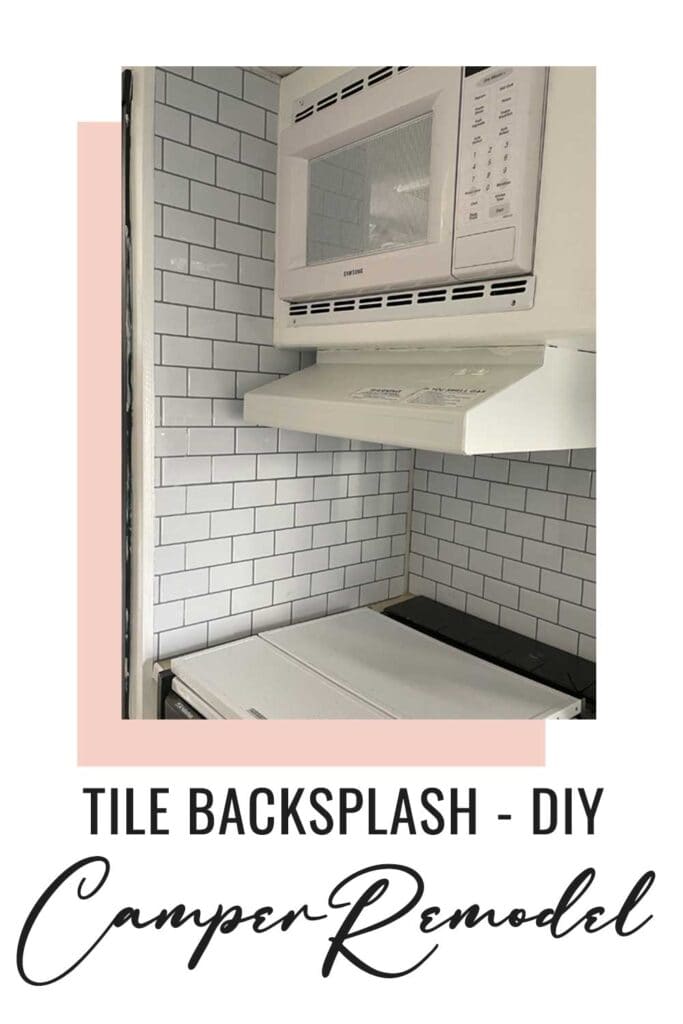
Camping season is upon us and our camper is out of storage. Eeeek! I’m so excited! We remodeled our little bumper puller (travel trailer) last summer and one of the things we updated was the RV backsplash. Today, I’m sharing some options for backsplash and tips for a camper remodel. This simple update makes a big impact!
RV Backsplash Ideas
1. Wallpaper (self-adhesive & washable)
2. Paint
3. Faux Tile (peel & stick)
4. Tin
Let’s chat about these options for a minute.
Wallpaper – This is gorgeous and washable. If we ever redo another camper, I think I will use wallpaper as there are so many beautiful patterns, like this one. 
Paint – Paint is very simple but if you commit to this option, you’re committing to painting your entire camper. Years ago I touched on how we painted our camper and I have some new tips and products to recommend, so be on the lookout for that soon.
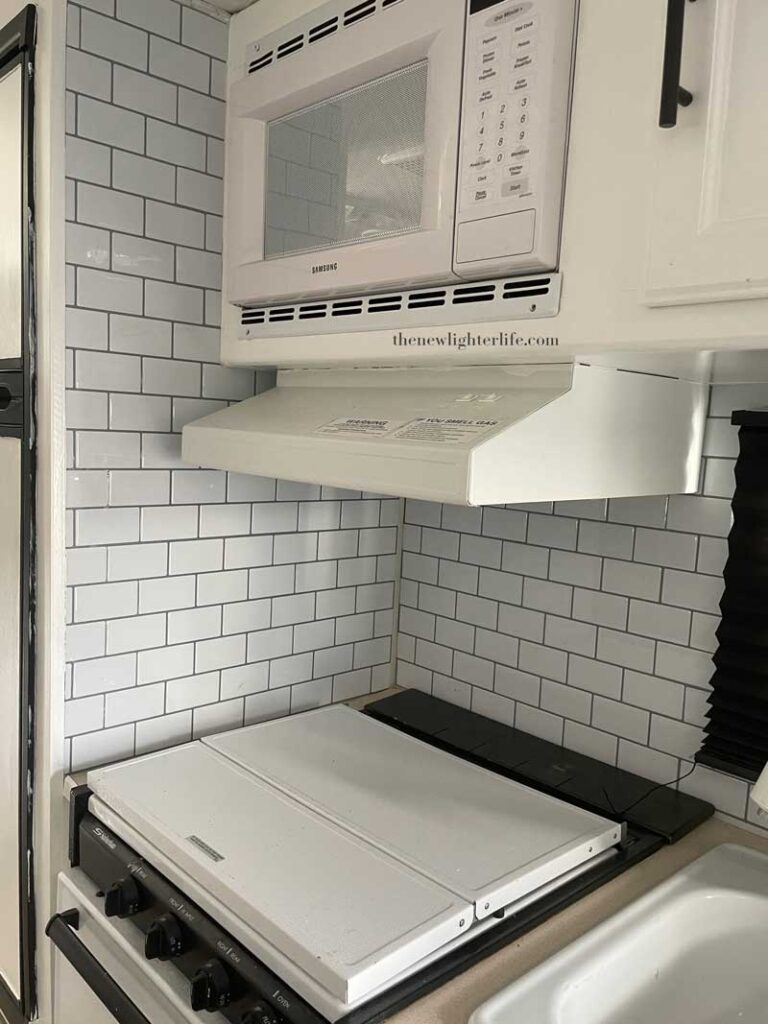
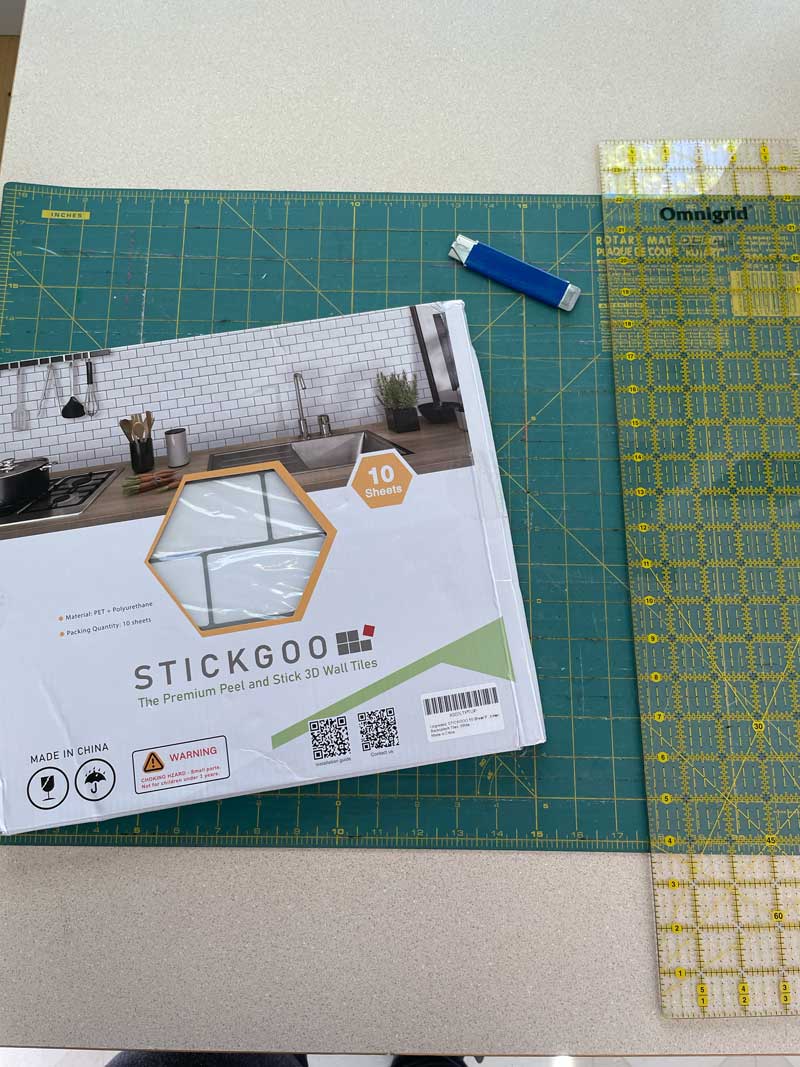
Faux Tile – We went with this option and used this exact faux tile (subway) backsplash. I couldn’t be more pleased with the results!
Tin – The biggest thing to keep in mind when putting up a backsplash is you don’t want to add any weight to your camper or RV. In my research, tin is the most expensive and weight-adding. You may find some at your local hardware store that is less expensive but tin is the least preferred in my opinion.
Tips to Install Peel & Stick Subway Tile
Since we went with a peel & stick tile, I have a few tips to share with you.
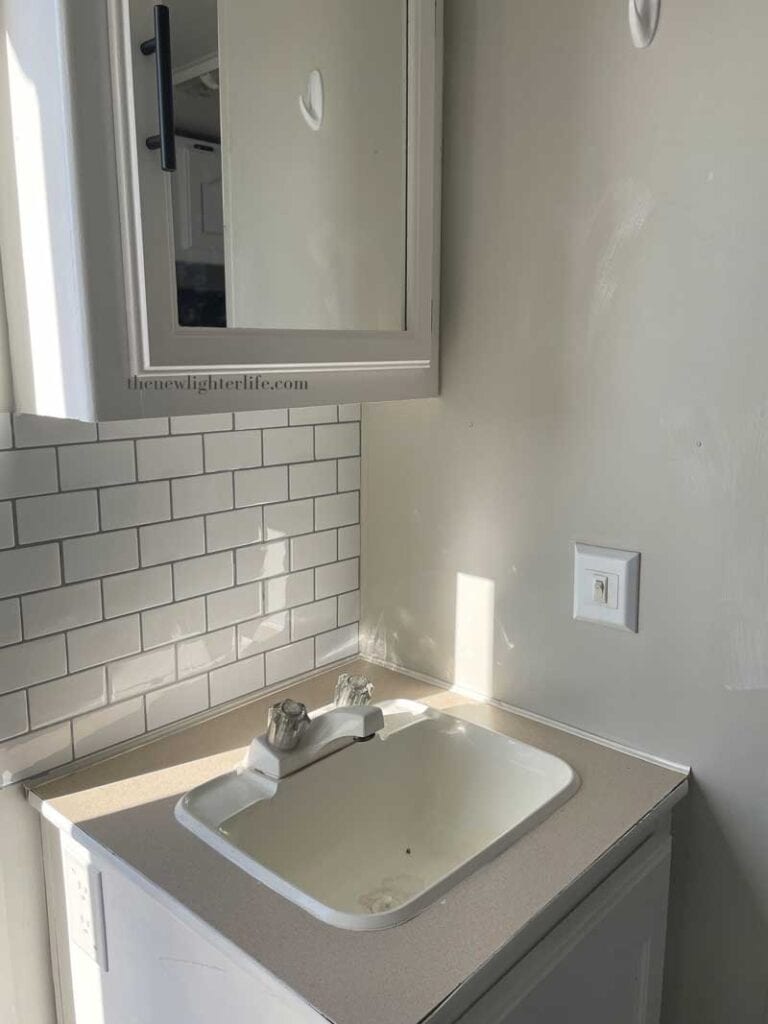
- How Many Sheets – I recommend you order double the tiles that you think you will need. After cutting and making mistakes you may see your tiles diminish before your eyes. We needed 20 sheets of tile for our backsplash which we put in our kitchen and over our bathroom sink.
- Clean Your Walls – If you have painted your walls with primer, that is a good surface to adhere the tile to. However, if you’re not painting, be sure to remove any residue from your walls with a good vinegar/water wash.
- Use a Level & Draw Lines – No walls seem to be perfectly square so it’s best to draw lines for easier placement of your tiles. Before you get out your level, make sure your camper is level.
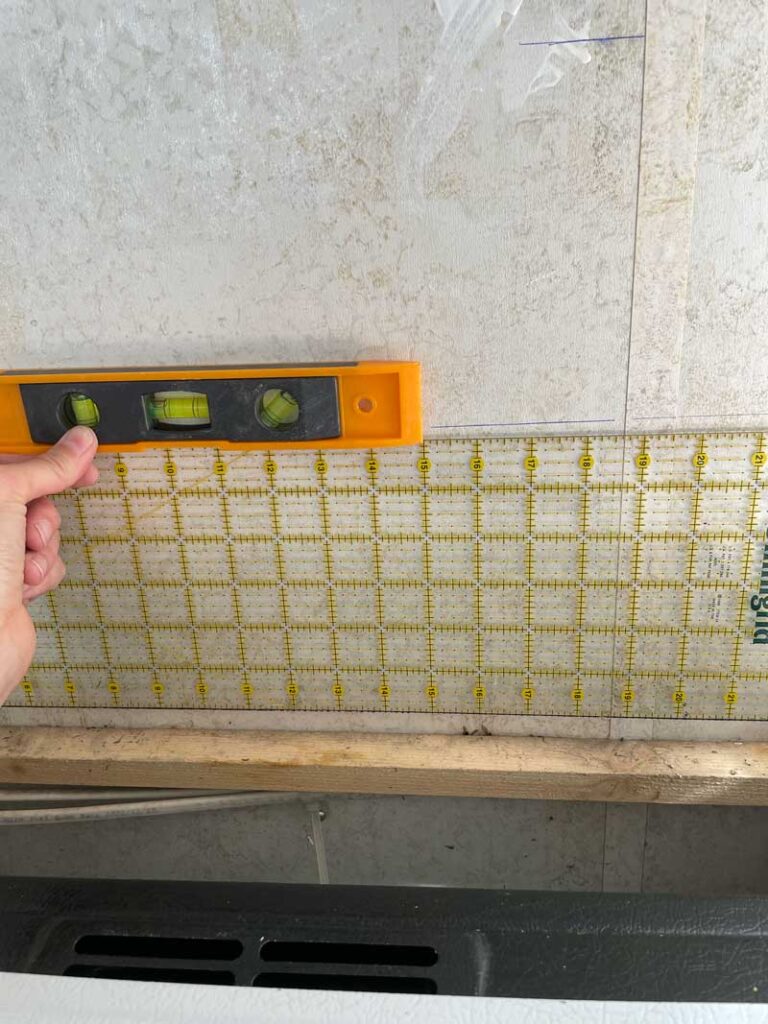
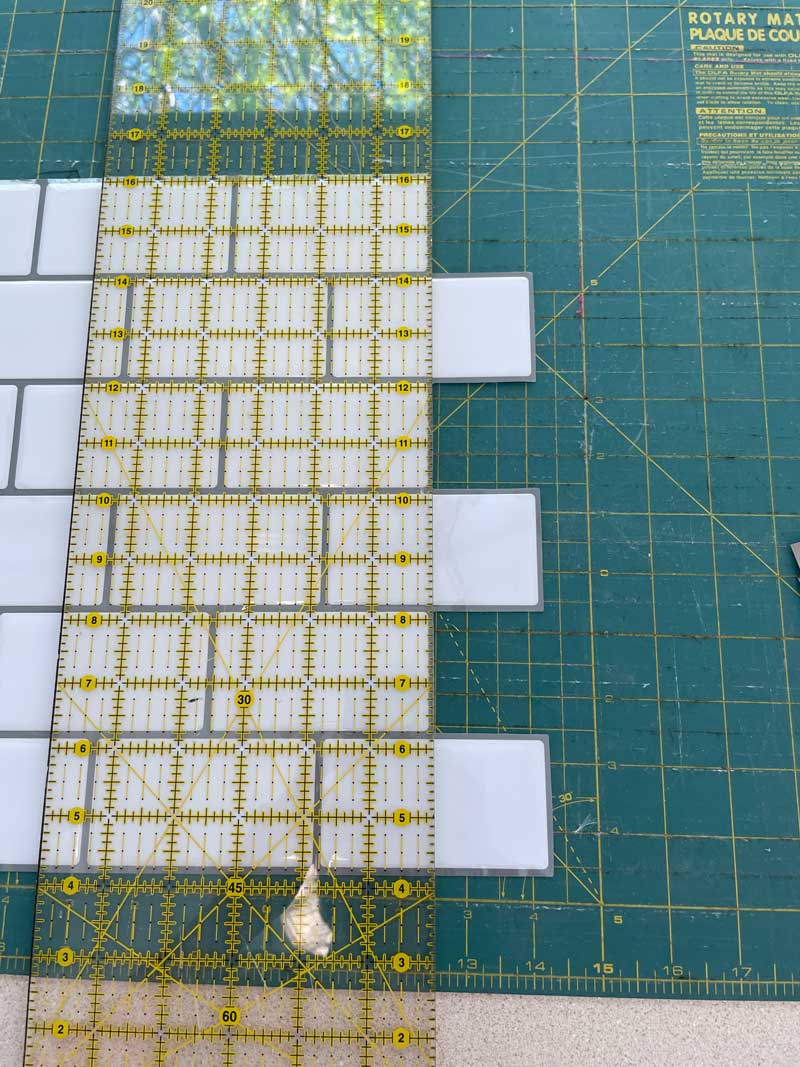
- Cutting Tile Supplies – A cutting mat, razor blade, metal ruler, or quilting ruler works perfectly for cutting your tile to size.
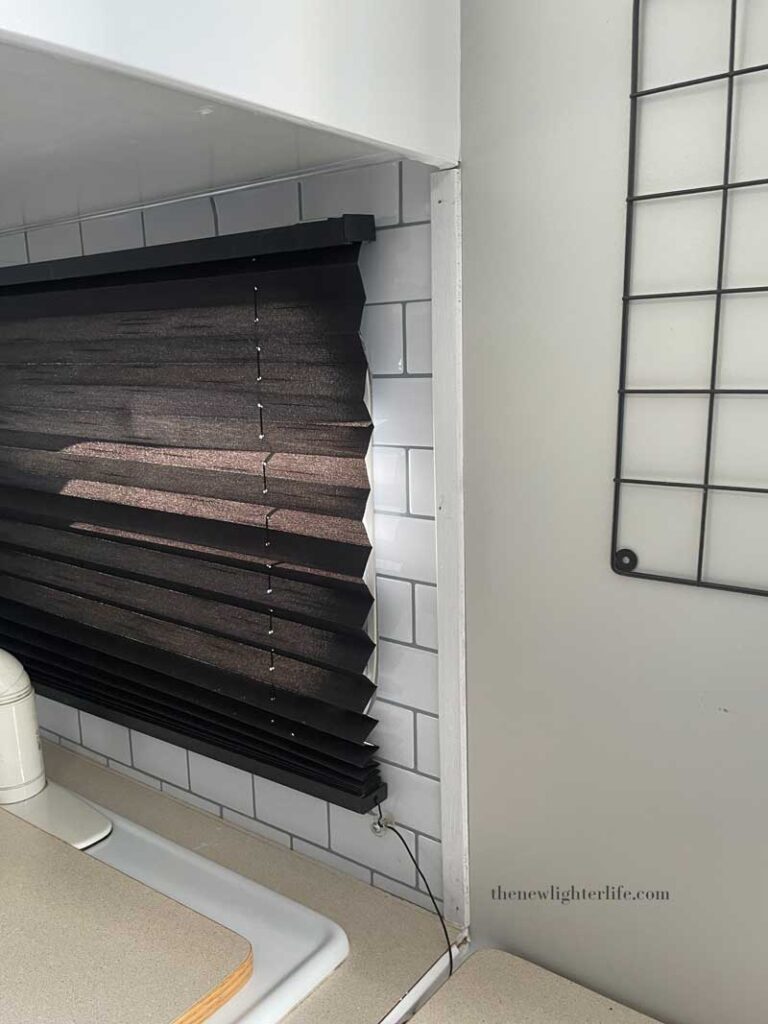
- Finishing Edge – If you have an edge of your peel and stick to try and finish, it is nearly impossible to get a perfectly straight finish as you’re piecing them together. To finish the edge I recommend you tack up a thin finishing strip of wood as you can see in the picture below.
- First Place Final Resting – When you place your backsplash, it REALLY stays put. I had a couple of spots that I wanted to adjust ever so slightly and so I picked up my partially adhered tile. Agh. I was able to reapply, but I imagine those spots may be the first to lose their tackiness.
- Cutting on the Line – For the evenness of your “grout”, I highly recommend you try to cut your tile in the middle of the grout line so they are not uneven on the wall.
Durability?
Our camper has been in winter storage and succumbed to below-zero temperatures. We also had many days where it was swelter in the camper. How did the backsplash hold up? Wonderfully!! I’m super happy with the results.
Summary of our RV Backsplash Update
If you’re redoing your camper, I highly recommend the peel and stick tile. Not only is it pretty and lightweight, but it’s also functional and easy to wipe down and keep clean.
Our backsplash cost us about $80 just for the tile since I already had everything needed to cut the tile.


1 thought on “Elevate Your RV Sink Areas with a Light Peel & Stick Backsplash”