
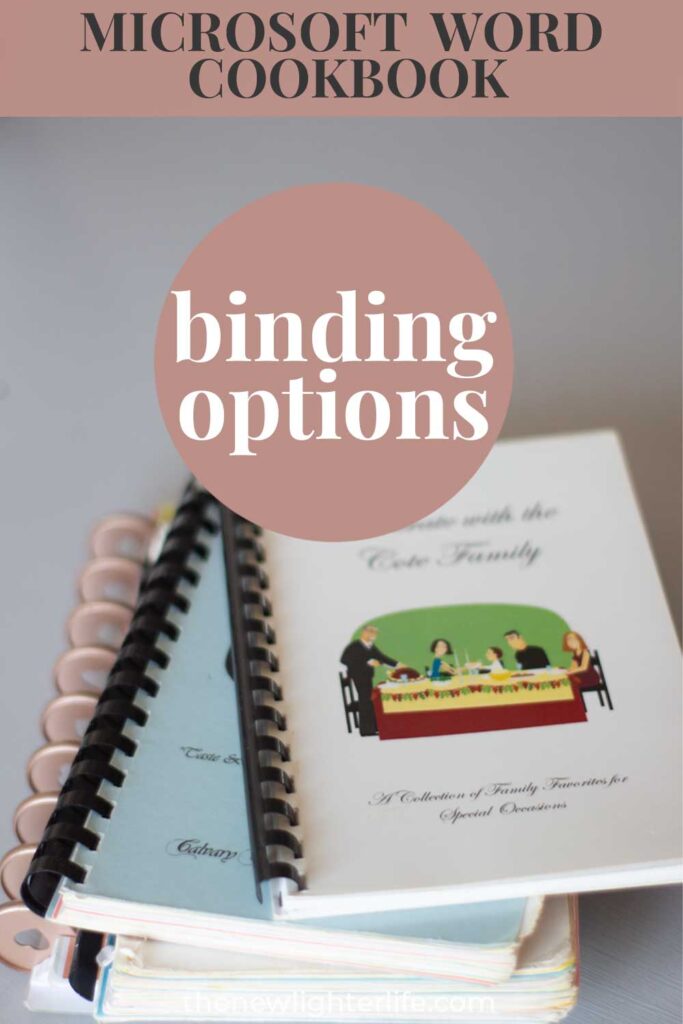
lneraGeSome of you have been working on your homemade family cookbooks but you might be stuck with the question of how to bind the printed version. Today, I’m going to share with you affordable options to bind a homemade cookbook.
Cookbook Making Series
If making cookbooks is your jam, you may want to check out my series of blog posts on the topic. I’ve written these over the past year or so and a complete list of the posts I’ve published regarding cookbook creation is below:
-
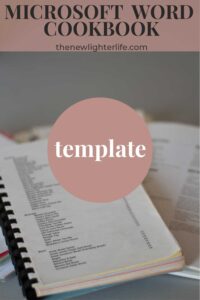
- Creating a Microsoft Word Cookbook Template
- Three FREE Printable Cookbook Covers
- Printer Settings to Print Cookbook as a Booklet
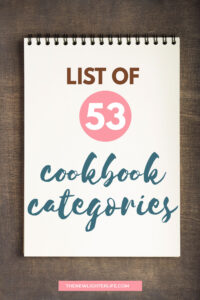
- Categories for Cookbooks
- Updates to the Table of Contents with Fields
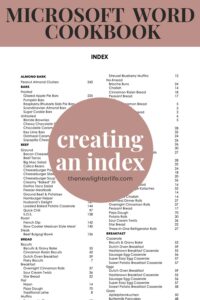
- Creating a Cookbook Index
- Adding Images to Your Cookbook Template
- FREE Cookbook Category Divider Pages & Cover
Now that I’ve shared how to format a useable cookbook easily, I am sharing what I have found to be the very best methods to bind your homemade / heirloom cookbook. Depending on your budget and situation, one of these is sure to be perfect for your project!
Before I get into the meat of this post, let me explain the dollar amounts next to the options. These amounts are rounded to the current costs I found at the time of this posting and include the number of cookbooks that could be bound for the price. If you choose to bind more cookbooks, your cost will go significantly down per cookbook as most of the cost is in equipment. Hopefully, my quick price summary will help you determine what option you’d like to go with.
General Supplies
I highly recommend a couple of tools regardless of the method you select.
Laminator (around $20) – this is super important for protecting your cookbook cover, back, and divider sheets, so it will last for years to come (unless you are using a 3-ring binder). This laminator comes with a corner punch and a built-in slider-type paper cutter. I’m not a huge fan of this type of paper cutter, but you will save some money if you’re on a tight budget.
Paper Cutter (around $50)– I prefer to print my cookbooks 2 pages to one side of a standard 8 1/2″ X 11″ sheet of paper. If you follow my lead on that, the cookbook needs to be cut in half. For years, I’ve used the Fiskar slider paper cutter, which is around $20 (or there is one included with the laminator above). These types of cutters do the job, but this guillotine style is the bomb!
Now for the binding options…
4 Affordable Options to Bind a Homemade Cookbook
1. Binding Machine
(about $60 plus the cost of combs)
If you’d like a more permanently bound cookbook, a binding machine works well. I had considered a spiral binder, like this one. But for me, the cost was not justified since my cookbooks are primarily for family and friends. For these reasons, I chose a comb binder. Just be sure to buy combs to the size you need.
If you opt to use this method, the comb binding machine above comes with combs. The combs could be cut to the length you need if you decided to do a half-sheet-sized cookbook. Combs are relatively inexpensive, so I have not included them in the price, especially since the machine comes with so many.
2. Happy Planner Punch
($38 + $13 or $16 for up to 16 Cookbooks)
This punch is from TUL and it works interchangeably with the Happy Planner system. I like the versatility of removing pages easily if/when I find I had a typo on one of the recipes. You can also add punched recipes or printouts if you haven’t added the recipe to your electronic Microsoft Word Document yet.
You will need to purchase the binding discs that are either the Happy Planner brand or a generic brand (at a much better price). Each of my half-sheet-cookbooks requires 9 binding discs. There are different size options of discs depending on the number of pages you have in your cookbook.
By far, the best price I’ve found is as follows:
- This set will bind 24 cookbooks that are less than 175 pages each.
- This set will bind 6 cookbooks that are more than 175 pages each. NOTE: This set has enough of one color to bind 6 cookbooks. If you use a variety of colors, you are able to bind 8 cookbooks with this set.
3. Half-Sheet Three-Ring Binder and Adjustable Punch
($60 for up to 6 Cookbooks)
The last option I have to share with you is to use a junior 3-ring binder that is 8.5″ X 5″. These binders are heavy-duty and come in black (without a view pocket) or white (with a view pocket). This option is the most durable, and your cookbook would likely last the longest, though it looks less professional, in my opinion.
Just be sure to get an adjustable 3-hole punch so you can accommodate the half sheets properly.
4. Commercial Print Shop Binding
($3 to $8/ea cookbook)
I have used Office Depot/Max in the past to bind my cookbooks. This is an excellent option if you want someone to do this for you. If you’re like me and want complete creative control over your end product, you may want to try one of the first three options. I did try to find a current price on this service, but that seems to vary widely based on the options you’re looking for.
In closing, no matter what option you choose to go with, I’m certain your family/friends will appreciate your labor of love!
Blessings!

Thanks so much for the time you spent on this it is really appreciated! Like you I have been collecting recipes for years and used to use my grandpa’s typewriter to type out recipes for hours when I was a kid. I have played around and set up templates to use to make my own cookbooks for printing. I also don’t want to give someone else the job of constructing my cookbook. So I know how you feel ! It’s my baby. Ha ha . I love the way you set up the table of contents, thank you ! This has provided me oodles of inspiration. Take care !
Thank you so much, April! I’m convinced there are those of us who just have it in us to preserve family recipes, it’s ingrained in us and we speak the same language! :). Thank you for your thoughtful comments, I really appreciate it! Wishing you success as you put together your cookbook!