
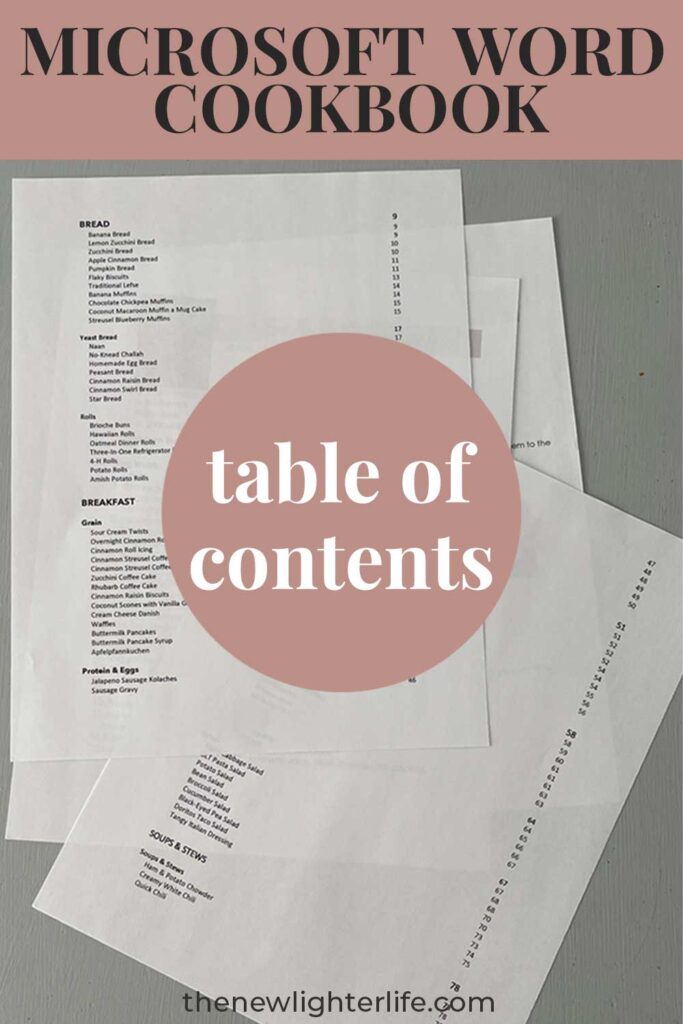
Continuing with all things Microsoft Word Cookbooks, I have a neat update to the cookbook table of contents.
Before I get to that, you may want to check out my series of blog posts that delve into how to create, organize, print, and bind a family cookbook. A complete list of the posts I’ve published regarding cookbook creation is below:
-
- Creating a Microsoft Word Cookbook Template
- The 4 Affordable Binding Options for your Cookbook
- Three FREE Printable Cookbook Covers
- Printer Settings to Print Cookbook as a Booklet
- Categories for Cookbooks
- Creating a Cookbook Index
- Adding Images to Your Cookbook Template
- FREE Cookbook Category Divider Pages & Cover
Styles for Table of Contents?
You may recall that I showed you how to create a table of contents based on your cookbook style (see the initial post about creating a cookbook template). This method utilized Heading 1 (major categories), Heading 2 (subcategories), & Heading 3 (recipe titles).
The problem with using Styles to format text for the table of contents is that major categories and subcategories tended to throw off the recipe placement at the start of a new category or subcategory section. In addition, if you didn’t want to see those categories in your printed cookbook, you were stuck making the text white.
A Better Update to the Table of Contents
But alas!! I have a better way! The easiest way to do this without shifting your text all over is to use tables and fields in your cookbook. I cover how to do this in my post about inserting recipe images. Even if you don’t want to insert images, tables also keep your cookbook more structured.
Regardless of whether you use tables, I’ll show you how to update the Table of Contents with fields for your Heading 1 and 2. In the video below, I take you through this step by step.
NOTE: You will need to pull your table of contents in differently than I previously showed you But no worries as I cover the table of contents with fields in the video!
Hope you enjoy this nice little update to the cookbook table of contents!


3 thoughts on “Seamlessly Update Your Cookbook’s Table of Contents”