
In my humble opinion, some homegrown produce does not have a significant difference in flavor from what you can buy from the grocery store.
If you’ve never had a homegrown garden tomato, you are missing out! Tomatoes can be little divas, but they are well worth the effort of growing. There are three major finicky aspects to growing tomatoes that will save you headaches in the long run…
- They need Support: Tomatoes naturally want to grow on the ground a sprawl out. If you let your tomato plants do this, your plant will take up a huge amount of space, and your tomatoes will spoil. This is why you need to provide strong support for those beefy plants, as I shared in this post. Since they are not natural climbers like cucumbers, pole beans, or peas, you will need to stake your tomato plants to your support. These are my favorite clips, and they are super easy to use.
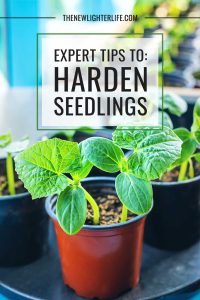
- They need Hardening:
- If you start your tomatoes from seed, you will need to start them early enough to plant them after your last spring frost date. Keep in mind; you cannot just plant your seedlings out in the garden. You must slowly introduce them to the outside elements (wind/sun/rain) in short increments, so you do not kill your seedling…this acclimation is called “hardening them off.” You will increase the length of time your tomatoes are exposed to outside elements over the course of a week or two.
- If you buy your tomato seedlings from a greenhouse, they are most likely hardened off and will not suffer shock if you plant them directly. But you can always be cautious and acclimate them some so you do not kill your plant. On a side note, many years ago, my best friend planted her tomato seedlings straight in her garden from the store. All of us experienced gardeners told her she messed up and that they were going to die. What do you know? They made it! I’m certain that she received a bonafide miracle, or they were from a greenhouse and had been hardened off already.
- They need Pruning: Tomatoes do best if you prune them. Pruning your tomatoes provides better airflow and removes any extra foliage that will pull energy from the fruit-producing part of the plant. When you prune, you cut off the side shoots or suckers, more on that in another post.
So going back to number 2 above, tomatoes are SO tender. The problem with tomato seedlings that you’ve grown from seed is that it is really easy to kill them when you plant them in the garden.
This year, I ran into a few dilemmas with my tomatoes:
- I got a little ahead of myself and planted my seeds a few weeks too early. As a result, my seedlings had definitely outgrown their newspaper pots, and they needed to be placed in their forever home sooner rather than later.
- Our last spring frost date is 1 week away.
- I already know I have a busy week ahead of me, and I will not be able to continue the hardening-off process properly.
- I started 11 different varieties of tomatoes from seed, and I didn’t want to risk any of them dying. Since I will not be able to just go to the greenhouse and replace many of these varieties, I decided it is better to be even more prudent and protect them.
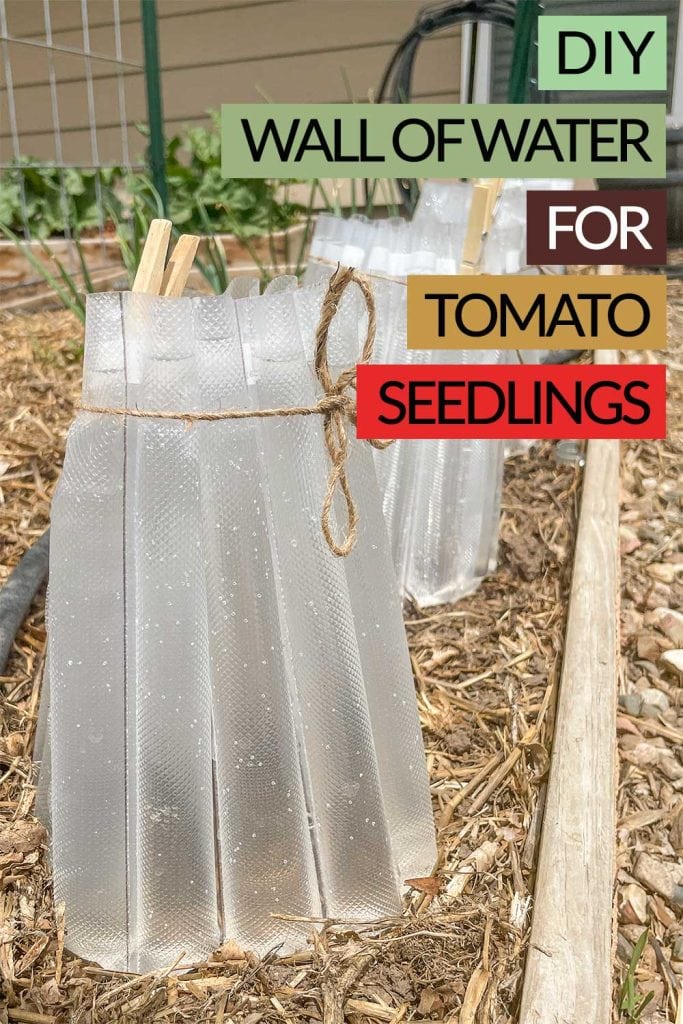
With all these issues above, I decided my best course of action was to plant my tomato seedlings early and pull out the big guns with a wall of water.
What is a Wall of Water?
These are heavy plastic rings that are segmented and filled with water. The rings surround the seedling and create a greenhouse effect. You can plant your tomatoes earlier, and they will be protected from the elements better.
If you’ve ever researched these, you’ll see they are a bit pricy (but they run just over $8/each). I also found them for $17 for a pack of 3 at our local greenhouse. They are quite tall and are sometimes red.
I really had my mind settled on the wall of waters, but my frugality stopped me. So after some brainstorming, I decided I would figure out a way to make my own.
A couple of notes before we get started…
- You should set your wall of water up for at least several days before you actually plant your tomatoes. I know the commercial wall of water instructions say to do so a week early, but if you’ve had warmer weather, you will be fine to set them out on the day of planting.
- My wall of waters is not as tall as the ones commercially available. I have not lost any plants using my homemade version.
- I bought 2 of the Foodsaver rolls from our local store for around $20, and I could get 6 Wall of Waters out of each roll that is 16 feet long (which is $3.33/each). If you buy these rolls, the price is significantly lower for each wall of water ($0.45/each).
- A Foodsaver Vaccum Sealer or any other vacuum sealer will work as long as it can accommodate 11-inch rolls. There is a great deal on this vacuum sealer with over 37K reviews (currently, less than $60).
- If you do not have a vacuum sealer machine, it is unfortunate that I cannot recommend another method of making your own. I experimented with manually sealing lines with my clothes iron and a metal ruler. The results were poor, and I ended up with holes in many of my cells.
What You Need to Make a Wall of Water
- Vacuum Sealer Machine that can accommodate 11-inch rolls (highly rated machine right now $48)
- 11-inch vacuum seal roll (do NOT get the expandable version)
- pen/marker
- scissor
- cutter
- clothespins, for installing
- string/twine, for installing
How to Make a Wall of Water
Since posting this originally in 2021, I have come up with a better and more efficient method along with a short video of the process. The biggest update I have is to use a slide cutter to mark 2-inch wide cells before sealing them. This was so much quicker and resulted in more consistent water cell widths.
- Start by sealing one end of an 11-inch wide food-saver roll.
- Next, measure out and mark every 2 inches (starting with that sealed end) until you get 13 strips.
- Cut about 1 inch away from the last marking. (You can get 6 wall of waters from one roll). It’s easiest to mark them all at one time because you’ll want your empty cardboard roll for the next step.
- Once everything is marked, tape the sealed end of one of the marked strips to the empty cardboard roll.
- Working your way from the sealed end, seal each line mark until you reach the end.
- Once your entire strip is sealed, cut along the length of the plastic so you have openings to pour water into.

How to Install Your Wall of Water
SPECIAL NOTE: As I mentioned previously if your ground is cooler, you’ll want to place your wall of waters a few days in advance so the ground will be warm enough for your tomatoes (or peppers).
- Place your wall of water in a bucket or stockpot so it can sit upright.
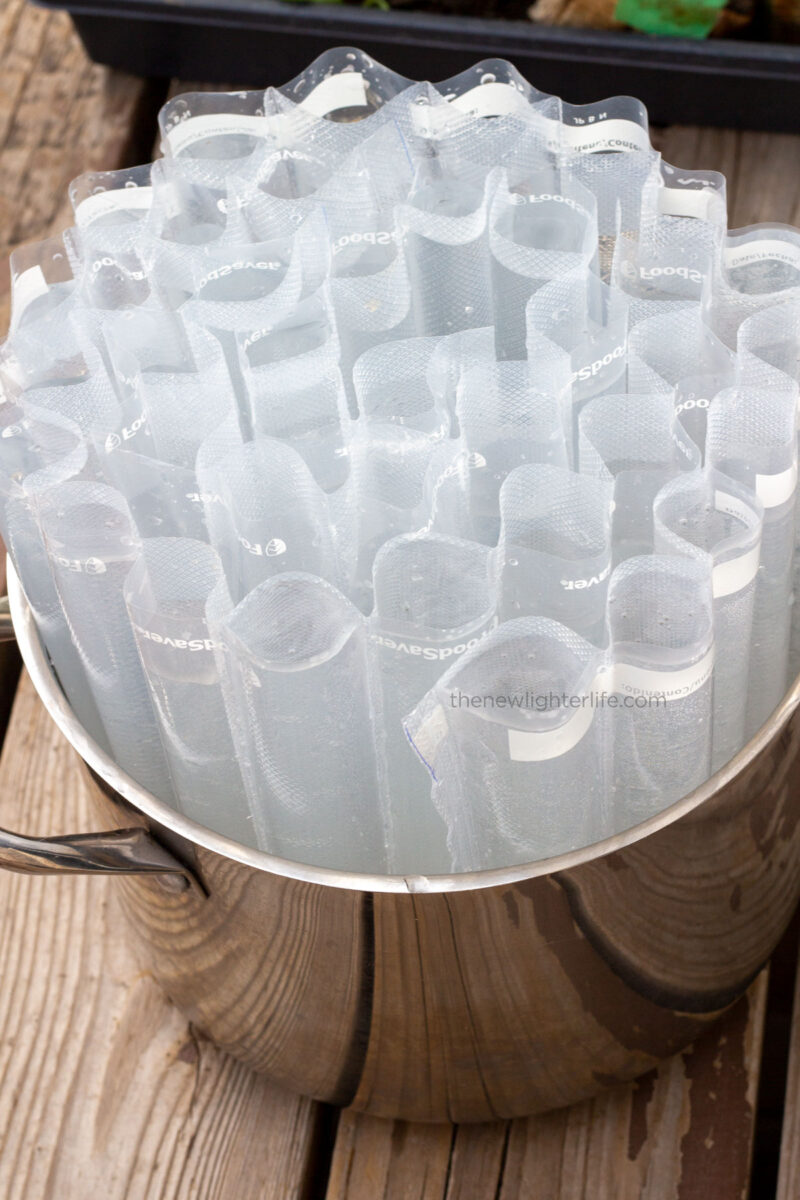
- Fill with water about 1/3 full.
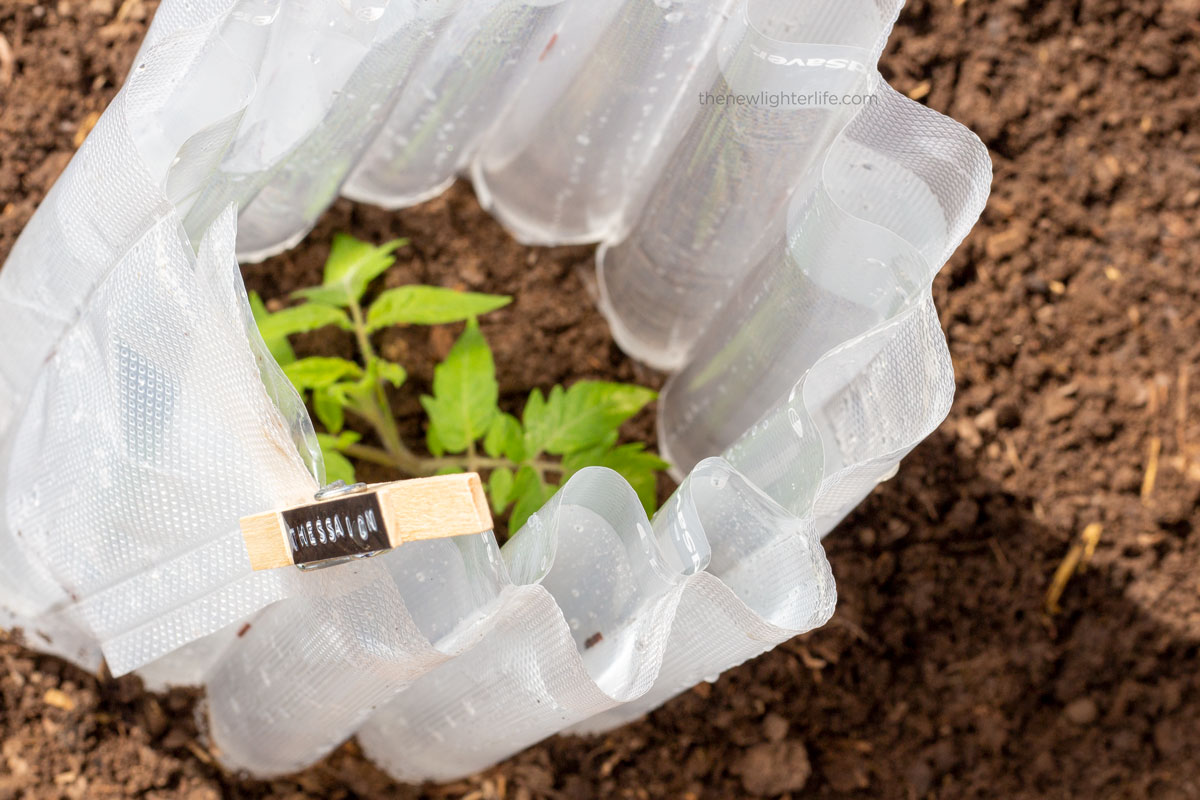
- Form a ring with your wall of water at the place you will plant your tomatoes. Using a clothespin, connect the seam of two cells, so there is a slight overlap.
- Once you plant your tomato seedling, I found a small piece of twine works great for closing in the top of the wall of water slightly. The twine catches on the clothespin seedling marker and is tied with a simple bow for easy adjustment.
- As your tomato grows, you may open up the top of the wall of water or loosen it slightly.
- Add water as needed to keep cells at least 3/4ths full.
- You may leave your wall of water until you are past freezing temperatures but I recommend you do not leave them up all winter. This may be a personal preference, but I have concerns about evaporation or them tipping over my plants. I usually take my wall of water down around two or three weeks past the last freeze date.
- Once you remove your wall of water, simply tip to drain the water out. To get all water out, I let them finish draining upside down in my dish drain rack.
Final Thoughts on DIY Wall of Waters
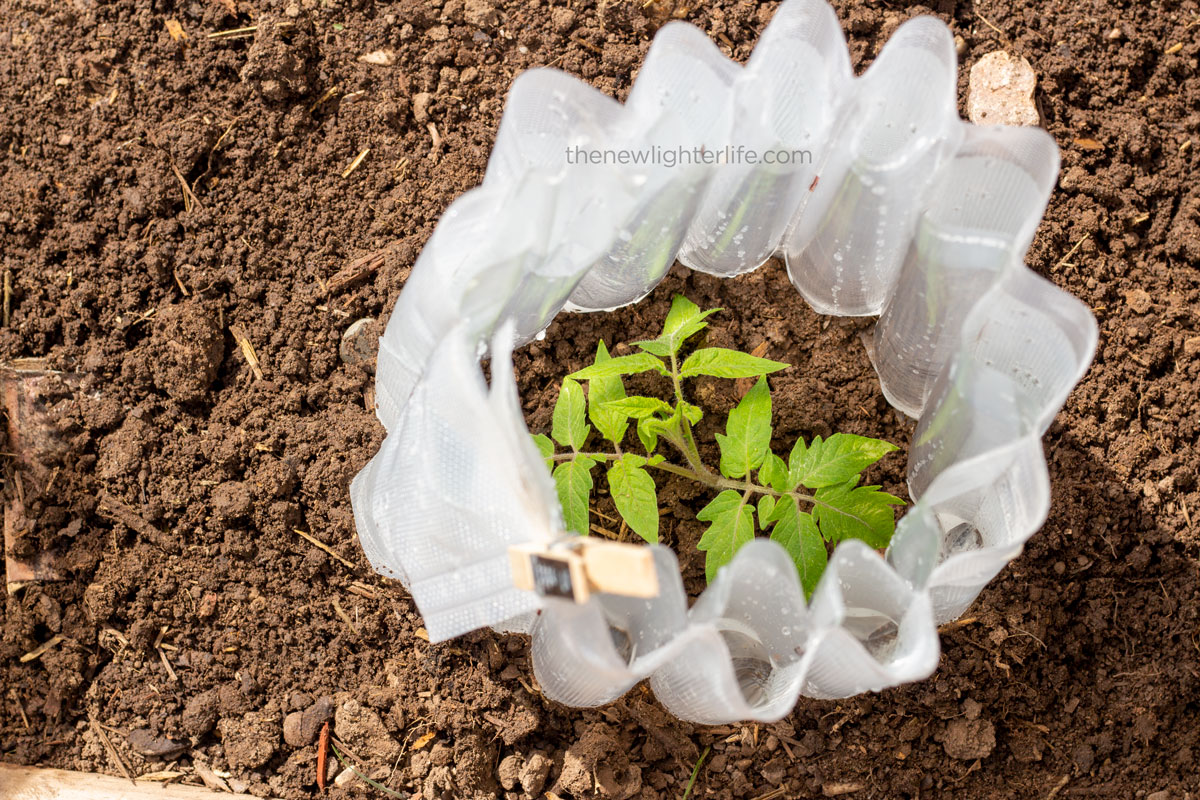
My newly planted tomato seedlings look great after some nights in the low/mid-30s.
These wall of waters should last me several years and take minimal space for storage.
That’s it for now. Happy Planting!


Thank you for this tutorial. 1. How do you keep moss from growing inside the tubes? 2. How do you drain and dry the tubes for the winter? 3. Do the walls stay up all summer?
Hi Virginia,
Thank you for your questions, which I’ll answer here and update the post to address…
1. I have not had an issue with mildew. This could be because it is actually pretty dry here and I take my wall of waters down shortly after our zone is past the danger of freezing temps.
2. To drain, I tip the water out and let them drain on my kitchen drying rack once I’m done with them for the season.
3. No, they don’t stay up all summer. It gets so hot here and my tomatoes take off like crazy. Evaporation would require me to refill the tubes and I wouldn’t want to risk one side of my wall of waters tipping over on a plant.
Take care and happy gardening!
Brilliant!
This is cool! But I am not understanding how you are making the seals. My vac sealer only allows me to place a cut edge in to be sealed, not place a long piece and slide it thru and seal as it goes. What am I missing?
I’m sorry I’m so slow to respond Lyla! I have been meaning to make some more wall of waters and will put up a video ASAP that will hopefully help you.
Lyla, I’ve put up a new video and go through showing how to seal. I’m not sure of the model of vacuum sealer you have, but the ones I’m familiar with have the feature place the initial seal on a roll.
Hopefully that video helps!