We’re getting into camping season up here! For us glampers, that means prepping the RV. Years ago, when we full-time RV’d, I shared how Mark helped me tidy up the drawer by making a built-in RV drawer organizer. In that post, we shared about using dentil moulding.
Well all, I’ve come a long way in the woodworking department. Since that post almost 10 years ago, I’ve made multiple drawer organizers for the various RVs and even our house. Today, I’m sharing with you the 4 different options to organize your drawers in your RV. One of these 4 options is to build your drawer divider. I’ve also given some rough details on how to build your dividers in 3 different ways. In the end, I have a step-by-step on how to build the latest (and my favorite) drawer organizer I’ve made.
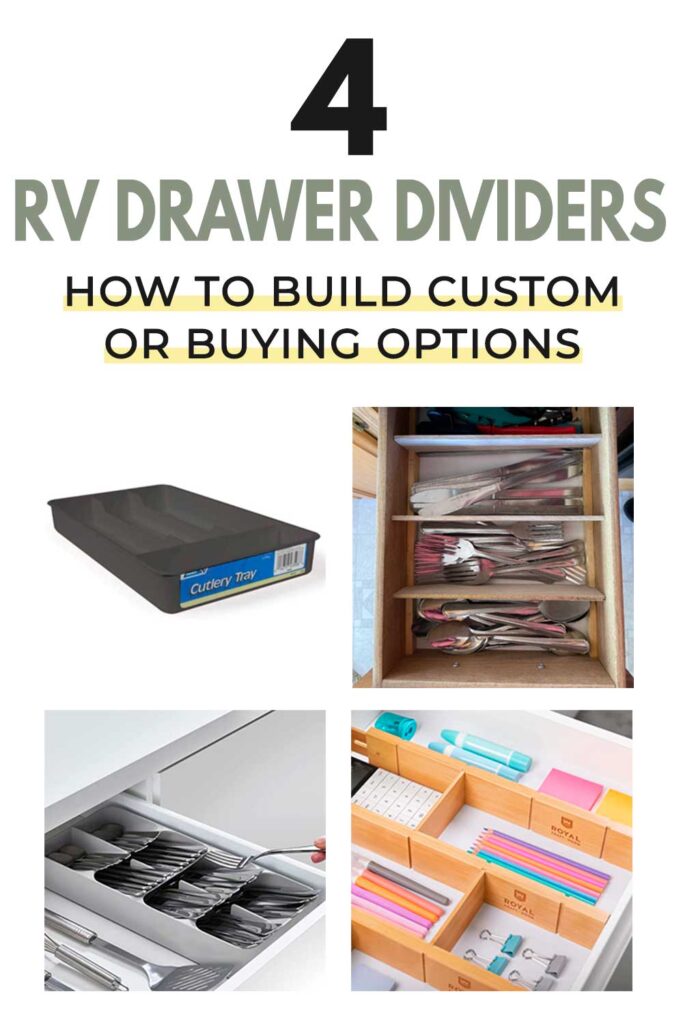
RV Drawer Organizer – 4 Options
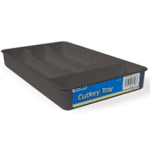
Plastic Cutlery Tray – This is a great option if you’re looking to just organize your utensil drawer. If your RV’s drawers are like ours, they are very narrow. Because of that, a typical plastic drawer insert won’t work. This one from CAMCO fits many RVs, just check your measurements to be sure.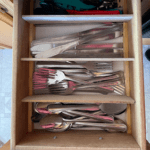
DIY – Build Your Own Dividers – We’ve built various dividers for drawers with 3 different approaches. I’ll get into those in a minute but this is my favorite way to keep drawers (especially utensil drawers organized in the RV. Since they are custom-built, there is no wasted space and they fit perfectly. However, you do need to be just a little bit handy. I can do it, so it’s not rocket science.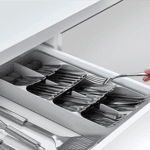
Tray Inserts – Inserts can be hard to find for cutlery and challenging to fit in narrow RV drawers. I was looking for some options and found this compact tray insert which looks pretty sweet and perfect for an RV.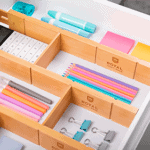
Adjustable Drawer Dividers – These drawer dividers are adjustable and great for customizing your drawers to suit your needs. They are a little pricier but pretty convenient.
Now that I’ve laid out the RV drawer organizer options, let’s get into the basic approaches to building them. There may be more options I brainstorm later, but these are the ways I’ve used.
3 Approaches to Build Your Dividers
Dentil Moulding
Way back when we first started the blog, Mark inserted dentil moulding into our drawers and cut slats of wood to slide into the moulding spaces. You can read about that by going here. In more recent years, dentil moulding has been either hard to find or very expensive. Still, it is an option.
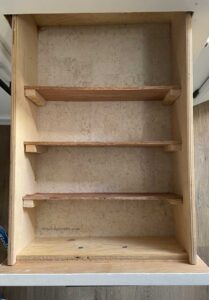
Slats Build-Up
This was a very quick job on my part. I had some 3-ply (1/8-inch) plywood on hand so I ripped my drawer slats to about 2 1/2 inches wide. I cut them to fit across the drawer width. To build up the divider ends, you can use 1/4-inch square dowels or you can rip some furring strips to make them more narrow. The goal is to make your drawer slat ends more substantial so you can nail/staple/glue them in place to the drawer. This is a bit sloppier but does the job.

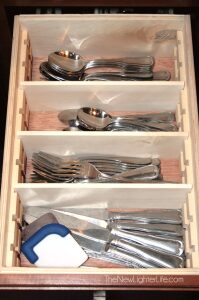
Wood Spacer Divider
Making the dividers this way was the tidiest so far and works great in our camper. Let me give you a quick step-by-step on this one since I actually took pictures. (which is a feat in itself – ha!).
Easy Wood Spacer Drawer Organizer
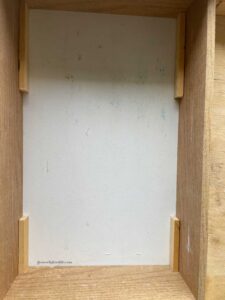
- Measure your drawer where you want your slats to go.
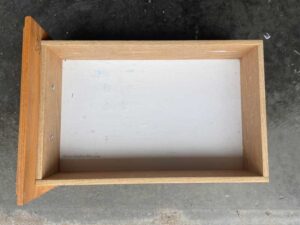
- Cut the slats (1/8″ plywood or similar wood) to the proper width. The height of dividers should be about 2 1/2-inches tall when inserted.
- Cut two 1/4″ square dowels (or similar wood) to the full length of the drawer. Insert into drawer to ensure proper length.
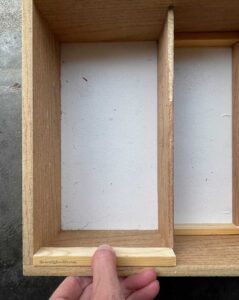
- Place cut dowel in the drawer and position your cut slats where they will work best based on your utensils or needs.
- Mark cut lines on one inserted dowel.
- Remove dowels and line both dowels up perfectly on each other. Cut them at the same time so they have the proper spacing (and you don’t have to measure). The last spacer is not going to be cut to the correct length but we will get to that in a minute.

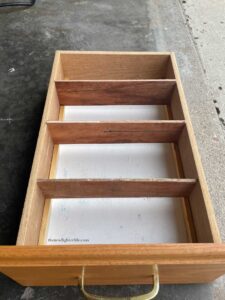
- Insert your spacers and divider slats in the drawer to check for placement.
- Your last spacer that we did not shore up in step 6 will need to be cut now. With everything inserted, lay your spacer strip on top and mark to make the final cut.
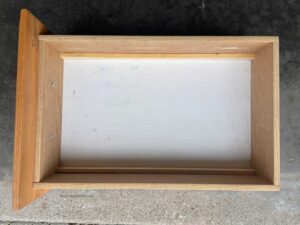
- Once everything is cut, insert it into the drawer one more time to make sure it all fits properly.
- Take the 2 sets of spacers that go on opposite ends of the drawer and glue them with wood glue. Firmly press spacers butting them against the sides and ends of the drawer. Let dry for at least 6 hours.
- Once dry, place your two slats against the glued spacers and glue the final 2 sets of spacers with them butted up against the inserted slats. Firmly press spacers and let dry for 6 more hours.
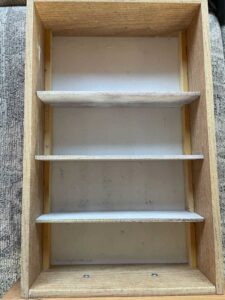
That’s it. So so easy and neat. I used scrap wood we had so this project cost me nothing by 30 minutes of cutting and 12 hours of dry time.
Also, you may notice I put a rough coat of spray paint on my slats, they were a little junky and had some writing on them. If we ever slow down, I’ll take my slats out (since they are removable) and give them a better coat of paint.