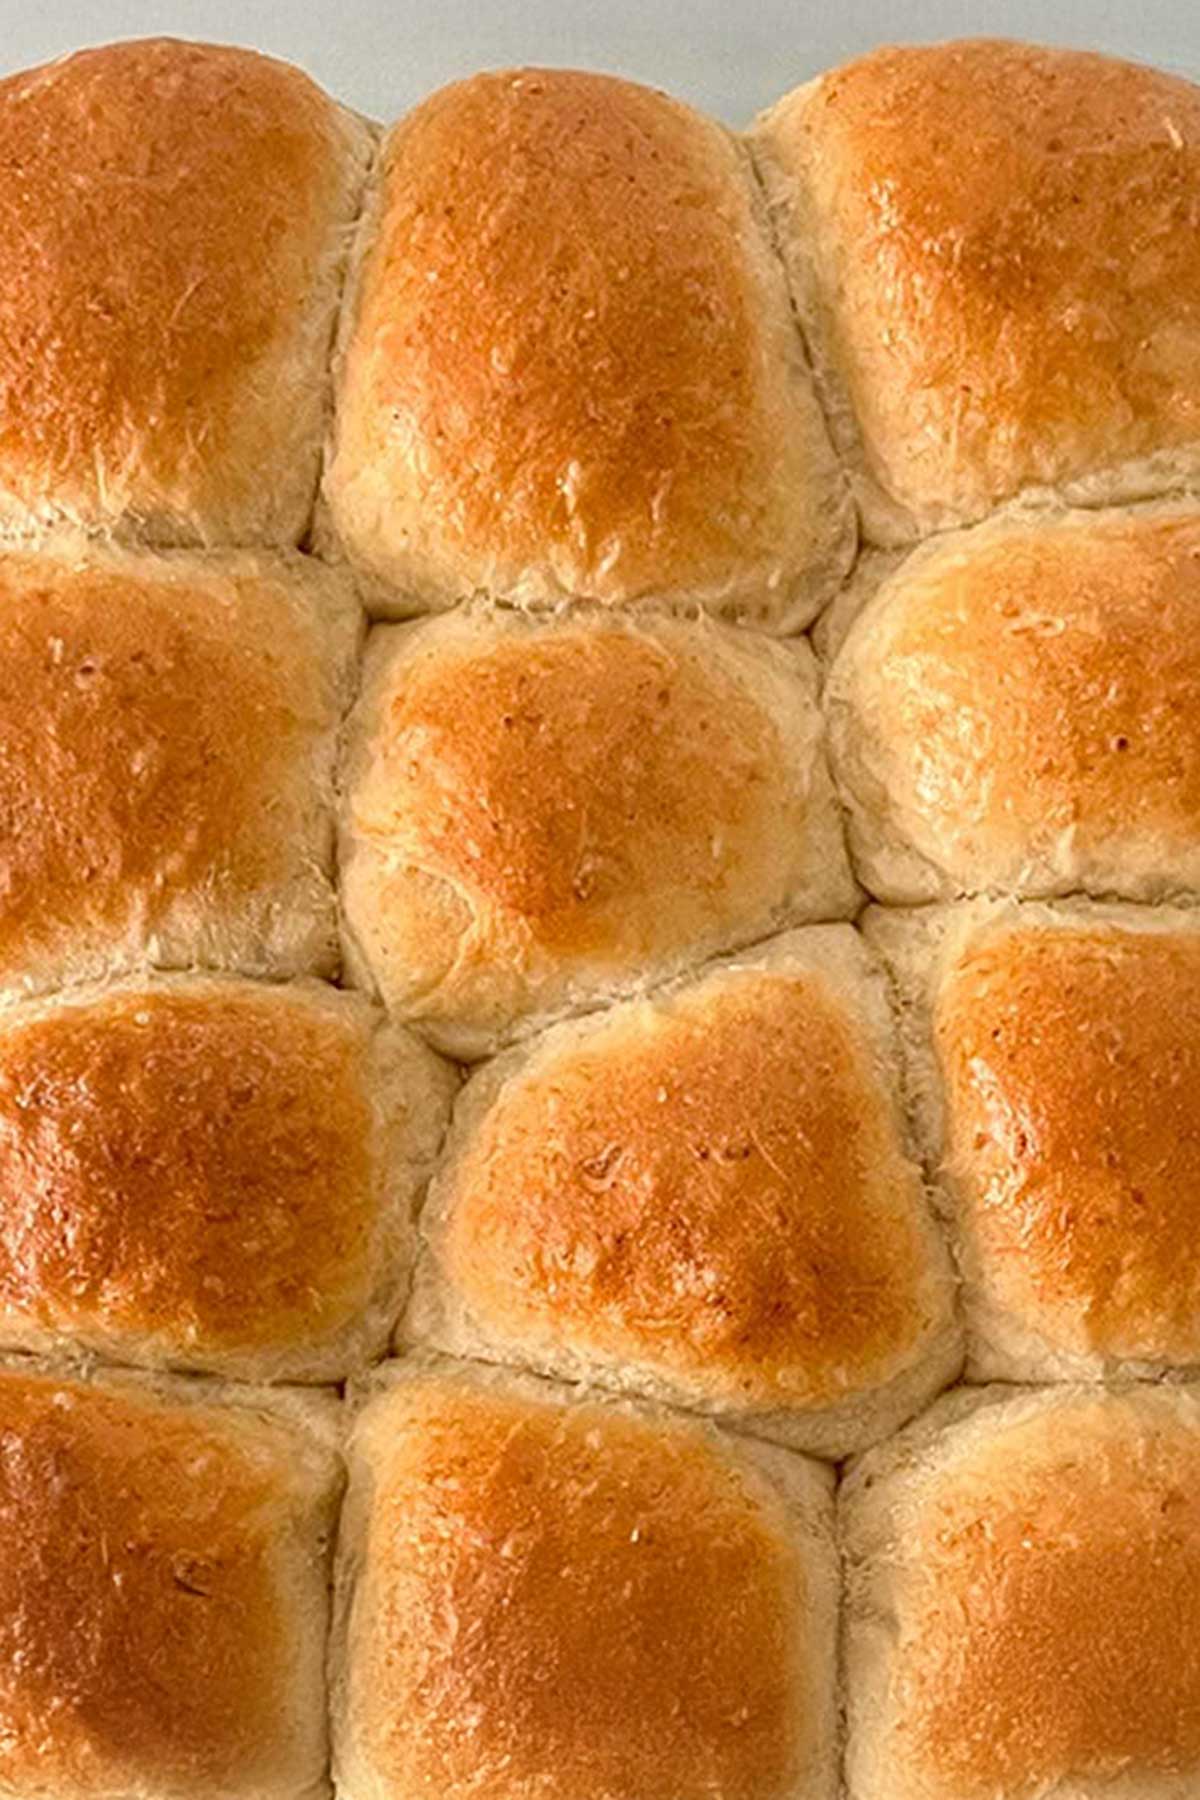
Over 20 years ago, I fell in love with these oatmeal dinner rolls while living in Germany. An American friend served them at her table, and I was convinced they were a secret European treasure—until she laughed and admitted they were homemade. Since then, these soft, hearty rolls have become a family tradition, gracing our Thanksgiving and Christmas tables and earning me the title of “Official Bread Baker” among friends. With their slightly sweet flavor and pillowy texture, they’re a guaranteed crowd-pleaser. Let’s bake them together!
Why You’ll Love These Oatmeal Dinner Rolls
These rolls are the perfect marriage of wholesome and indulgent. The quick oats add a subtle chew and nutty depth, while the brown sugar and butter keep them soft and irresistible. They’re versatile enough for holiday feasts, weeknight dinners, or even as slider buns. Plus, they freeze like a dream—hello, make-ahead magic! Whether you’re a bread-baking newbie or a seasoned pro, this recipe is approachable, forgiving, and oh-so-rewarding.
Ingredients
For the Oatmeal Mixture:
- 2 cups (480g) water
- 1 cup (80g) quick-cooking oats
- 3 tablespoons (42g) unsalted butter
- ⅓ cup (67g) packed light brown sugar
- 1 teaspoon salt
For the Dough:
- ⅓ cup (80g) cold water (or substitute with a few ice cubes to cool the mixture faster)
- 3 teaspoons active dry yeast (or rapid-rise yeast)
- 4 to 4 ½ cups (500g–562g) unbleached all-purpose flour (plus more as needed)
- Optional: 2 tablespoons (28g) melted unsalted butter, for brushing after baking
Note: Weigh your ingredients with a kitchen scale for the best results—precision is key in bread baking! If using active dry yeast, aim for a mixture temperature of 90–110°F (32–43°C). For rapid-rise yeast, target 120–130°F (49–54°C).
Instructions
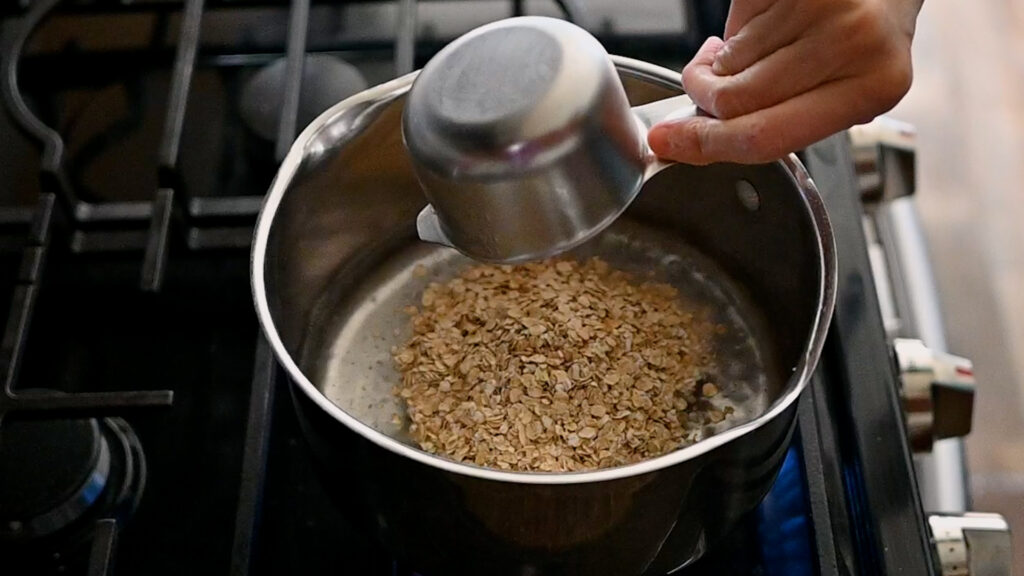
- Cook the Oatmeal Mixture: In a medium saucepan, bring 2 cups (480g) water to a boil over medium-high heat.
- Stir in 1 cup (80g) quick-cooking oats and cook for 1 minute, stirring occasionally.
- Remove from heat and add 3 tablespoons (42g) butter, ⅓ cup (67g) packed brown sugar, and 1 teaspoon salt. Stir until the butter melts and everything is combined.
- Cool & Add Yeast: Stir in ⅓ cup (80g) cold water to cool the mixture. (TIP: Toss in a few ice cubes if you’re impatient—it works like a charm!)
- Let it sit until it reaches the right temperature for your yeast: 90–110°F (32–43°C) for active dry, or 120–130°F (49–54°C) for rapid-rise. Use an instant-read thermometer for accuracy.
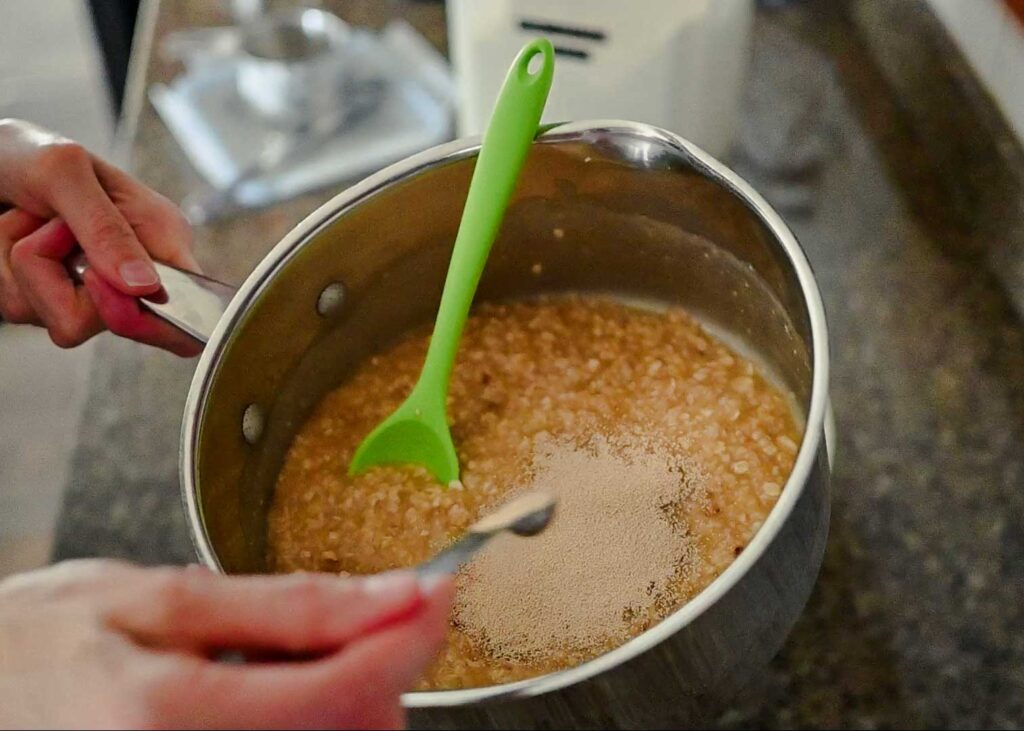
- Sprinkle 3 teaspoons yeast over the mixture and stir gently. Let it rest for 5–10 minutes until foamy—a sign your yeast is alive and ready to work!
- Mix & Knead the Dough: In a large mixing bowl or the bowl of a stand mixer, add 3 ½ cups (438g) flour. Pour in the oatmeal-yeast mixture and stir with a spatula until a shaggy dough forms.
- Knead Dough:
- By Stand Mixer: Attach the dough hook and knead on low speed for 6–8 minutes, adding flour 1 tablespoon at a time (up to 4 ½ cups total, or 562g) until the dough is soft, slightly tacky, and pulls away from the sides.
- By Hand: Turn the dough onto a lightly floured surface and knead for 8–10 minutes, adding flour gradually. Be patient—it’ll feel sticky at first but will smooth out as the flour absorbs. Aim for a soft, elastic ball.
- First Rise: Shape the dough into a ball by tucking the edges under. Lightly grease a large bowl with oil, place the dough in smooth-side down, then flip it so it’s coated. Cover with a clean towel or plastic wrap and let rise in a warm spot (75–85°F/24–29°C) for 45 minutes to 1 hour, until doubled. Test readiness by pressing a finger into the dough—if the indent stays, it’s good to go!
- Shape the Rolls: Gently punch down the dough and transfer to a lightly floured surface. Weigh the dough and divide by 15 for equal portions (about 70–75g each).
- Shape each piece into a smooth ball: Either tuck the edges under or lightly oil your hands and roll each portion on the counter in a circular motion for a tight, smooth top.
- Second Rise: Arrange the rolls in a greased 9×13-inch (23×33cm) baking dish, spacing them evenly. Cover and let rise for 45 minutes to 1 hour, until puffy and nearly touching.
- Bake: Preheat your oven to 350°F (177°C) during the second rise.
- Bake for 20–25 minutes, until the tops are golden brown and the internal temperature reaches 190°F (88°C).
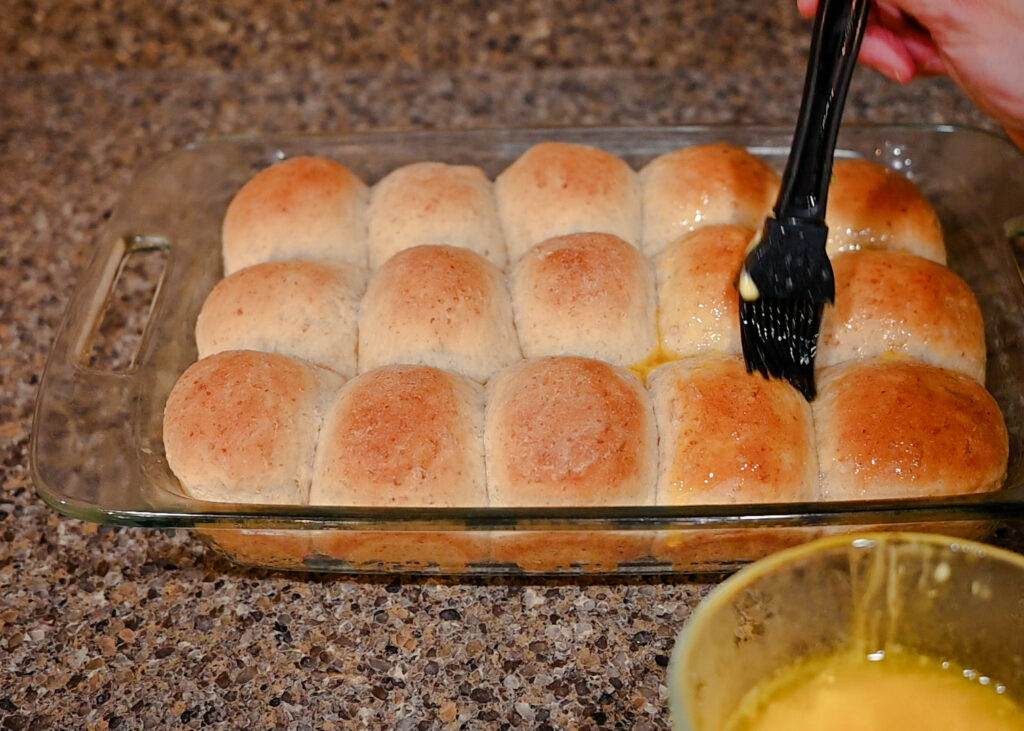
- Remove from the oven and brush with 2 tablespoons (28g) melted butter for that glossy, buttery finish. Cool slightly before serving—though good luck resisting them warm!
Tips for Making These Oatmeal Dinner Rolls
- Quick Oats Are Key: Stick with quick-cooking oats for a smoother dough. Old-fashioned oats work in a pinch, but add an extra ¼ cup (60g) water or pulse them in a blender or food processor a few times to help break them down..
- Flour Gradually: Start with 4 cups (500g) flour and add more only as needed. The dough should be soft and slightly tacky—over-flouring makes dense rolls.
- Perfect Proofing: If your kitchen’s chilly, preheat your oven to 200°F (93°C), turn it off, and let the dough rise inside with the door cracked.
- Don’t Overbake: Pull them out when just golden—overbaking dries them out. Use an instant-read thermometer to check doneness.
What About Whole Wheat Flour for Oatmeal Dinner Rolls?
Yes, absolutely! You can substitute up to half of the unbleached all-purpose flour with whole wheat flour—think 2 cups (250g) whole wheat flour and 2 to 2 ½ cups (250g–312g) all-purpose flour. This keeps the rolls hearty yet still soft and fluffy. Going beyond half might make them denser than intended, but if you’re a whole wheat fan, you could experiment with a higher ratio and adjust as needed.
Watch the Step-by-Step Video
Want to see how these oatmeal dinner rolls come together in real-time? Watch my video tutorial where I walk you through each step of the process, from preparing the oatmeal mixture to shaping and baking the rolls.
Don’t forget to like the video and subscribe to my channel for more baking inspiration. I’d love to hear your thoughts—leave a comment on the video or here on the blog if you give the recipe a try!
The Tools I Use to Make Oatmeal Dinner Rolls
- Thermometer to measure temperature of oatmeal mixture perfectly for yeast.
- Dough Scraper to scrap contents of dough in mixing bowl.
- Bench Scraper to divide up dough.
- Kitchen Scale for perfectly measured oatmeal rolls.
- Mason Cash 18Q Bowl is the perfect size for mixing and is SO BEAUTIFUL!
- Oil Sprayer to spray on hands if dough is a little wet.
- Glass 9 X 13-inch pan (with lid) is the perfect size pan for these rolls.
- Silicone Brush for brushing butter on rolls after baking.
Why These Rolls Stay in My Rotation
I’ve baked these oatmeal dinner rolls over 100 times—potlucks, holidays, bread classes, you name it. They’re my go-to because they’re simple yet impressive, with a texture and flavor that never gets old. For a twist, I also love whipping up my garlic rosemary dinner rolls—made with 100% white flour—for a fragrant, savory option that’s just as crowd-pleasing. If you’re new to bread, start here—you’ll feel like a pro in no time. Snap a pic of your rolls and tag me—I’d love to see them on your table!
Oatmeal Dinner Rolls Recipe
Description
Ingredients
- 2 c. water, 480g
- 1 c. quick-cooking oats, 80g
- 3 tbsp. butter, 42g
- ⅓ c. brown sugar, packed, 67g
- 1 tsp. salt
- ⅓ c. additional water, (or substitute with ice cubes to cool mixture faster)
- 3 tsp. active dry yeast or rapid rise yeast
- 4 to 4 ½ c. unbleached all-purpose flour, 500g – 562g, plus more if needed
- butter, optional for brushing rolls after baking
Instructions
Cook the Oatmeal Mixture
- In a medium saucepan, bring 2 cups (480g) water to a boil over medium-high heat.
- Stir in 1 cup (80g) quick-cooking oats and cook for 1 minute, stirring occasionally.
- Remove from heat and add 3 tablespoons (42g) butter, ⅓ cup (67g) packed brown sugar, and 1 teaspoon salt. Stir until the butter melts and everything is combined. (Adding salt here won’t kill the yeast—it just slows the rise slightly, boosting flavor!)
Cool & Add Yeast
- Stir in ⅓ cup (80g) cold water to cool the mixture. (Pro tip: Toss in a few ice cubes if you’re impatient—it works like a charm!) Let it sit until it reaches the right temperature for your yeast: 90–110°F (32–43°C) for active dry, or 120–130°F (49–54°C) for rapid-rise. Use an instant-read thermometer for accuracy.
- Sprinkle 3 teaspoons yeast over the mixture and stir gently. Let it rest for 5–10 minutes until foamy—a sign your yeast is alive and ready to work!
Mix & Knead the Dough
- In a large mixing bowl or the bowl of a stand mixer, add 3 ½ cups (438g) flour. Pour in the oatmeal-yeast mixture and stir with a spatula until a shaggy dough forms.
- By Stand Mixer: Attach the dough hook and knead on low speed for 6–8 minutes, adding flour 1 tablespoon at a time (up to 4 ½ cups total, or 562g) until the dough is soft, slightly tacky, and pulls away from the sides.
- By Hand: Turn the dough onto a lightly floured surface and knead for 8–10 minutes, adding flour gradually. Be patient—it’ll feel sticky at first but will smooth out as the flour absorbs. Aim for a soft, elastic ball.
First Rise
- Shape the dough into a ball by tucking the edges under. Lightly grease a large bowl with oil, place the dough in smooth-side down, then flip it so it’s coated. Cover with a clean towel or plastic wrap and let rise in a warm spot (75–85°F/24–29°C) for 45 minutes to 1 hour, until doubled. Test readiness by pressing a finger into the dough—if the indent stays, it’s good to go!
Shape the Rolls
- Gently punch down the dough and transfer to a lightly floured surface. Weigh the dough and divide by 15 for equal portions (about 70–75g each).
- Shape each piece into a smooth ball: Either tuck the edges under or lightly oil your hands and roll each portion on the counter in a circular motion for a tight, smooth top.
Second Rise
- Arrange the rolls in a greased 9×13-inch (23×33cm) baking dish, spacing them evenly. Cover and let rise for 45 minutes to 1 hour, until puffy and nearly touching.
Bake
- Preheat your oven to 350°F (177°C) during the second rise.
- Bake for 20–25 minutes, until the tops are golden brown and the internal temperature reaches 190°F (88°C).
- Remove from the oven and brush with 2 tablespoons (28g) melted butter for that glossy, buttery finish. Cool slightly before serving—though good luck resisting them warm!
Video
Nutrition
As an Amazon Associate, I earn from qualifying purchases at no extra cost to you. Thank you for your support!
Sounds so yummy!!! Do you use whole wheat, half and half, or white flour? 🙂 Can’t wait to try them!
I have made them with 1/2 unbleached white and 1/2 whole wheat. They were very good, but my family can detect whole grains like the plague. So if you’re family is use to whole wheat I imagine they’d love them. I usually make them with unbleached white. Bad me!!!
Do you use old-fashioned or quick oats?
Quick oats work best. I have used old fashioned in a pinch but noticed I needed to add about 1/4 cup more of water.