
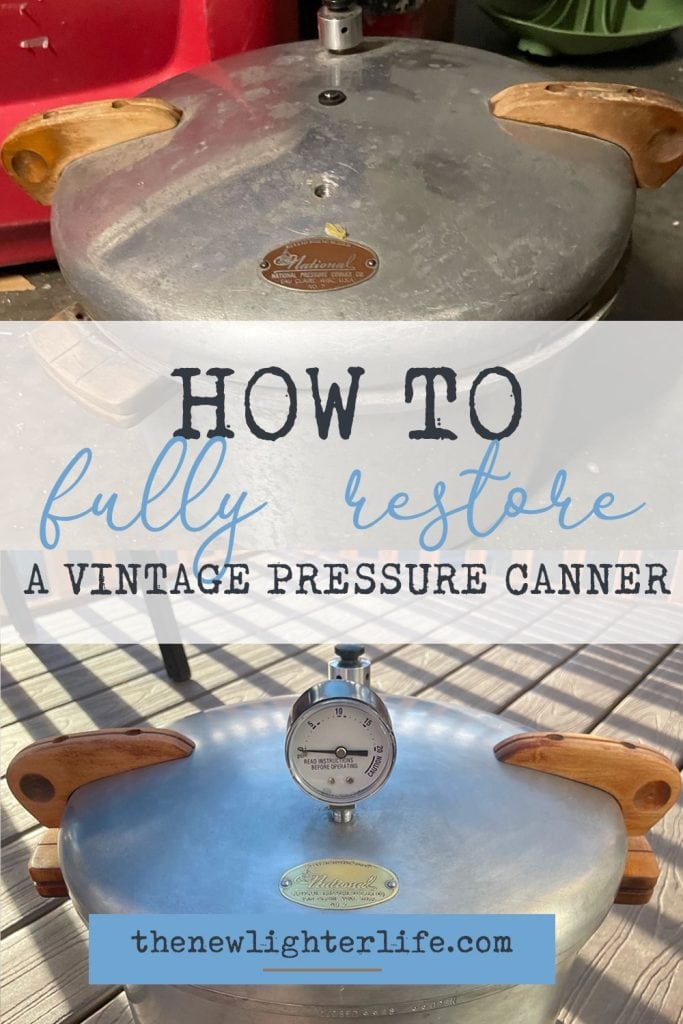
Oh, I’m super excited about today’s post, where I’ll show you how to fully restore a vintage pressure canner.
If you do any kind of canning of low-acid foods such as potatoes, green beans, squash or pumpkin, corn, broth, meat, soups, etc. you need a pressure canner. You may find a pressure canner second-hand. Before you use it, it’s important to make sure it is safe to use. You may simply replace the vital components. Or you may want to go all the way and fully restore your vintage pressure canner. Today I’m sharing information on all of it so you can pick your poison.
In my video about canning green beans, you may have caught that I was going to restore my grandma’s vintage pressure canner. At the time of filming the green bean canning, I had already replaced the key elements of the canner, (which I will get into in a moment).
This puppy got a face-lift and is so beautiful now! With a little elbow grease, some supplies, and a bit of time, you can also spruce up a family heirloom!
I recorded the refinishing process and you can watch that below. Let me tell you, it was SO satisfying to see years of build-up and residue scrubbed away!
Let’s go into what you need to redo your canner:
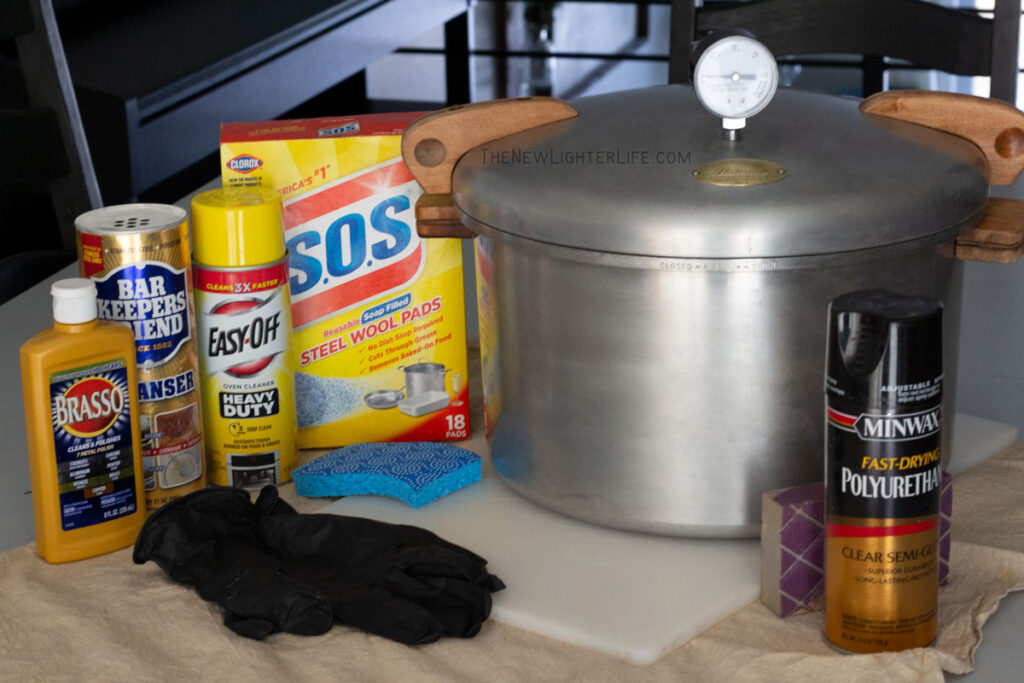
Supplies to Fully Restore a Vintage Pressure Canner
- New Pressure Gauge – not shown (replaced previously)
- Sealing Ring & Over Pressure Plug/Air Vent – not shown (replaced previously)
- Rubber Gloves
- Scrubber
- SOS Scouring Pads
- Easy-Off Oven Cleaner (if this is too harsh for you, you can use Bar Keeper’s Friend and more elbow grease)
- Bar Keepers Friend Scouring Powder
- Brasso Metal Polish
- Sandpaper, 60 to 80 grit
- Polyurethane Spray
- Elbow Grease
Key Components to Fully Restore Vintage Pressure Canner
In the past, I’ve referred you all to PickYourOwn.org for downloading your vintage canner owner’s manual. Well, this site also has a parts listing so I HIGHLY recommend you check that site out to figure out what your old canner’s replacement part numbers are. Regardless, you will need to get a pressure gauge, sealing ring, and an overpressure plug (if applicable).
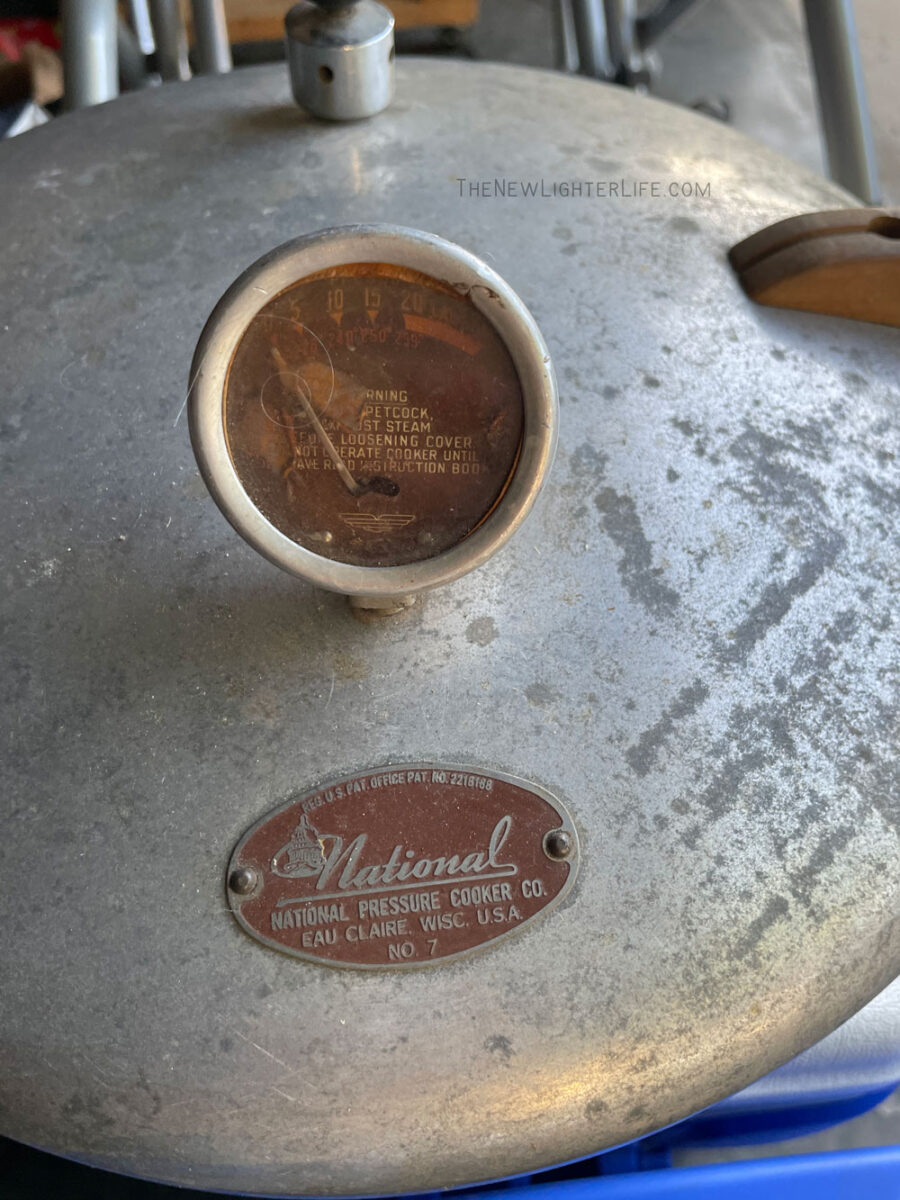
This is what I used for my National No. 7 Canner, pressure gauge, sealing ring, and overpressure plug/vent. Check to make sure you get the right parts for your specific canner.
Pressure Gauge
To check to see if your pressure gauge needs to be replaced you should have it tested. I suggest you contact your County Extension office to ask them if they can test it for you. In our area, the extension office no longer tests the lids but they did suggest I bring my canner lid to the local hardware store, (Ace Hardware) for testing. My pressure gauge was obviously bad…
So I removed the old gauge (simply unscrewed it by hand), screwed on the new gauge, and brought my lid to the hardware store. I received 2 big thumbs up that my new gauge registered perfectly.
Interestingly, I also had them test the Presto canner that I bought at a garage sale about 15 years ago. After I bought it, I replaced the components and have used the Presto canner over the years. When they tested the Presto canner, it was off by 2 lbs in the gauge so I’ll need to replace that gauge before I use it again.
Sealing Ring

You need to replace that black ring on the inside of your canner.
This was VERY simple, just take needlenose pliers and pull the old ring out. The box came with instructions for reinstalling the ring but it is very straightforward. Just remember to NOT grease the ring at all.
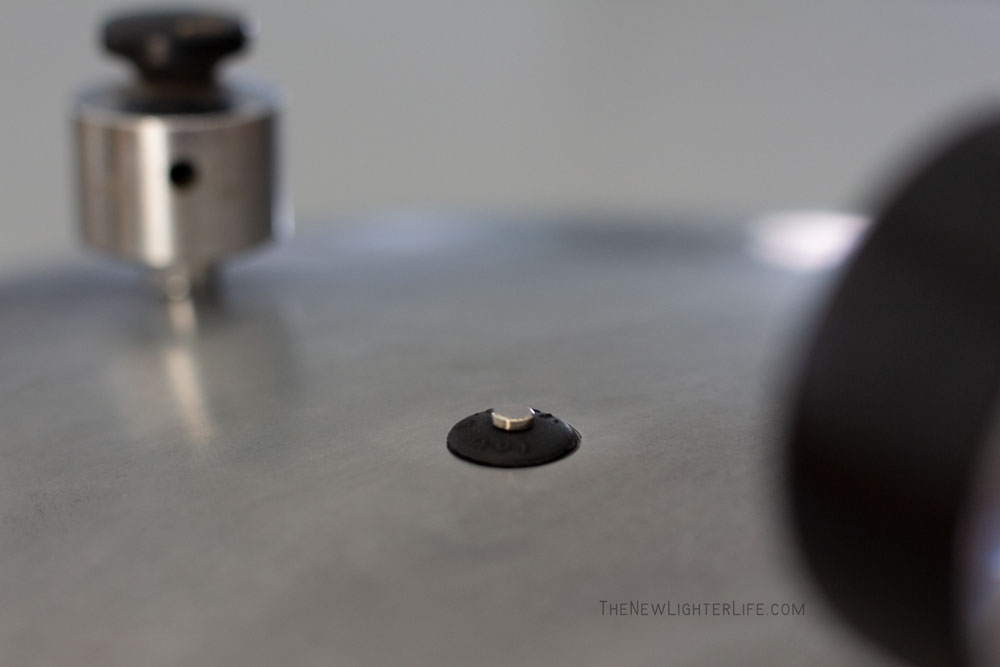
Overpressure Plug/Air Vent
This little plug was also very easy to replace but you will have to keep a few key things in mind.
As you can see below, the plug/vent is part way out of the canner lid. This is to illustrate the way this plug needs to be inserted into the lid.

So FUNNY story, I installed this plug into my canner upside down. It should have been logical to put it in the way shown below but it wasn’t for some reason. I attempted to can green beans with the plug inserted upside down and the vent blew, spraying beans all over. So just make sure your plug/vent is inserted correctly.
Trust me.
Now let’s get into how to pretty your canner up…
Tips & Hints for Refinishing
Before I go into the process of refinishing your canner, let’s talk…
- Ideally, you would refinish your canner when you have the key components (pressure gauge, sealing ring, and plug/vent) removed from your canner. I did not in the video below, but it would have been easier.
- Remove your wood handles and grips before you refinish the metal exterior of your canner.
- Wear rubber gloves, this is a harsh process so protect your hands.
- Easy-Off has a horrible smell! If you cannot do this outside or the fumes bother you, I suggest you either scrub your canner outside OR use the Bar Keeper’s Friend.
- Bar Keeper’s Friend will do the job but it takes so much longer in comparison to the Easy-Off.
Let’s get to it!
Refinishing Wood Components
Before you start, remove the handles and cover grips, (they should screw off easily).
- Wash with soapy water.
- If a finish or residue remains, sand with coarse sandpaper and wipe with a damp cloth to remove any dust.
- Spray with Polyurethane sealer and let them dry completely.
- Proceed with refinishing the metal exterior of your canner before you reinstall your handles and grips.
Refinishing Metal Exterior
NOTE: Wear rubber gloves for this! And DO NOT scrub the inside of your canner or lid. You want to avoid the sealing ring or any interior components.
- Spray a portion of the canner with Easy-Off, do NOT let it sit for more than 1 minute. Avoid any paint that you want to remain on your canner stamp (mine is no longer brown like the original).
- Scrub sprayed the area with an SOS pad.
- Rinse with warm water and a sponge, and repeat on the area as necessary.
- Repeat steps 1-3 until the entire outside of the canner is scrubbed clean.
- Once completely clean (except the inside of the canner and lid) wash with soapy water and dry.
- Onto a paper towel, squeeze a decent portion of Brasso, and apply to a portion of the canner buffing the polish into the canner.
- Repeat buffing until the entire canner (except the inside of the canner and lid) is polished.
- Once complete, wipe down with a paper towel to remove any residue.
If any of you decided to fully restore your vintage pressure canner, I’d love to hear from you about how it went. If you have another process/product that you used and loved, please share it with me!
Blessings!


I was super excited to find your post, I have my grandmother’s old canner and would love to refresh it and use it.
Yes, I love that I have my grandma’s old canner! I used hers all last fall (after I replaced the gauge, overpressure plug, and seal). But I like that it looks pretty now with refinishing it. Hope you enjoy canning with your grandma’s canner as well!
Hello, I just inherited the same exact pressure canner. It was given to my mom, who passed it to me. Do you have any tips on how to remove the old gauge and vent pipe? The one I have they seem to be stuck like glue. I appreciate any advice on this. Thanks!
Oh neat!! If your gauge does not screw off with a decent amount of pressure, you may want to try some WD-40, blaster, or another kind of penetrating lubricant spray. I did not remove the vent pipe on my canner so I cannot speak to that. Are you replacing the vent pipe as well?
Such beautiful job you did!
What size did you get for the new sealing ring? And where?
I have this exact one but need a new ring. Thank you!!
Thank you Christine – I was able to find the replacement ring on Amazon, https://amzn.to/3SdJb6q
I found this canner at a consignment store this spring and it needs a spruce up too, so this is great info! I’m curious where you found a replacement gasket? and what size/#/detals? I purchased a 09907/1075 which multiple sites say is the proper one, but it is very loose, seemingly too large. Any thoughts?
Hmmm…I just checked my replacement parts order and that ring is the correct one for the canner. You may consider taking your canner into your local hardware store with the ring (or contact your county extension office). They may be able to assist/advise you. With pressure canners, I think it’s best to error on the side of safety.
My presto pressure caner & cooker is at least 50 years old . My first one I retrieved from my fire house it burned to the ground. I had a large garden coming in and asked the Presto co if it could be fixed. They said they could but they wouldn’t grantee it to be safe, So I ask if I could buy one from them instead of a second shop closer to home and they allowed me to do so, of course I had to pay for it before they would ship to a private person. My beans was ready to can and pickle. I started picking early in the morning taking my son with me he was barley 18 months old he sleep in the car while I picked beans at first I brought them to my new home and spread them on newspaper to keep them from sweating. I had beans almost half way across that floor and the baby and his dog decided they were toys. I had to do something with my beans So I used the bottom of the caner for a hot water caner and started caning the old way. Finally I had gotten them all caned or pickled I was staying up nights to make sure my water bath had plenty of water. I caned 100 quarts and pickled 25Quarts hubby didn’t like pickle beans but he loved pickled corn. the last night I was up caning those beans my new caner came in the next day.that was back in 1973 I still have the caner and I have replaced the steam pipe the one little button in the middle of the lid the Gage twice and still using that caner. I have this problem with it sometimes the lid sticks and I mean it sticks I had to replace a handle because my hubby took a hammer to the handle trying to get the lid loose. and now it is stuck again with water melon rind preserve still in it. it’s been stuck this time for 24 hours. I have tried everything I did the last time but it hasn’t worked, I even took a very thin knife and dipped it veggie oil and slide it under the lid but so far that hasn’t worked eigher this caner has been a big part of my life and he wants to destroy it.
We finally got the lid off and Hubby said he was going to through it out because I needed one now that didn’t take 2 days to get the lid off, How we finally did it was with a 1pound weight he wanted a hammer I got the weight instead of the hammer I pounded the top as he tried to turn the lid and it finally came loose. So mow my 50 year-old Presto caner is getting a complete over-hall. I had placed the pressure Gage last year Because I couldn’t determent what the correct pressure was it showed pressure all the way past the danger line. I had replaced it the year before don’t know what happened but until my Gage came in I used the old one until it came in. The Gage didn’t have any glass in it but at least it worked. Now I’m doing it your way cleaning and sanding and I will probably just go ahead and buy all new Gage’s rings and all to get it started again after a through cleaning. Thank You So much you have saved us so much money and heartache