This recipe for quinoa peasant bread goes way back to 2012. At the time, quinoa was a fairly novel superfood that we were all trying to incorporate into our diets. I’ve got an updated recipe for my absolute favorite method of making bread, no-knead.
The Benefits of Quinoa
- This little seed is packed with nutrients. Some of the most notable are protein, fiber, folate, magnesium, zinc, and iron but the list goes on and on!
- Since it is gluten-free many people enjoy quinoa in place of rice.
- Quinoa is delicious in a lettuce salad too.
- It also has anti-inflammatory components and antioxidants. You can read more in detail on the many many benefits of quinoa in this article from Healthline.
Thankfully, we have truly come to enjoy these little seeds, which brings me back to this bread.
What is Peasant Bread?
I came across peasant bread a few years ago. It is basically a no-knead bread baked at a higher temperature and in a simple shape.
This recipe from King Arthur Flour is my family’s absolute favorite peasant bread.
Often (but not always) peasant bread is baked in a dutch oven or a casserole dish. However, you do not bake your peasant bread with a lid on it.
Some loaves of peasant bread are free-formed and simply baked on a baking sheet lined with parchment paper or on stoneware.
The last big difference between regular no-knead and peasant is that peasant bread has a very soft (not crusty) exterior.
My Quinoa Peasant Bread
The recipe I shared here back in 2012 was a kneaded bread recipe.
Since that original posting, I have been successfully converting many of my family bread recipes to no-knead, such as my grandma’s cinnamon raisin bread.
So I thought…why not my quinoa bread?!
Maybe I’ve gotten lazy with the no-knead but I really don’t want to fuss too much with my bread-making these days.
What I love about this recipe is that it is perfect if you have leftover cooked quinoa. You’ll need roughly 1 1/2 cups of cooked quinoa. No cooked quinoa on hand, I’ve got you covered with the proportions and time for cooking.
I’ve been experimenting with baking this quinoa bread in a loaf pan or freeform. Both are delicious!
This recipe makes two loaves so you can try one of each and see what your family thinks!
Dipped in my Knoephla or Chicken Wild Rice Soup…it’s so so delicious. We also enjoy it toasted or with just a little bit of butter.
Before I get to the actual recipe, I wanted to share some pictures so you know what to expect…
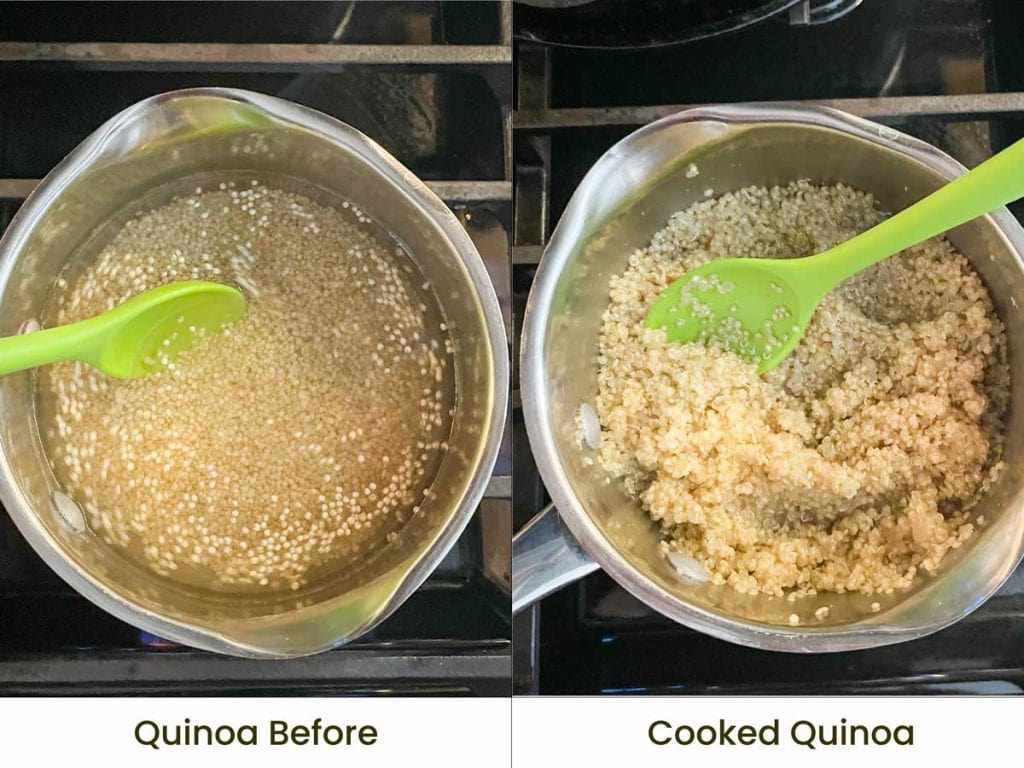
Quinoa Cooking
As I mentioned before, your 1/2 cup of quinoa will expand to 1 1/2 cups cooked. Here is a before and after of the quinoa cooking.
Dough Details
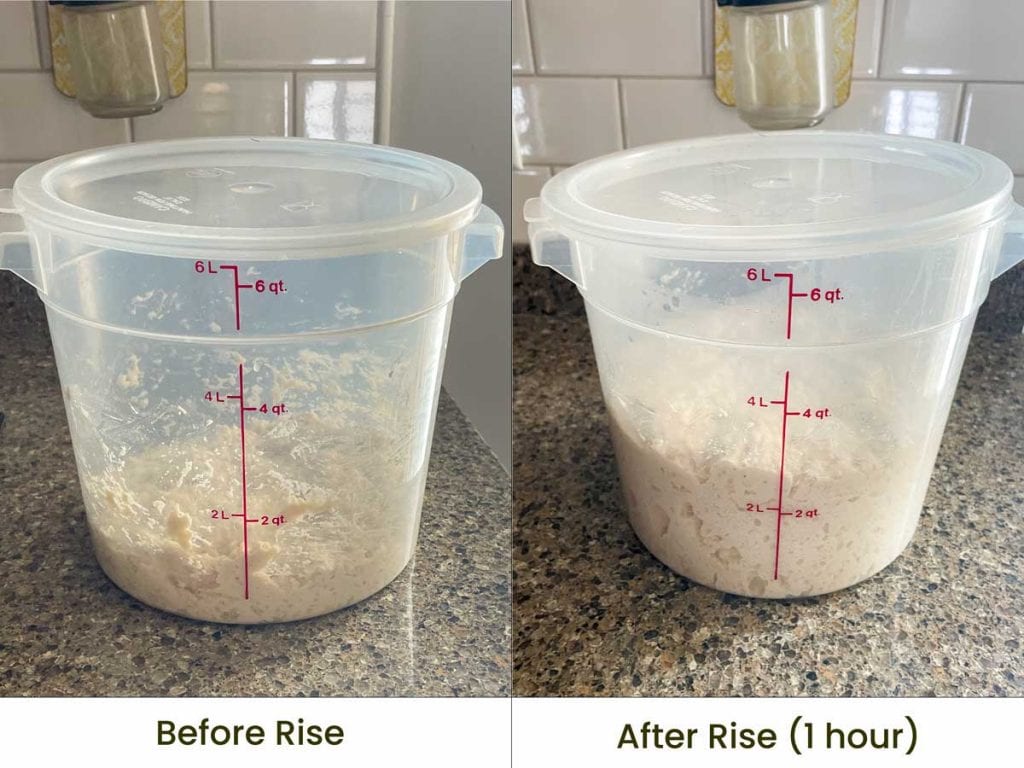
The dough is very wet as is the case with other no-knead bread. This dough has expansion power too as you can see below:
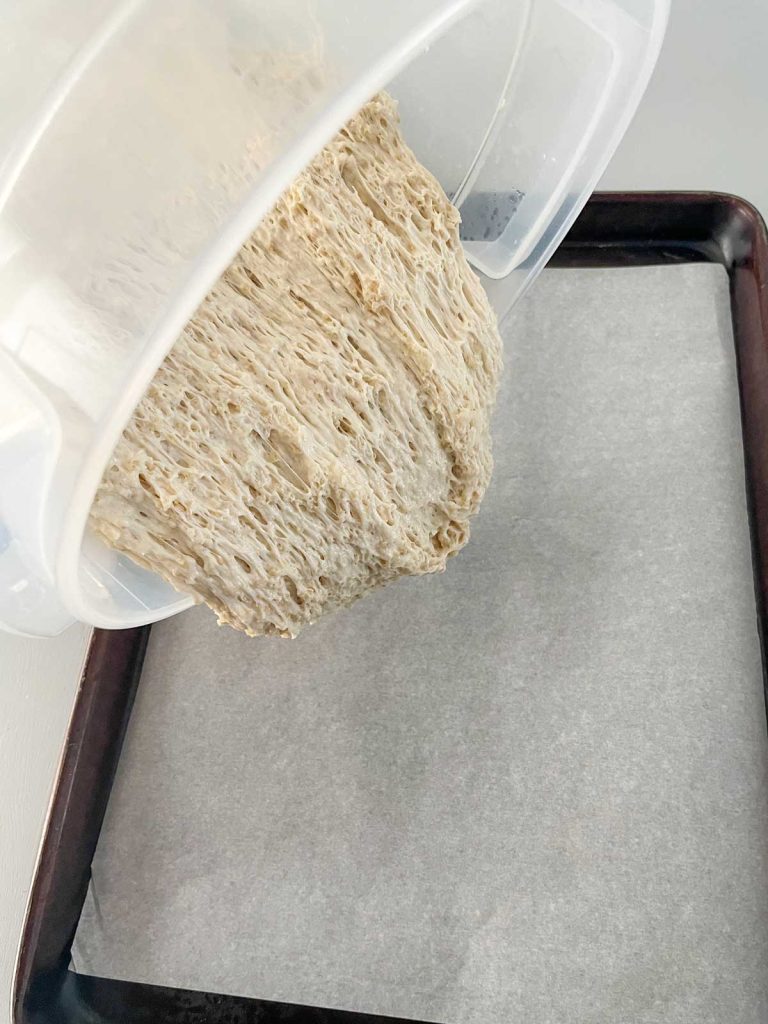
Here is a closer look at the consistency of the dough that is ready to shape. Look at those air bubbles!!
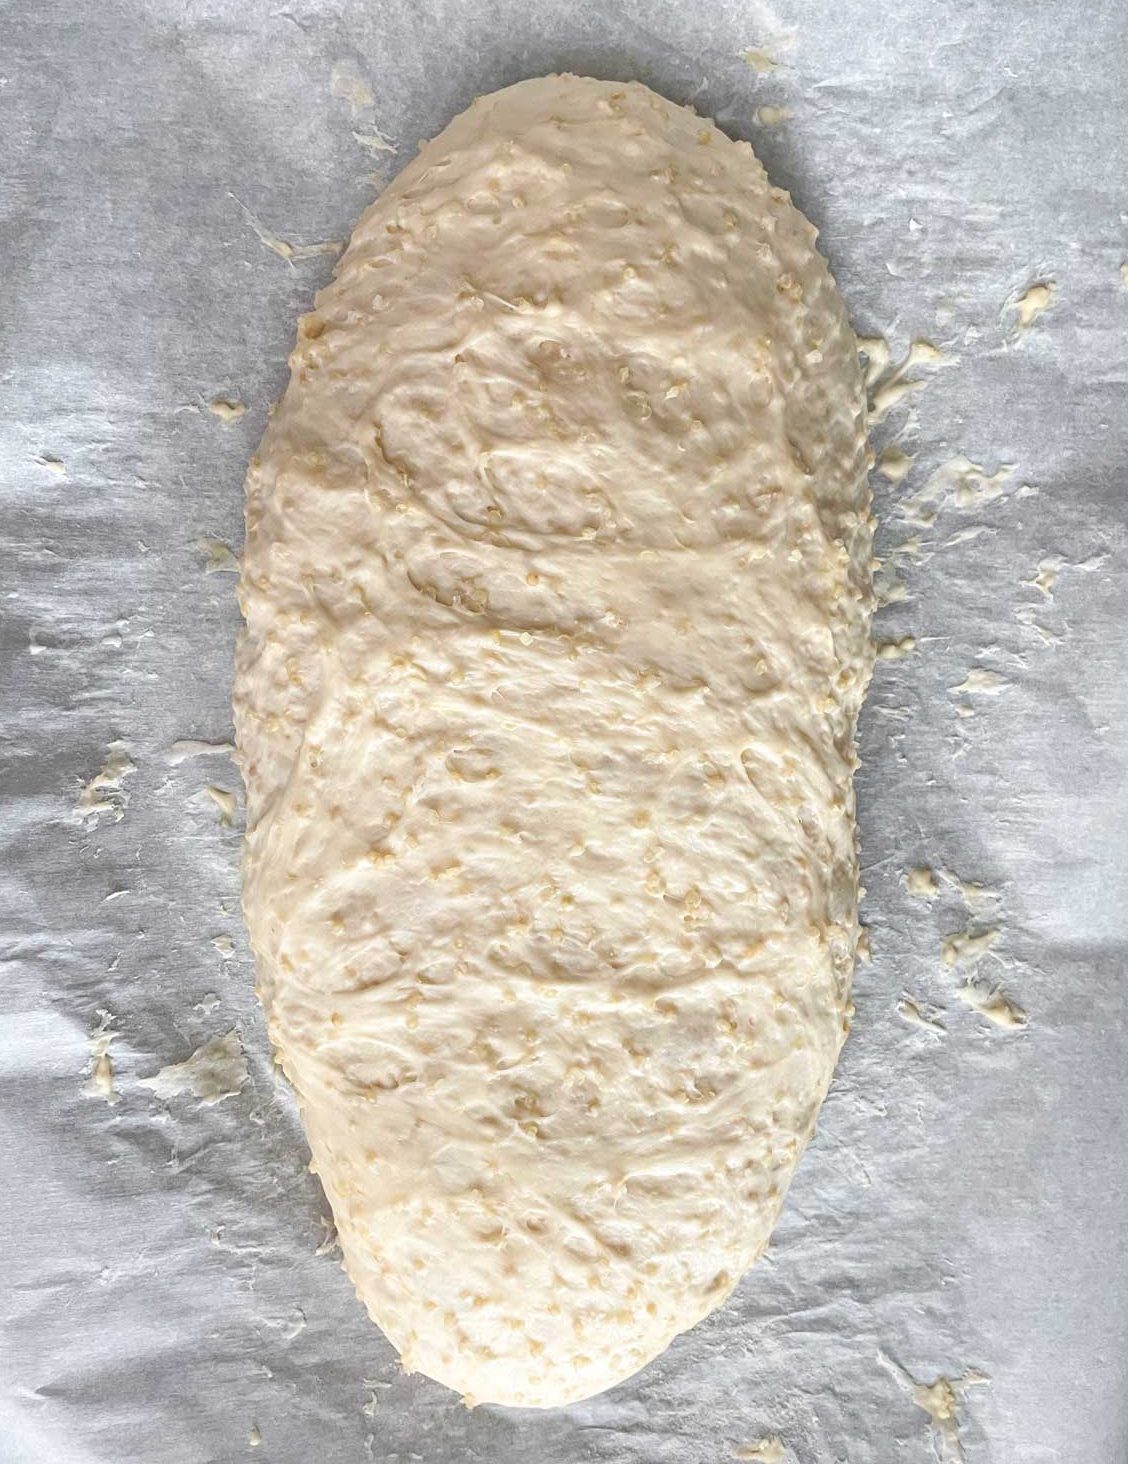
You have some options with this bread as far as shape.

We REALLY like this quinoa bread toasted so I make one of my two 1-pound loaves in a bread pan.
You may notice that the loaf pan is longer and more narrow. This is my absolute favorite loaf pan! I prefer this size over a normal 9 x 5-inch pan or even several mini loaf pans.
In my opinion, this long loaf pan results in bread that fits must better in a toaster. It will bake a standard 1 lb loaf of bread too.
To store this longer bread, I use these bread bags.
And here is my loaf pan loaf of quinoa peasant bread.
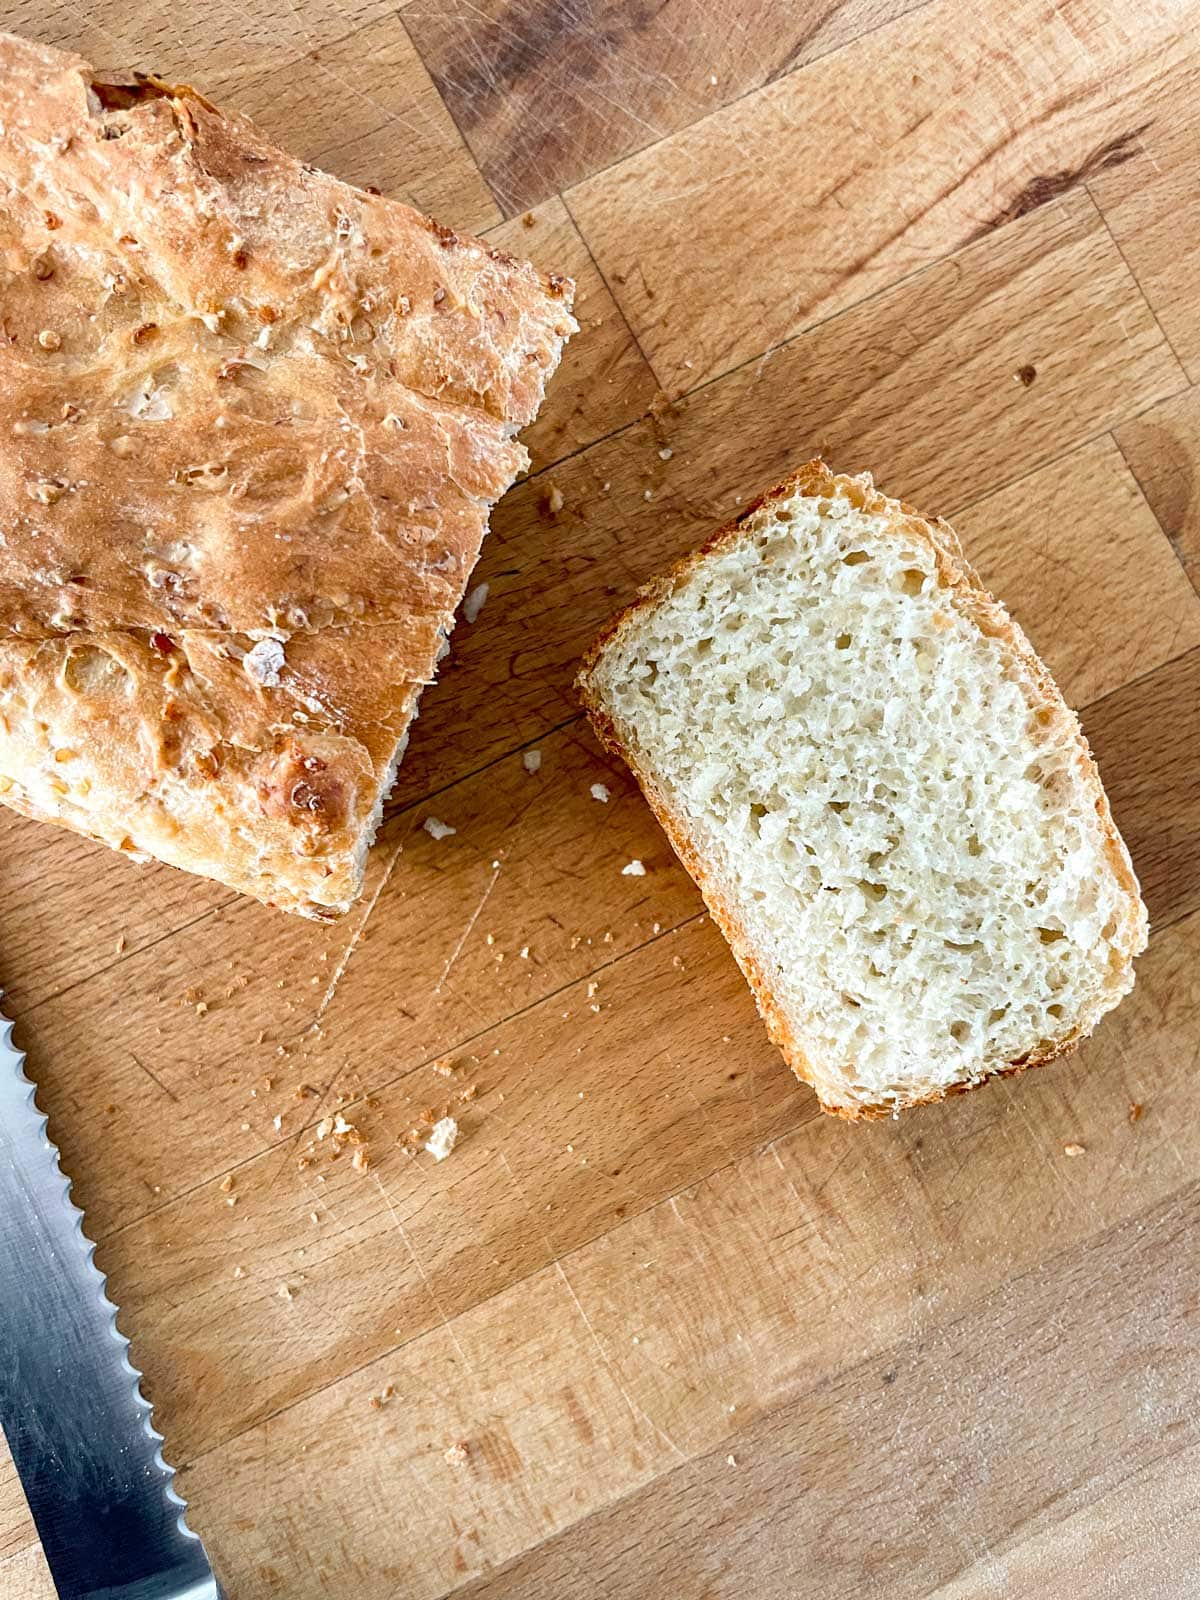
It is so soft and squishy! Truly our favorite!!
Whew! I know that was a lot so let’s get to the actual recipe already!
No-Knead Quinoa Peasant Bread
Description
Ingredients
- 2 ½ c. water, divided
- ½ c. quinoa, uncooked
- 2¼ tsp. active dry yeast
- 2 tbsp. granulated sugar
- 2 tbsp. avocado oil or butter
- 1½ tsp. salt
- 4 c. all-purpose flour, (482 grams)
Instructions
To Cook the Quinoa
- Add 1 cup of the water and the quinoa to a small saucepan.
- Cook at a low bowl for about 15 minutes, stirring occasionally. The quinoa will absorb the water and expand to about 1 ½ cups cooked.
- Turn off the burner and let the quinoa cool to no warmer than 115°F while you mix the dough as instructed below.
To Mix the Dough
- In a large bowl with a lid, add the yeast and 1 ½ cups of lukewarm water (between 105°F and 115°F.). Let set for about 5 minutes while you assemble the other ingredients.
- Once you've verified that the yeast has activated and it is foamy, add the remaining ingredients and stir.
- Add your cooled quinoa (that is no warmer than 115°F) to the bowl. Your dough will be sticky and very wet.
- Loosely cover your bowl and let your bread sit on the countertop for 1 to 2 hours, or until doubled.
- Pour your very wet dough out onto your lined baking sheet or divided it into 2 loaf pans.
- Try not to work your dough too much as it has some nice airy bubbles in it already.
- At this point, your dough will still be very wet. To shape, wet your hands slightly.
- Let your loaves rest uncovered for about 20 to 30 minutes and preheat the oven to 400°F.
- Bake in the preheated oven for 25 to 30 minutes. Your baking time will vary significantly based on the shape and thickness of your loaf.
- To check for doneness, your bread top should be golden brown, sound hollow when tapped, and measure 190°F when a probe thermometer is inserted into the thickest part.
Nutrition
By the way, I’m looking for a good sustainable option to store my longer loaves. So if you have any suggestions, I’d love to hear them!
As an Amazon Associate, I earn from qualifying purchases at no extra cost to you. Thank you for your support!

So Giada de Laurentiis on Food Network just made cupcakes with quinoa in them! Not nearly as healthy as your bread, but still, at least there’s some quinoa. 🙂 (I don’t usually watch Giada, but I taped this episode because she’s also doing mini chick. pot pies, and I’m a pot pie addict….)