

Spring is in the air!
We’ve been busy finishing up some outdoor projects to get the garden ready for planting. All winter long, I’ve been watching gardening videos and gathering my wishlist for improvements outside.
So far, our big projects have consisted of digging out and installing irrigation lines for the garden’s soaker hose irrigation system and installing a gate for our side yard. Once I get my trellises in, restain the deck, and pour our concrete pad for our grill, we are ready to work the garden.
With our major projects done outside, I’ve moved on to planting what I can before the rush to get everything in the beds.
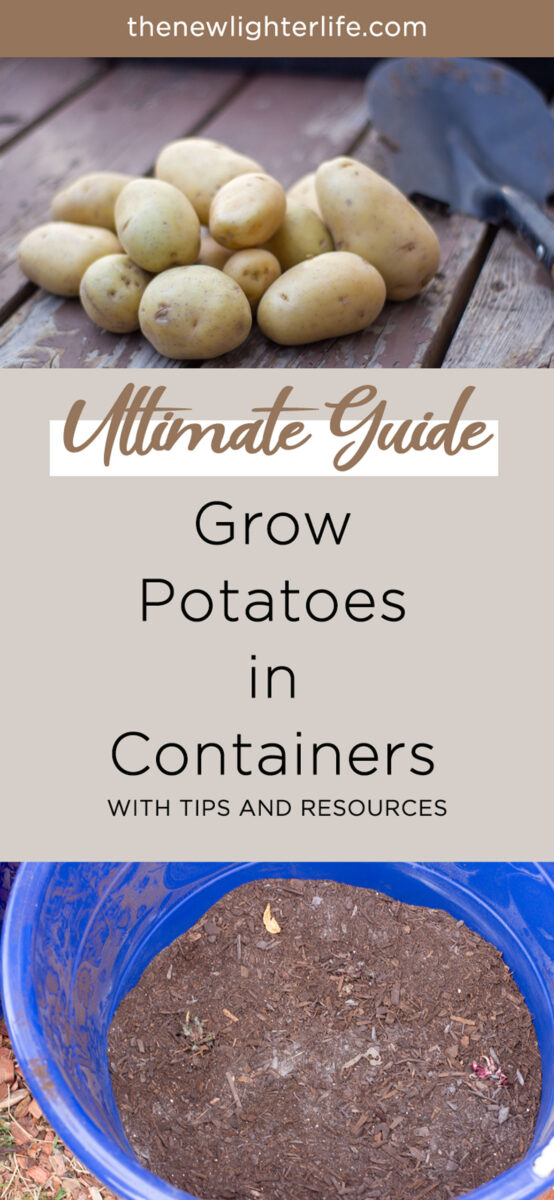
I’m in USDA Plant Hardiness Zone 5a, so it’s a bit early to plant the garden, but this is the perfect time to plant potatoes. This year I’m planting 100% of my potatoes in containers, so it seems like the perfect time to show you how to plant your potatoes in pots.
Before I get into the nitty-gritty of how to grow potatoes in pots, you may be wondering, “Why containers?”
There are quite a few benefits (with just a few cons) to potting your potatoes versus digging them into a garden trench or even raised beds.
Pros to Container Potatoes
- Better control of soil amendments. Potatoes are heavy feeders, and you can more easily amend a container with amendments, which I get into below.
- Plant earlier in spring. By planting your potatoes earlier, you’ll get an earlier harvest and extend your gardening season. The earlier, the better, as you’ll have a greater chance of avoiding the crop-destroying fungus, blight.
- Looser soil. Loose soil means easier weeding, and tubers do not have to fight soil compaction to grow. You can use a mix of compost and potting soil with your amendments to keep the soil loose. Looser soil means higher yields when it comes to potatoes.
- Easier harvest. Just like traditional growing potatoes, when you’re close to harvest, and you see your potato plants are starting to die, cut your plants down. You’ll let your tubers harden off in the soil for a week or two before you pull your harvest. With containers, no digging is needed; dump your container out and pick up your potatoes.
- Grow them anywhere. Container potatoes can be grown on a patio, and there is really no limit to where as long as your container is large enough to accommodate the type of potato.
Cons to Container Potatoes
- Watering. As you’ll see in the video below, Tony did not water his potatoes that he grew in containers. However, I have noticed a propensity to dry out if you go a spell without rain or sweltering heat. This year, I’ll be experimenting with more mulch/pine shavings in the hopes that the water is retained.
That’s it!
I can only think of one negative to growing potatoes in containers. Maybe you know more, and if so, please comment.
So onto how I’m growing potatoes this year, I decided to follow Tony from Simplify Gardening’s method. A super informative video on this method below.
Type of Seed Potatoes
Before you get planting, one thing to note is whether your potatoes are determinate or indeterminate.
Determinate
These potatoes are generally fast-growing and produce tubers just above the seed planted. For determinate, you can plant multiple layers of potatoes in the tubs so you maximize your growth.
Determinate varieties include Yukon Gold, Red Pontiac, Chieftain, Norland Red, Fingerling, Kennebec, and Superior.
Indeterminate
These potatoes are considered slow-growing and will produce tubers all along the stem underground. Some varieties include Snowden, Russet Burbank, Russet Nugget, Nicola, German Butterball, Elba, and Bancock Russet.
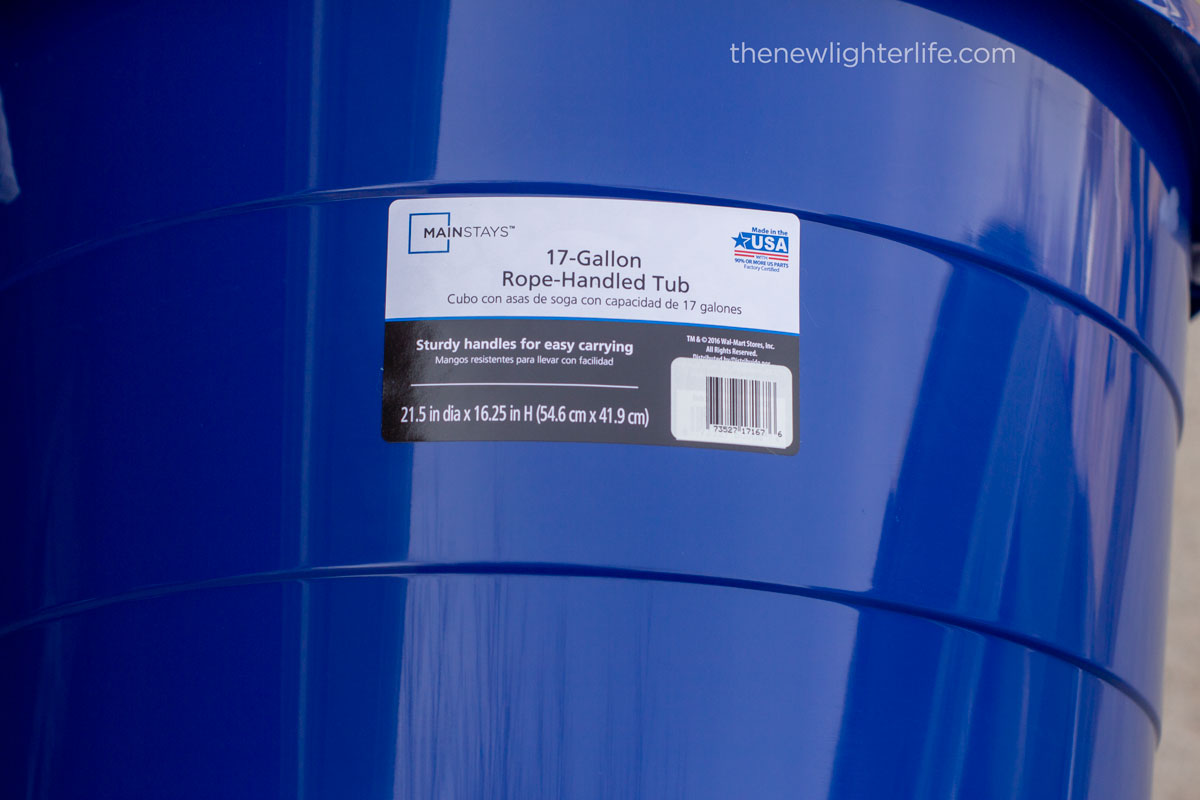
Since my potatoes are all determinate, I will be planting another layer in my container. Tony suggests using an 8 to 10-gallon bucket. This year I’m using these 17-gallon tubs, which were a bargain for 8 of them. I believe these will work best with my determinate varieties.
Potato Growing Tips
- Pick your container. Tony suggests using an 8 to 10-gallon bucket; however, I decided to go with larger BPA-free buckets and plant in multiple layers. As I said, I’m using these 17-gallon buckets. Grow bags are also an option, but folks in my gardening group seem less pleased with the results.
- Plant in full sun. Potatoes need a minimum of 6 hours of sunlight.
- Bury your containers a few inches into the soil or mulch to surround the base of the container. Doing so allows the roots to stay cooler and helps with water retainage.
- To Cut or Not? The jury is out on this. Many people swear by cutting seed potatoes up, and I remember doing this as a child. If you cut, make sure you have two eyes in each chunk and let them cure a minimum of 2 days before planting.
- Plant according to your variety. If you have indeterminate potatoes, you’ll plant your potatoes in the bottom half of the bucket. The plant will produce tubers all along the stem. If you’ve selected determinate potatoes, you’ll plant them in multiple layers up your bucket. I will be experimenting with 2 and 3 layers of potatoes in my buckets and report on the results.
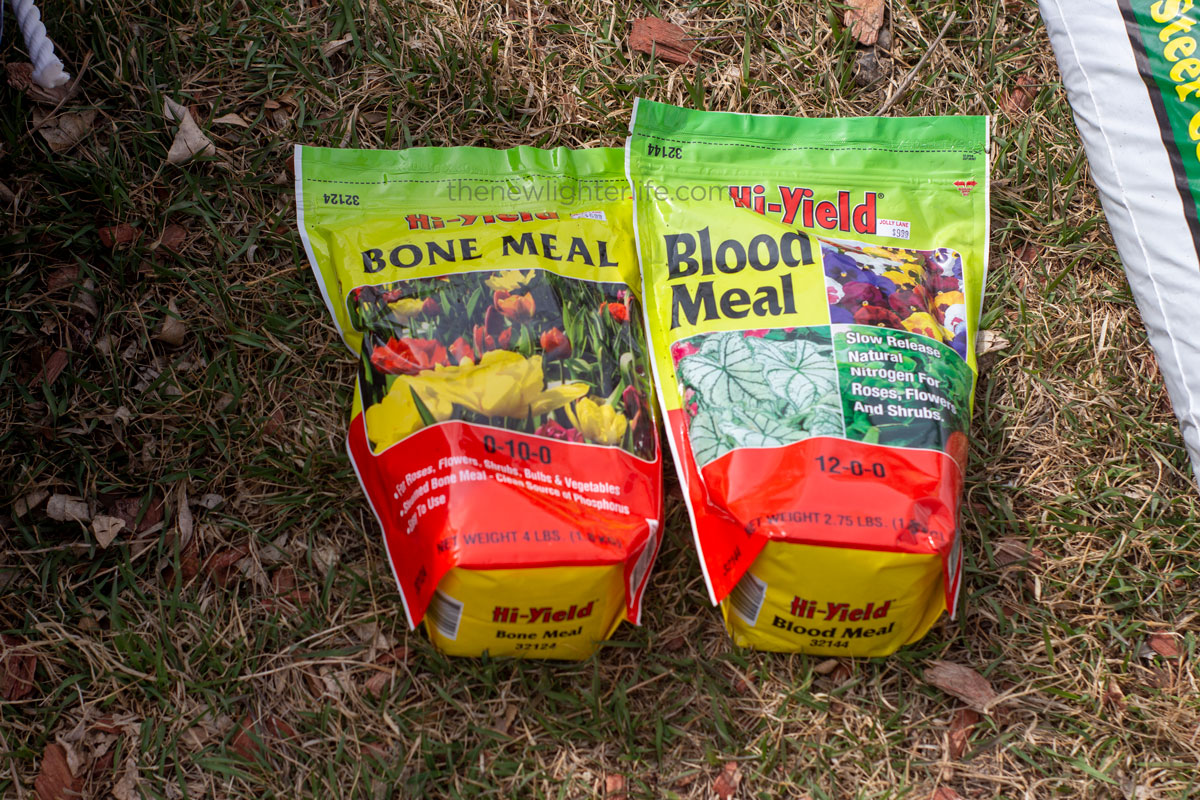
- Amend soil/compost. You’ll want to add Phosphorous & Calcium (bonemeal), and Nitrogen (blood meal) to your containers. I recommend adding both in a proportion of 2:1.
- Sufficient watering. You want your soil to be moist but not soggy. If you underwater your potatoes, they will be small. Overwatering results in rotten tubers. For a fail-safe way of checking your soil moisture, you can get a tester like this one that we have.
- Harvest when tops yellow. When more than 50% of the tops are yellow, cut off the stem and let potatoes cure in the ground for a couple of weeks.
Steps to Plant your Potatoes
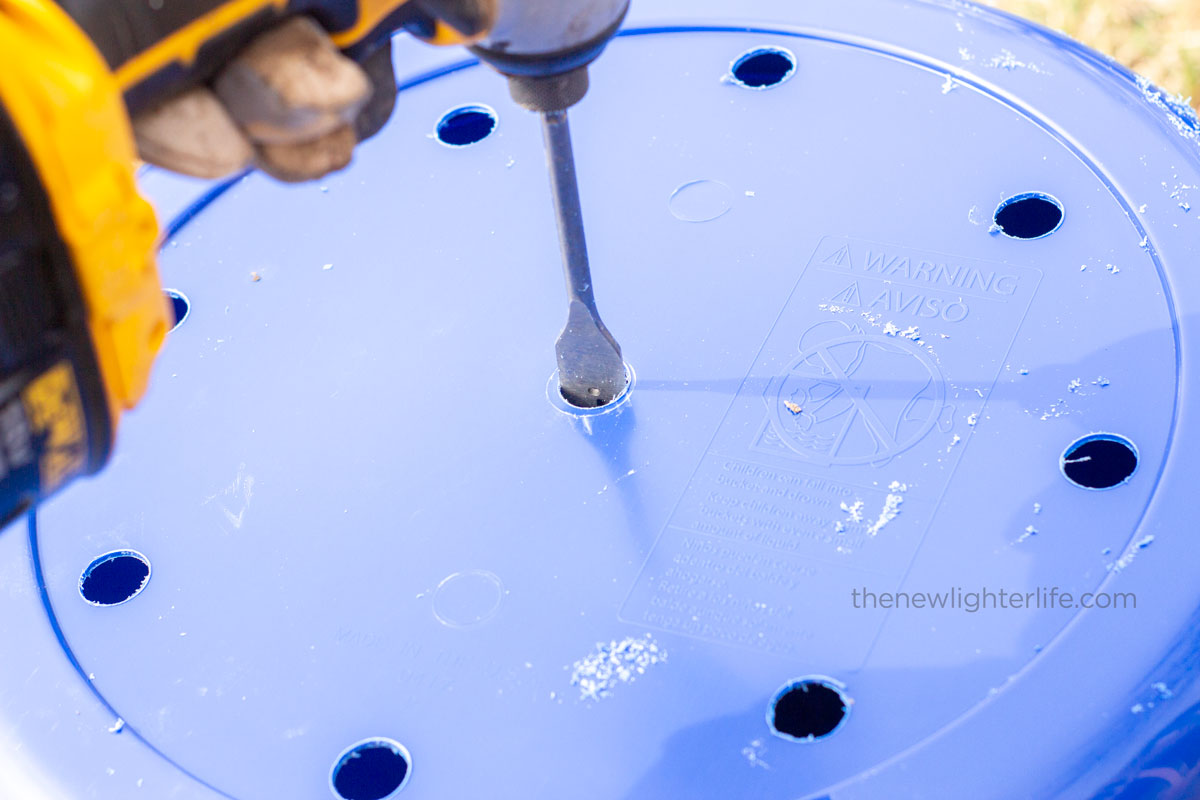
- Drill drainage holes in your buckets.
- Slightly bury your buckets in the ground where the containers will remain to help keep roots cool.
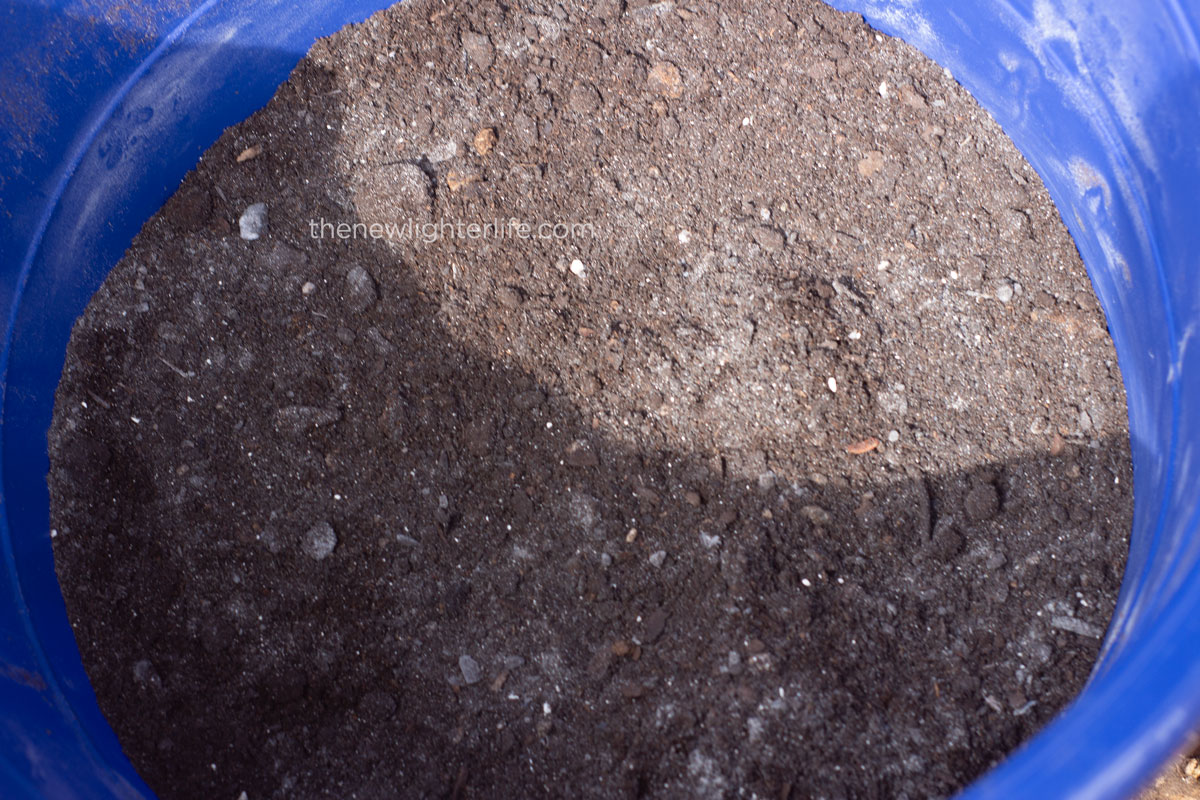
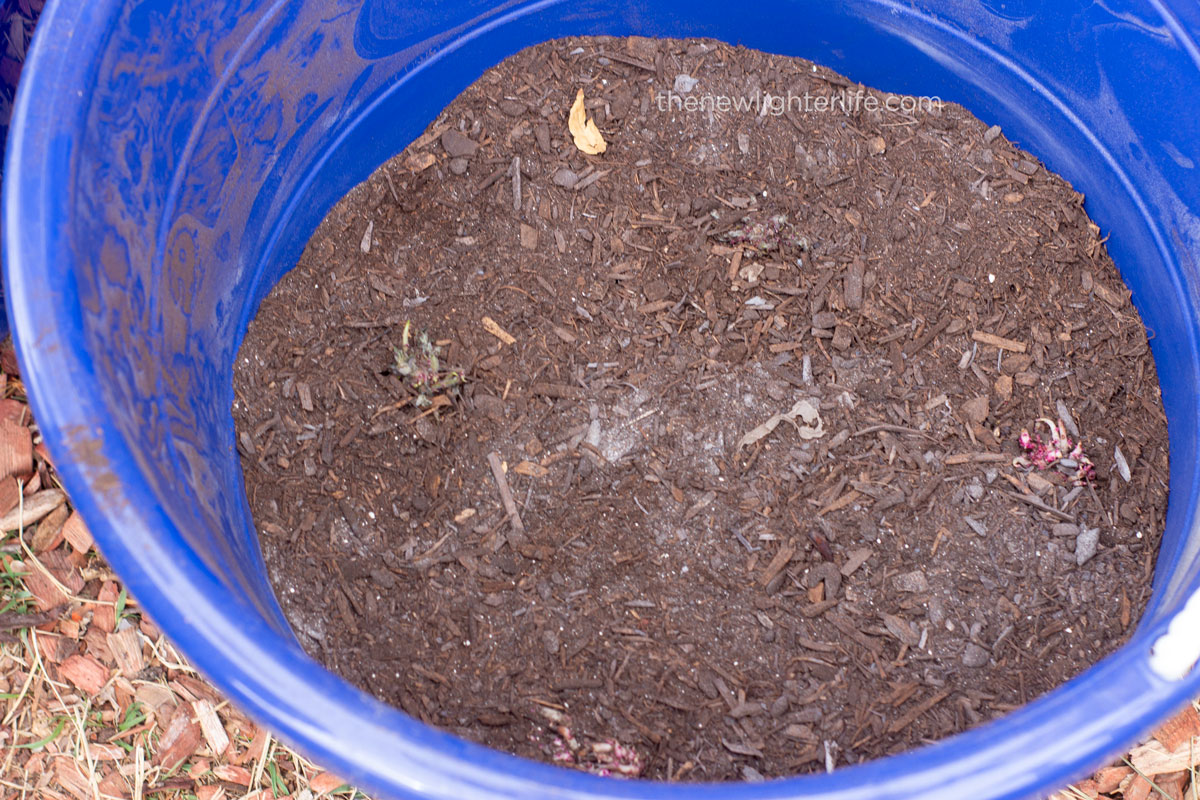
- Fill 5 to 6 inches of the bucket with compost/soil.
- Mix 1 cup blood meal and 2 cups bone meal into the soil.
- Place 3 or 4 seed potatoes on top.
- Determinate: Cover with 3 to 4 inches of soil/compost for determinate varieties. Indeterminate: Cover with soil/compost to within 2 inches of the top of the bucket.
- Determinate: When tops start to grow cover with a few inches of soil/compost and plant 3 or 4 more potatoes (offset from the first level planted) and cover with soil to within 2 inches of the top of the bucket.
- For Both: Once planted and filled with soil, cover the remaining 1 to 2 inches of the pot with straw mulch.
Any tips I missed? Or care to share your favorite potato variety? Please share in the comments!
That’s all for today. Happy Spring!


Hi!
The tips are great! I have a question about step 7. Do I cover the new growth of layer 1 when I plant layer 2?
Thank you for your question and I’m so sorry for my delay in responding. Yes, I recommend you cover the new growth from layer 1 a few inches and then plan your layer 2 offset and cover. The potatoes will work their way up through the soil/compost. I’ll update my post to be more clear. Best wishes!!
I did what you said with the indeterminate, but no stem came up. When I did hilling method in a container, stems came up and I succeeded producing potstoes. Is there any thing wrong I did? Another question: if stems do come up, do I have to build the hill on the top of the container? Thanks.
Hi Lucy,
I’m so sorry to hear that you had a bad return on the method. I’m sorry to say that without seeing the container and process, I cannot advise on corrections. With indeterminate, you most certainly can continue to build the soil up along the stem. Hoping for better this next season!
Hi Julie! Do I add more bone and blood meal for layer 2? Thanks!
My apologies as I’m severely late in responding to you. I would recommend you add more bone and blood meal as potatoes are heavy feeders.