I don’t know about you, but my kids refuse to use a flat sheet. I’ve tried off and on since they were about 2, but the flat sheet always ended up wedged to the foot end of the bed. So we only use a fitted sheet for their beds.
Kids will be kids. It’s always nice to have an extra sheet or 3. Today I’m going to share with you how I sew my own fitted sheets from a flat (or a piece of fabric).
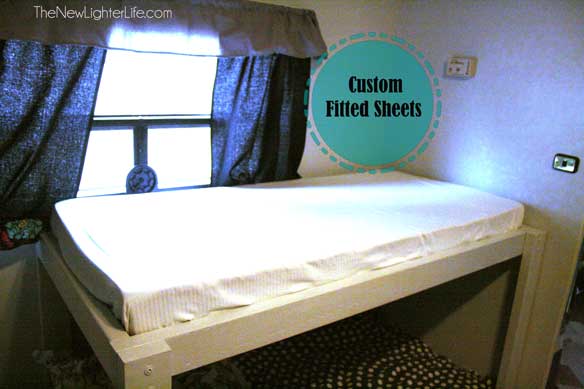
This really came in handy when we made the custom bunks for the Winnie. Since all 4 beds were odd sizes, I needed to custom fit all the sheets or deal with tucking lots of extra fabric under. I hate tucking and readjusting sheets. A mama’s got enough to do in my humble opinion.
Back to my fitted sheets…
My big kid’s mattress tops measure 27″ X 57″. The mattress thickness is 4 inches. You need to know all these measurements specifically for your own bed to fit the sheets properly. I don’t want to get hate mail because you followed my measurements. That and I doubt anyone has the same size bunks that we do. We like to be different.
But given my bed size example, here is how you figure out the size of your fitted sheet.
Width of Sheet
27 (width of the mattress)
8 (thickness of the mattress multiplied by 2)
+ 4 (for hem and overhang )
39 inches
Length of Sheet
57 (length of mattress)
8 (thickness of mattress multiplied by 2)
+ 4 (for hem and overhang)
69 inches
So you’ll want to take fabric or cut your sheets to the measurement that you find you need for your particular bed.
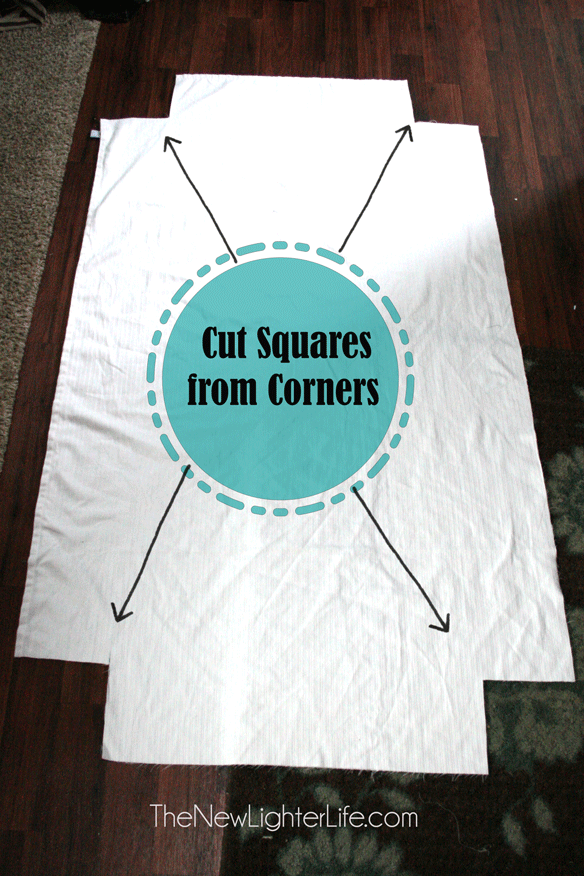
Cut Out Corners
Next you need to cut out notches so you can make your corners. As I said, I have a 4 inch thick mattress and I have allowed for 2 extra inches on each side for the hem and under tuck (if that’s a word). So I cut out a 6 inch square from each of the 4 corners of the piece of fabric.
Time to Hem
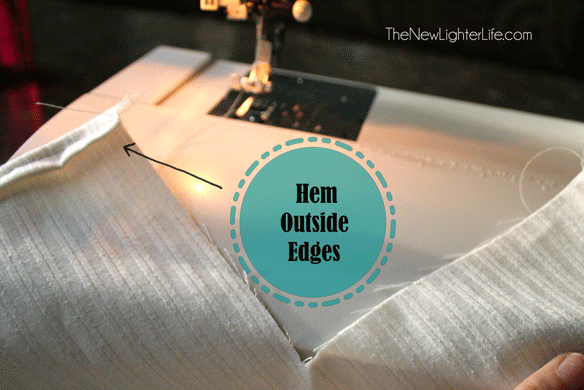
Now is the easiest time to hem your sheet. I tend to sew like a madwoman and go as fast as my machine will allow. I don’t want to have to fuss with any corners which is why I recommend sewing the corners together AFTER you have hemmed the edges.
I fold over my hem 1/4″ and then another 1/4″ and sew along the edge. I loathe pinning and have a dislike for the iron so I just do this turning under by hand as I go along with the sewing machine. It doesn’t need to be perfect.
Sew the Corners
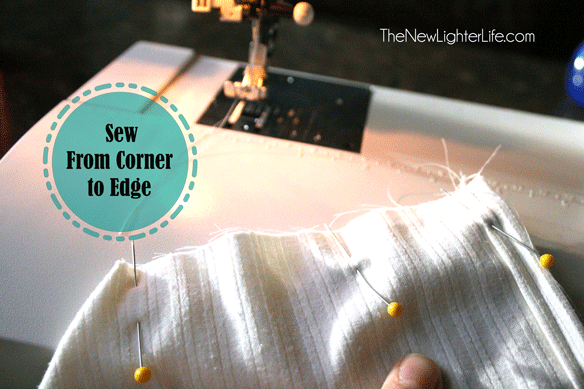
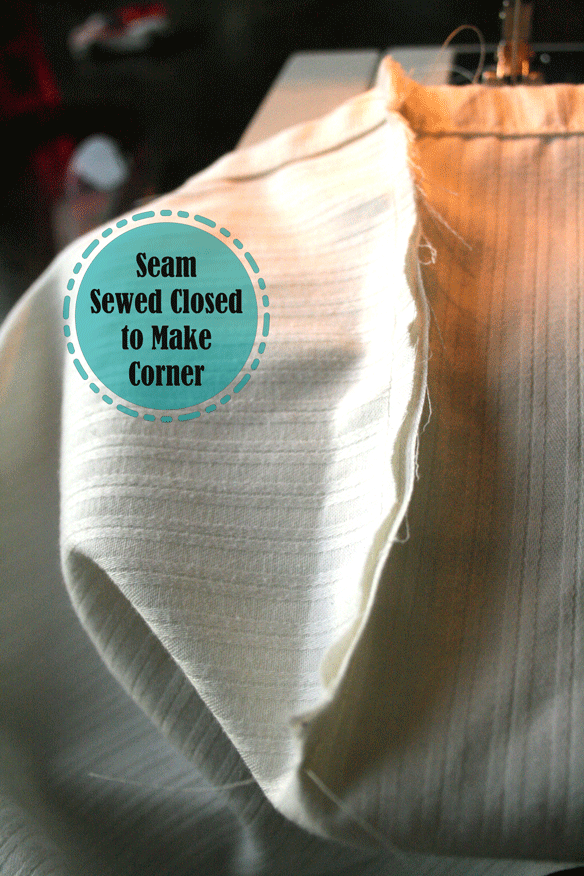
Corners need to be sewed together next. Simply line those cut out corners that are missing the 6″ squares and sew a 1/4″ seam from the point down to the edge. Now you have a nifty corner for your sheet.
Attaching Elastic
In order to get the sheet to fit around your mattress, you need to attach elastic to the edge.
On the top of the sheet, I start on the left side about 8 or 9 inches from my corner seam and zig sag stitch a 1/4″ piece of elastic to the edge. Once I’ve got the elastic attached with a couple of stitches at the beginning, I pull that elastic VERY tight as I let the machine pull the hem of the sheet through. You just want the elastic pulled tight so it will scrunch the fabric and give you fitted corners.
I do the top of the sheet as one big strip and finish about 8 or 9 inches on the other side of the right corner.
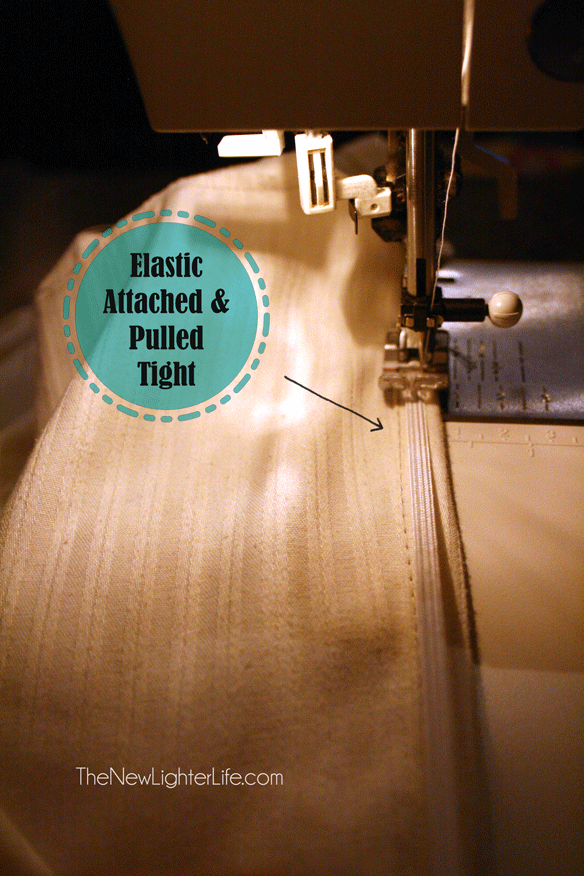
And that is it. So easy and it makes making beds a breeze.
I’d estimate that one sheet takes less than 10 minutes to sew custom fitted sheets from start to finish. Worth the time in my book!
Just wanted to say thank you for your instructions. I just made my very first bassinet fitted sheet and I couldn’t be prouder. Your tutorial was awesome!!!
Perfect!! So glad to hear it helped you Kelly!
I love this idea. we have a few sheets and pillows left over from sets when the fitted sheet has ripped. till now I have just replaced the fitted because I didn’t want to waste all the good pieces. but now that I can have a new matching set for our room and the remaining parts of the old sets can be used as back ups for the kids mattresses and have matching pillow cases.
Thanks!
I love using all the sheets that come in sets and YAY for backups! 🙂
Excellent Meagan! So glad you found a way to make them work for your mattresses!!
Julie, the sheet tutorial is amazing. I’m on my second one today and I’m thrilled. One question, may I ask why you sew the elastic on the front side of the fabric instead of on the inside, which wouldn’t be any more time or effort and would give a finished look? Or have you tried that and found topside works better? Just curious. In any case, I’m loving these sheets and thank you so very much. Rachel in Israel
Hi Rachel! I’m so glad you’ve found the post helpful! Honestly…I don’t know why I did that. Ha! Really I don’t, but I agree with you, you certainly could sew it on the inside. I have some sheets to sew up this weekend and I’ll update the post if the inside vs outside doesn’t matter. Thank you for the comment!
Thanks. Your instructions are by far the easiest to follow that I’ve found. We’ve just gotten a camper and need fitted sheets for two odd size beds. I’m off to my sewing machine.
What did I do wrong? Make fitted sheet using a King size flat. Corners are perfect. When I placed on bed, it was WAY TOO SMALL. So I cut out elastic to make SURE I had used a King sheet and it fits great with the elastic. Did I use too much elastic?
Did you measure the depth of the mattress Diana?
Yes, I measured it and added 4. It fits but needs no elastic because it’s so tight. Then I tried another sheet and doubled the depth and added 4 per some other instructions and that came out WAY too small! The depth is 11″ with mattress pad in place.
Why stitch the entire length of the elastic in the corners? Why not just place the elastic in the casing and stitch it at each end? When the elastic gets old and over stretched, it’s a lot easier to replace.
Great tutorial. Thanks for sharing. I wasn’t sure where you begin and end sewing the elastic. It seems to me you don’t go all the way round. Can you help me with this?
I just sewed each corner with a separate strip of elastic (so 4 pieces of elastic).
my husband is a very restless sleeper, flat sheet(top) would always be pulled out of between the mattress, trick: I take the bottom of the flat sheet mark the center with a stick pin, take the fitted bottom sheet mark the center with a stick pin, I pin the top sheet and bottom sheet together at the center pins, start sewing out to the corners less 12″. hurrah, top sheet does not pull out and the bedding stays more made.
I looked at several tutorials for doing this before I made a fitted decorative cover for a daybed. Yours was BY FAR the easiest to follow. Thank you, it turned out great!
So glad it worked for you Teresa!!