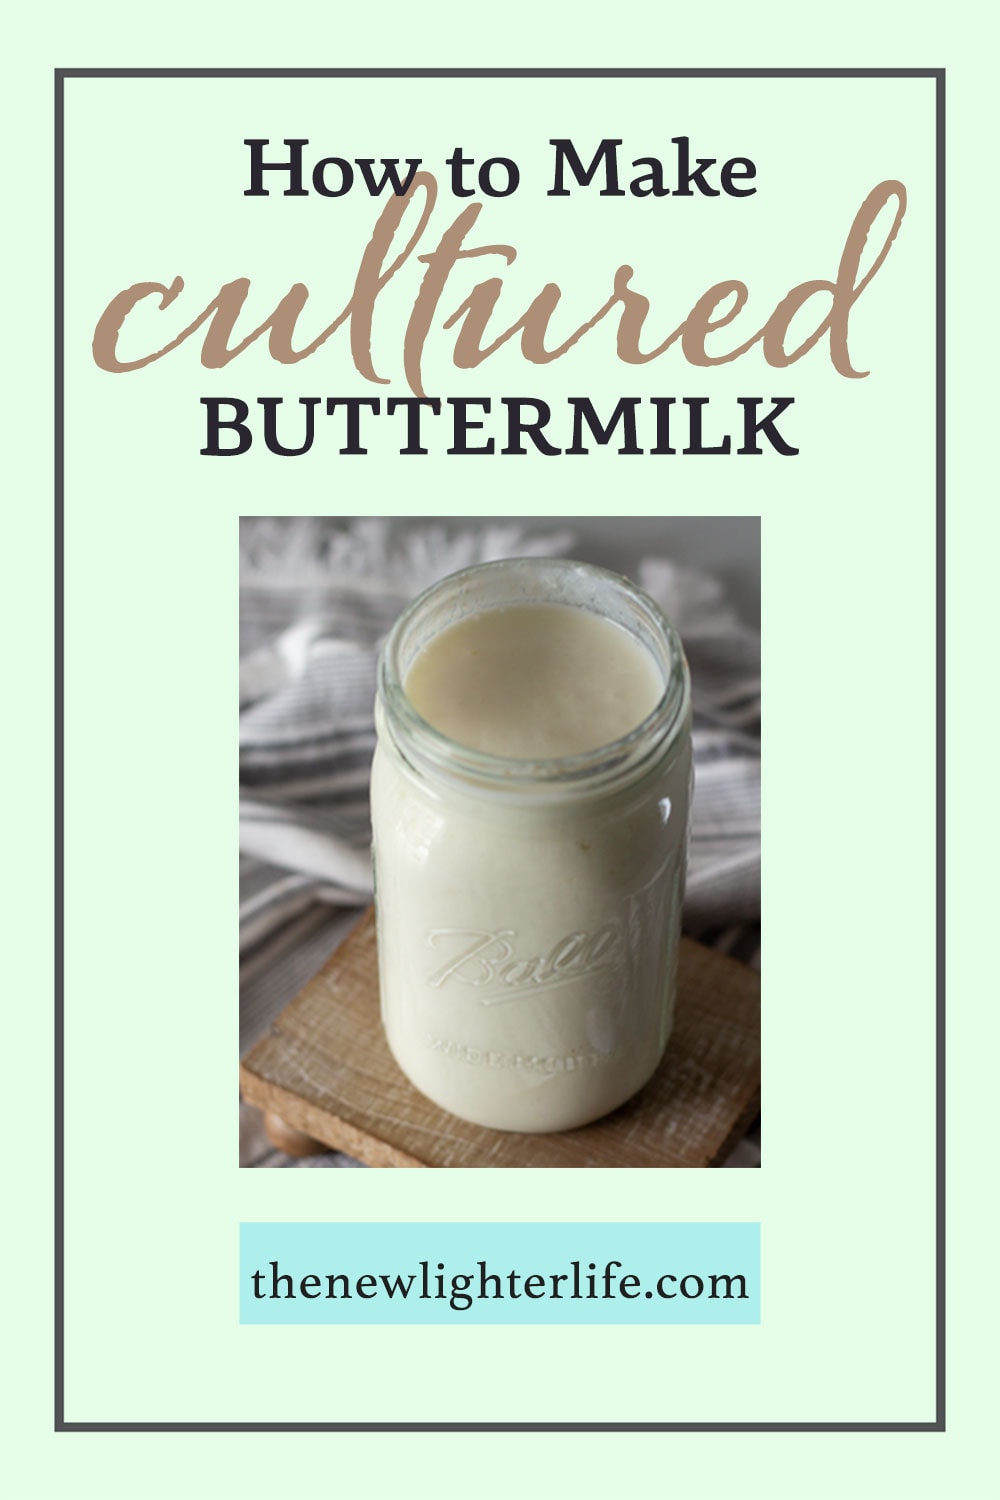
Alright friends, today I’m going to share a VERY simple and quick post about how to make cultured buttermilk.
Cultured buttermilk is the kind you’ve likely seen in the grocery store. This buttermilk is different from traditional buttermilk because it has beneficial bacteria (lactococcus lactis and/or lactobacillus bulgaricus). Through culturing the beneficial bacteria grows and multiplies similar to how sour cream, yogurt, kefir, and creme fraiche are made. If you’ve ever cultured any of these milk products, you know the culture can be used many times over.
Benefits of Buttermilk
Before we get into how to make buttermilk, let’s talk about the benefits of buttermilk
- Adds tangy flavor to baked goods
- Tenderizes gluten
- Softer texture and gives more body to baked goods
- Helps bread leaven
- Activates baking soda
- Tenderizes meat when used as a marinade
- More tolerable for lactose-intolerant due to the lactic acid
- Lower fat and calories than whole milk
Why Make Your Own?
You may be wondering why someone wouldn’t just buy cultured buttermilk since that is the kind that is available in the store.
I don’t know about you, but last year I had a heck of a time finding buttermilk at the store. I’ve since switched over to culturing my own but the lack at the store really opened my eyes to making my own at home.
There are so many amazing recipes that use buttermilk such as deep-fried dill pickles, ranch dressing, buttermilk syrup, buttermilk pancakes, no-knead cinnamon raisin bread, biscuits, cornbread, muffins, bread, etc. So many of our favorite family recipes call for buttermilk and I will be sharing some of those with you in the near future!
Why Not Use Milk & Vinegar/Lemon Juice
If you’ve ever been in a pinch and needed buttermilk, you may be familiar with the trick to add a little vinegar or lemon juice to make “buttermilk.”
While this works many times, I have had poor results with certain recipes like our buttermilk pancakes. The milk/lemon juice pancakes were noticeably less fluffy.
With that, just be aware that there may be times when there is no substitute for good ole fashioned buttermilk.
To Make Cultured Buttermilk from Storebought Buttermilk
Alright, guys, this is so incredibly easy to do!
Supplies:
- Quart Jar
- 1/4 cup of cultured storebought buttermilk
- 3 3/4 cups of whole milk (not ultra-pasteurized)
- coffee filter/paper towel
- rubber band
Directions:
- In your clean quart jar, add 1/4 cup of cultured buttermilk.
- Pour in your milk and secure a lid on your jar.
- Shake your jar so the buttermilk culture and milk are thoroughly mixed.
- Remove lid and place a paper towel or coffee filter on top, secure with a rubber band.
- Let sit on your counter for 12 to 24 hours or until thickened.
- Remove paper towel or coffee filter and seal with a lid.
- Refrigerate and use within a few weeks.
You may utilize this your cultured buttermilk for several more batches but after half a dozen recultures you may notice a degradation of the buttermilk. If this is the case, you can buy a fresh container of buttermilk from the store and start again.
How to Make Cultured Buttermilk from a Starter
Supplies:
- Quart Jar
- buttermilk starter – powdered
- 2 cups of milk (not ultra-pasteurized)
- coffee filter/paper towel
- rubber band
Directions for First Culture:
- In your clean quart jar, add your powdered buttermilk culture.
- Pour in your milk, stir well until dissolved.
- Place a coffee filter or paper towel on top. Secure with a rubber band.
- Let sit on your counter for 12 to 24 hours or until thickened and set. Your buttermilk is ready when you can tilt your jar and it pulls away from the jar cleanly.
- Refrigerate and use within a few weeks.
- Use buttermilk but reserve 1/4 cup of buttermilk to make your next batch.
Directions for Every Culture after First Culture:
- In your clean quart jar, place 1/4 cup of starter buttermilk from your first culture.
- Pour in your milk to nearly the top (you can mix as much as 3 or 4 cups of milk with this amount of starter culture.
- Stir well until dissolved.
- Place a coffee filter or paper towel on top. Secure with a rubber band.
- Let sit on your counter for 8 to 12 hours or until thickened and set. Your buttermilk is ready when you can tilt your jar and it pulls away from the jar cleanly.
- Refrigerate and use within a few weeks.
- Continue to reserve 1/4 cup of buttermilk for all future cultures.
You may utilize this your cultured buttermilk indefinitely. If you let your buttermilk turn by letting it sit too long in the refrigerator, you will have to pitch it. The only other way you will need to start over with your culture is if you use ultra-pasteurized milk and there isn’t enough for the culture to feed off.

As an Amazon Associate, I earn from qualifying purchases at no extra cost to you. Thank you for your support!

4 thoughts on “How to Make Cultured Buttermilk”