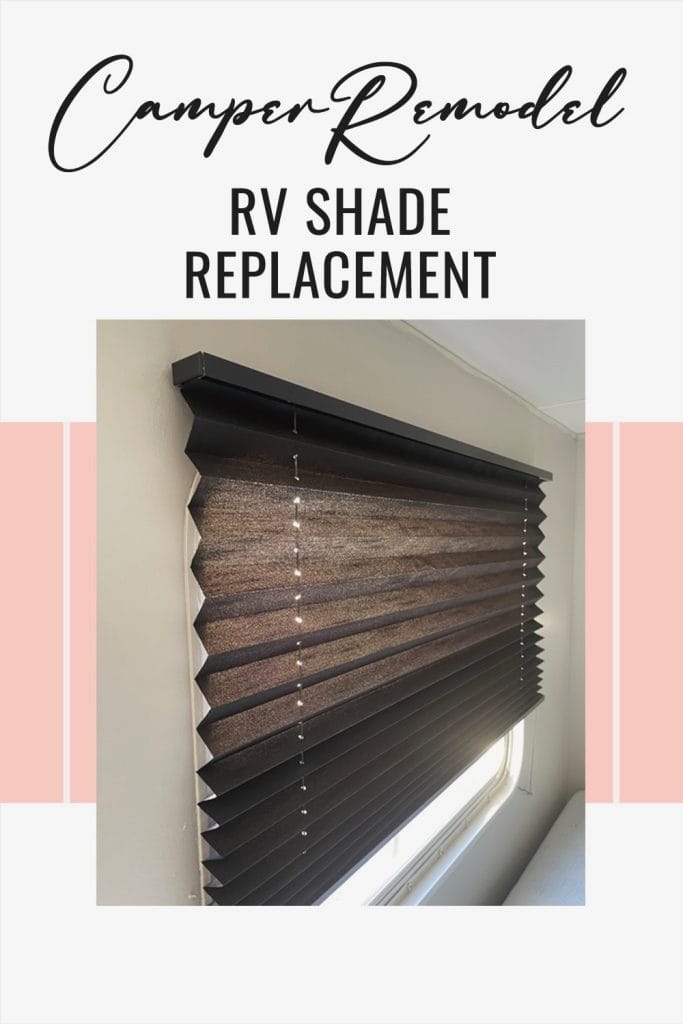
During our camper remodel last year, we decided to change out our trailer’s window coverings. Not only did we remove the old upholstered frames around the window, but we decided to replace RV shades with new and improved coverings. Our camper is a 2002 model and I’m pretty sure the blinds were the original and a little worse for wear.

Reasons to Replace Existing Camper Shades
- They are dirty. If you have an older RV as we do, they may have collected dirt and grime over the years. While that may not be a big deal if you can just vacuum the dirt off. If your camper has been through various humid situations, that can be more of a challenge. I absolutely recommend cleaning your RV shades at the end of the camping season (or at least yearly) so you can keep your shades in tip-top shape.
- The fabric is breaking down. As the shades get older, they lose fibers and begin to break down.
- The mechanism is broken. Years ago, I put up a post about fixing the RV tension. This is a very easy fix if your camper shades just need a minor adjustment. However, if you’re actual mechanism is broken, you may need to replace your shades.
- They do not effectively block light. Yup! We are early risers in our home but very early light (especially when going to earlier time zones) makes for very early mornings. Not only do poor light-blocking shades mean early morning wakeups, but they also make for very hot days inside the camper.
- They are noisy. Some older campers, like ours, had blinds that were metal over some windows. I can’t tell you how many times I kicked those blinds while camping and woke everyone up.
Options to Replace RV Shades
Since we were definitely in the market for new shades on our trailer, we went over our options which include:
- Sewing Curtains. This is definitely an option and one that could work. For our camper, I didn’t have it in me to sew more curtains at the time (like I did for our Winnebago Remodel).
- Storebought Blinds. These are an okay option for a 5th Wheel or Travel Trailer. The reason for this is that they move a lot and would make a lot of noise during travel. Therefore, they are not the best option for Class A, B, or C campers. You’d have to be mindful of their weight and secure them well since they are heavier. Near your stove, you’ll want to use this type of blind, but I’ll get into that in a moment.
- RV Specific Blinds. We looked for places to buy RV blinds that would black out the windows and keep it cooler during hot days out camping.
What About the Oven Window?
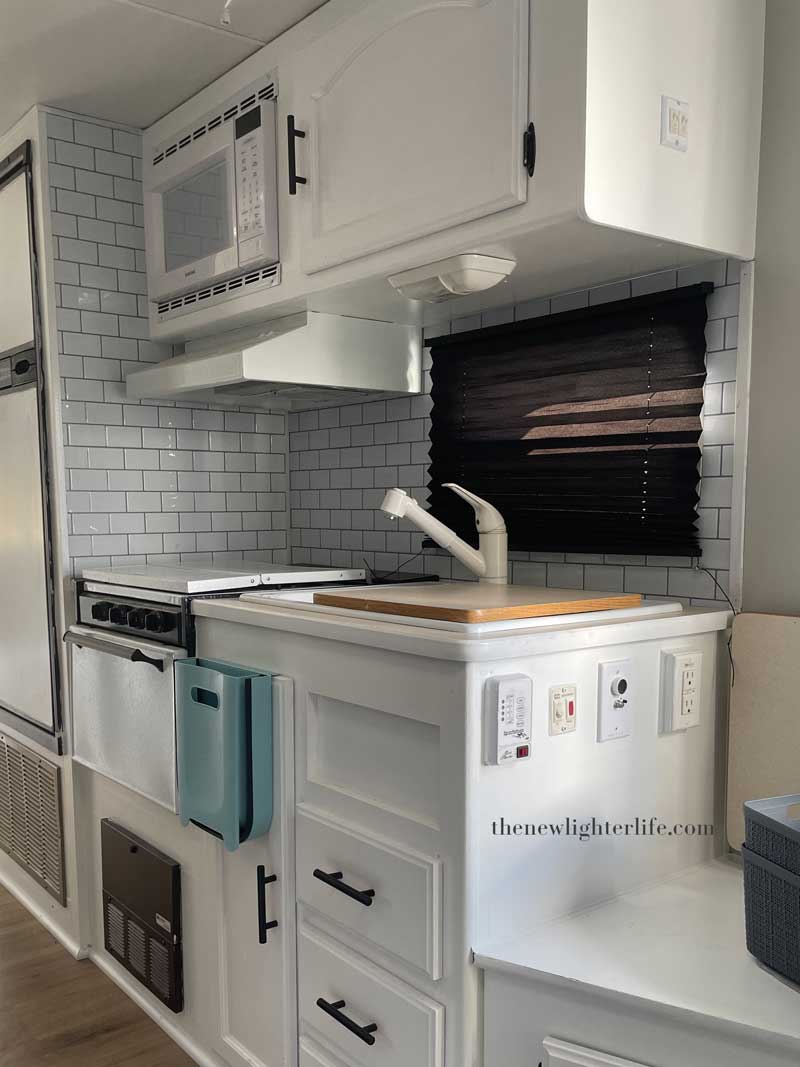
Some of you reading this far may have noticed in our tile backsplash post, that we also put an RV blind above our sink. This window is right next to our stove. I didn’t know this at the time, but this is actually a big no-no. Whoops!!

For any window near a stove, you want to get non-flammable blinds. In hindsight, this is a no-brainer. Truthfully, I just had not considered this when replacing the blinds.
RV Blinds.com – Our Source
We decided to bite the bullet and get some good sunlight-blocking blinds from RVBlinds.com. Since our camper was so bright (especially since we had painted everything including the cabinets and walls) our biggest concern was to darken the inside up for sleeping.
Looking at different colors of blinds, we debated about what the best color would be. There were some reservations about buying black blinds due to concerns over them actually causing the inside of our camper to be warmer during the daytime.

The Verdict
I’m so happy to report the black blinds have been awesome for light-blocking and keeping it cooler. The guidelines RVBlinds have worked like a charm and we had zero issues. You can order the blinds from Amazon or directly from the manufacturer. The blinds were super simple to install, so simple that Mark put them in without me being able to catch him for some photos.
Hopefully, this helps you if you’re thinking about replacing your RV’s blinds.
Blessings!

1 thought on “Upgrade Your RV Window Treatments: A Step-by-Step Guide to Replacing Your Shades”