I’m back from a long hiatus to share my mom’s glazed apple pie bar recipe with you. I’ll confess that apple pie is not one of my favorite desserts but I LOVE these bars, which are a delicious twist to the traditional apple pie.
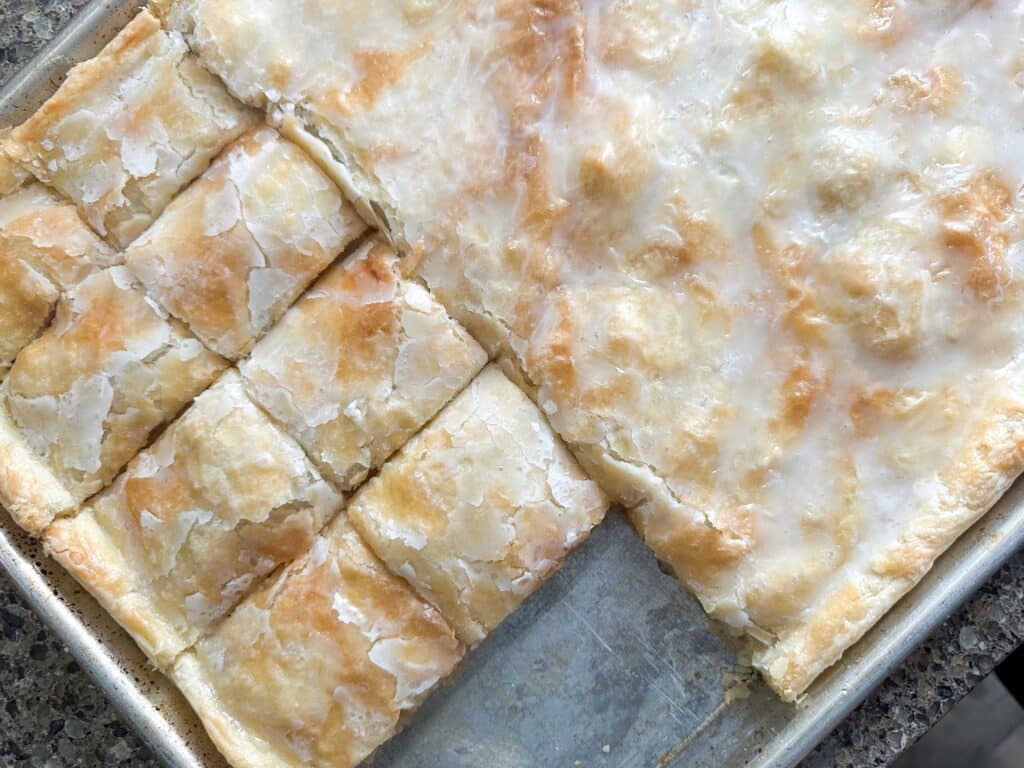
Many many years ago, when I was overseas with the military this recipe was one of the ones I missed both. There is a definite advantage to apple pie bars over traditional apple pie in that they are much easier to share and a nice little snack. I have made a few slight adjustments to Mom’s recipe, which include using only butter in the crust, tapioca pearls in the filling, and adding vanilla and salt to the glaze. Still, they are reminiscent of the simple comforts of my mom’s amazing baking growing up. Along with the recipe, we’ll dive into the best ingredients, techniques, and tips to make this scrumptious and classic dessert.
Ingredients for Glazed Apple Pie Bar Recipe
The key to perfect apple pie bars lies in the selection of quality ingredients. Here’s what you’ll need:
Crust Ingredients :
- Butter or shortening (I only butter)
- Granulated sugar
- Egg Yolk (save white for egg wash)
- Milk (2% or whole milk)
- All-purpose flour
Filling Ingredients:
- Large tart apples, peeled and thinly sliced
- Granulated sugar
- Cinnamon
- Quick-cooking tapioca pearls, all-purpose flour, cornstarch, or crushed cereal (corn flakes or rice krispies)
Egg Wash Ingredients:
- Egg white (saved from making the crust)
- Water
Glaze Ingredients:
Choosing the Right Apples
When it comes to apple pie bars, the choice of apples is crucial. Granny Smith, Honey Crisp, and Braeburn apples are my favorites and all excellent choices due to their tart flavors and their ability to hold their structure during baking. Other alternatives include Gala, Pink Lady, Haralson, and Jonagold apples. Peeled and sliced, you should have 9 to 10 cups of apples for these bars.
Creating the Perfect Crust
The crust is a vital component of this apple pie bar recipe. It should be buttery, flaky, and sturdy enough to hold the apple filling. To achieve this, ensure your butter is cold and cut into small cubes before incorporating it into the flour mixture. Next, toss the cold butter cubes into the crust flour mixture and smash them individually between your fingers. After this, move onto your pastry blender to break up the chunks of butter. Once you have broken up your butter into smaller than pea-sized pieces, you’ll incorporate your yolk/milk mixture and knead lightly. A light dusting of flour on your work surface is perfect for incorporating any remaining flour and getting an even consistency on your crust dough. Shape the dough into a ball and wrap it in plastic wrap, refrigerating for at least an hour.
The super simple pie crust recipe produces enough crust to have a double crust on a 13 x 18-inch half-sheet pan. It’s a winner for pie crust all around and foolproof.
Preparing the Apple Filling
The apple filling is extremely simple and gives the bars their delectable flavor. Begin by mixing your sugar, cinnamon, and cereal or tapioca in a large bowl big enough to hold the sliced apples. My mom always used crushed cereal growing up and I have done the same with roaring success. However, you may also use flour, cornstarch, or quick-cooking tapioca pearls.
Below is a simple breakdown of the types of thickeners and quantities appropriate for this recipe.
| THICKENER | Apples (9 Cups) | Apples (10 Cups) |
| All-Purpose Flour | scant 1/3 Cup | 1/3 Cup + 1 Tbsp |
| Cornstarch | 1 1/2 Tbsp | 1 Tbsp + 2 tsp |
| Tapioca Pearls | 2 Tbsp + 3/4 tsp | 2 1/2 Tbsp |
| Crushed Cereal | Scant 1 Cup | 1 Cup |
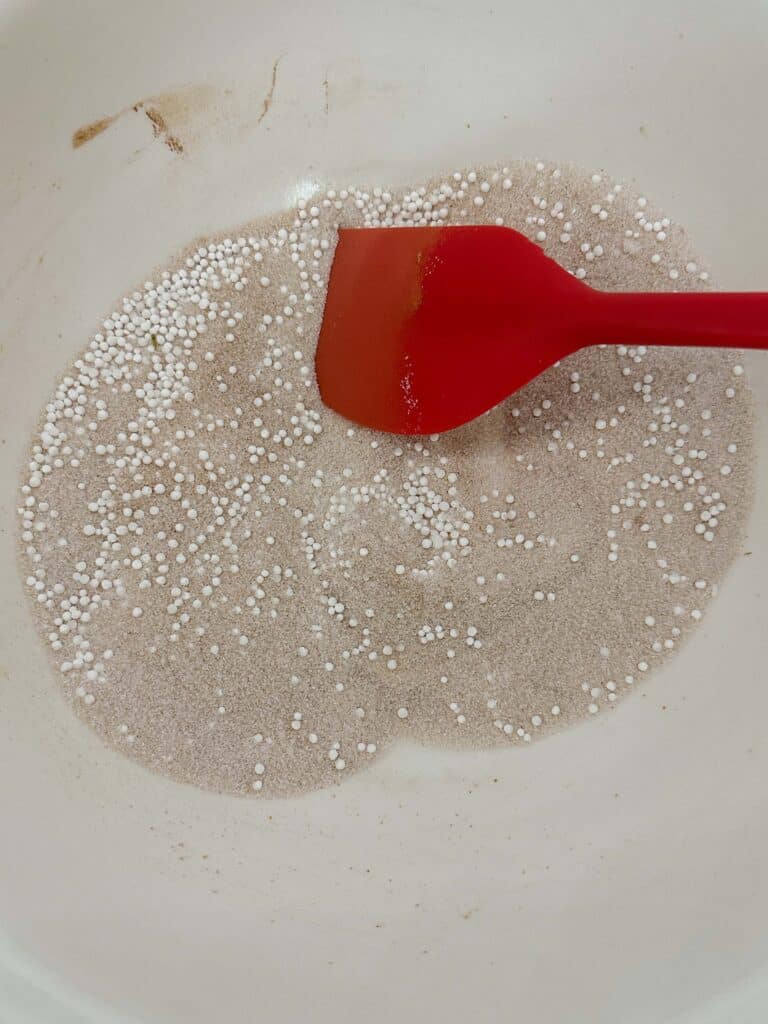
Once that is mixed, turn to peeling, coring, and thinly slicing the apples. Once you have sliced your apples, drop them into the sugar mixture and toss them to coat the apples.
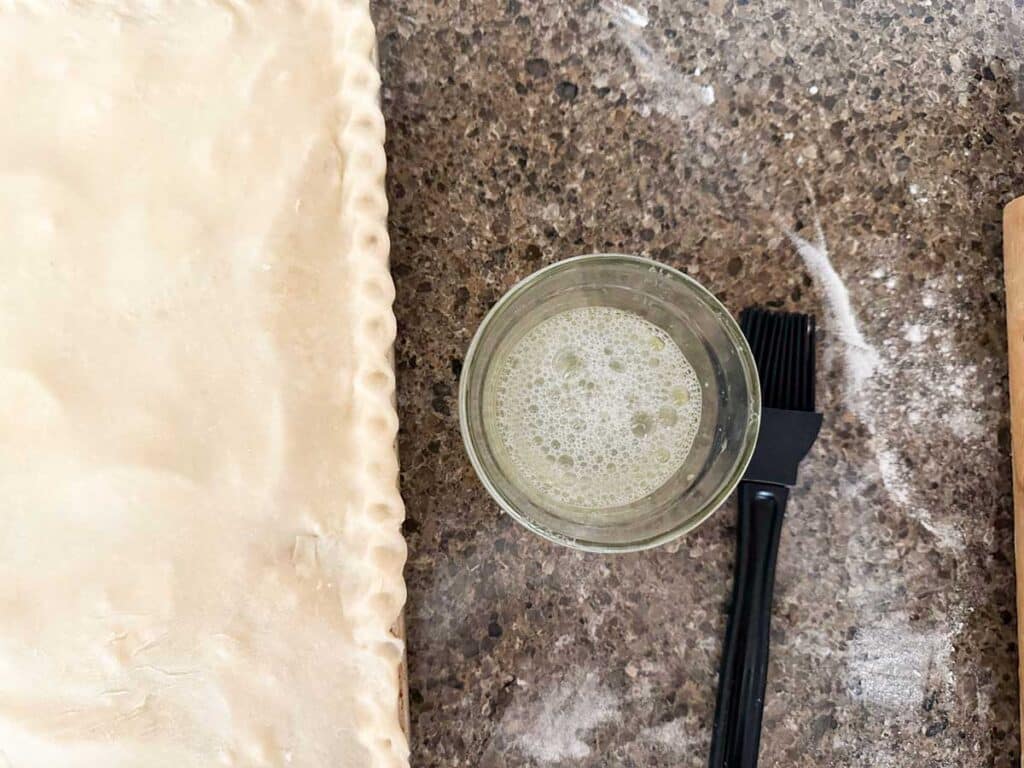
Mixing the Egg Wash
Mix your reserved egg white with water in a small bowl and set aside for assembly. The egg wash creates a beautiful light brown crust for your apple pie bars.
Assembling the Apple Pie Bars
Once your crust, apple filling, and crumble topping are prepared, it’s time to assemble the bars.
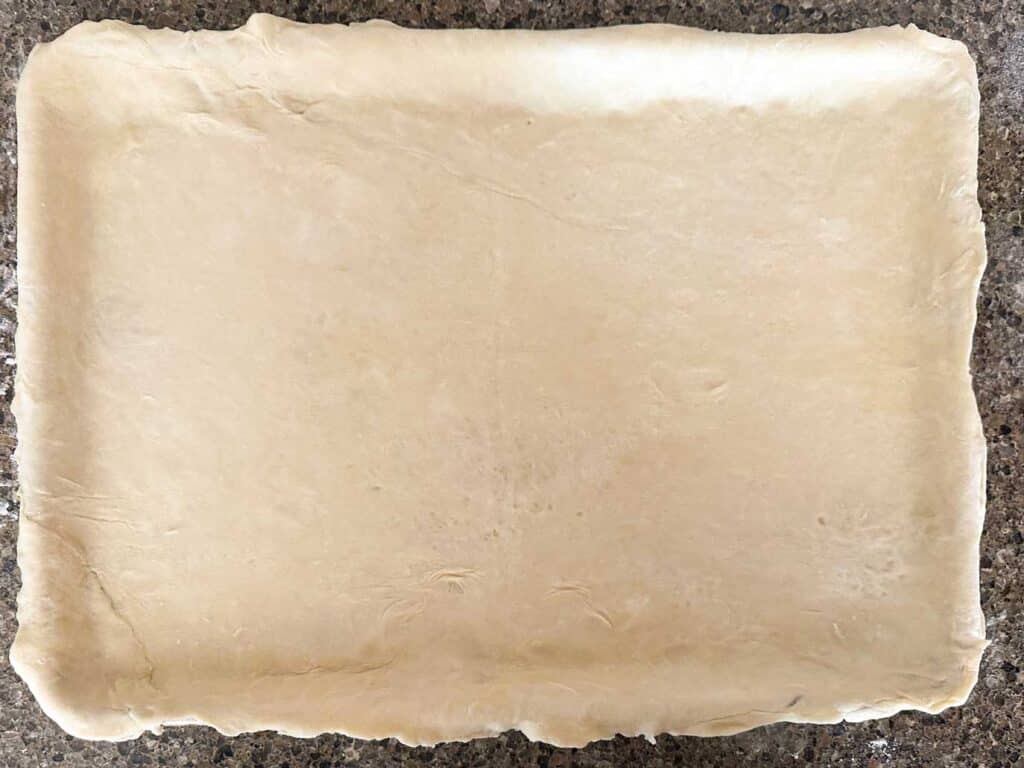
Unwrap your crust dough and divide it in half, with slightly more dough in 1 of the 2 portions. The larger half will be for the bottom crust. Lightly dust your work surface with flour and roll your larger dough ball into a 15 x 20-inch square.
I like to place my sheet pan over my rolled crust to make sure it is large enough. As you can see below, the crust on this batch of bars was a little wonky.
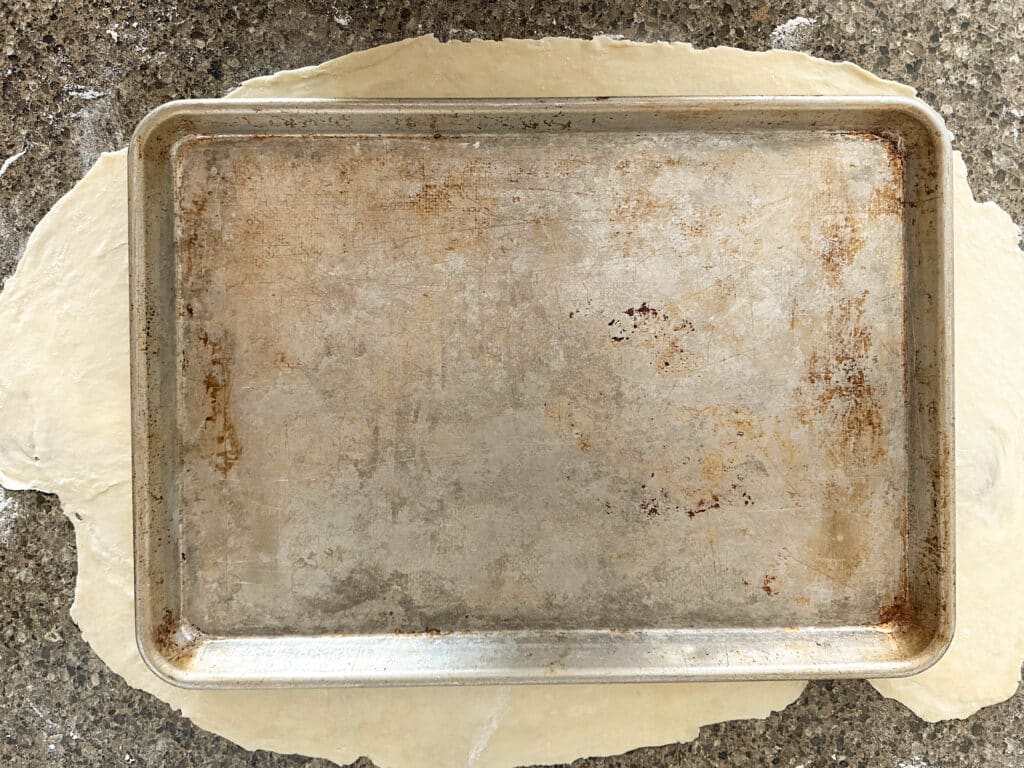
My trick to correcting this it take a pizza cutter and slice off the wonky parts and carefully piece them to sections that are lacking.

Carefully place the crust into the bottom of the ungreased sheet pan. Gently press the crust to form to the pan leaving, allowing about 1-inch overlap over the top edge of the pan.
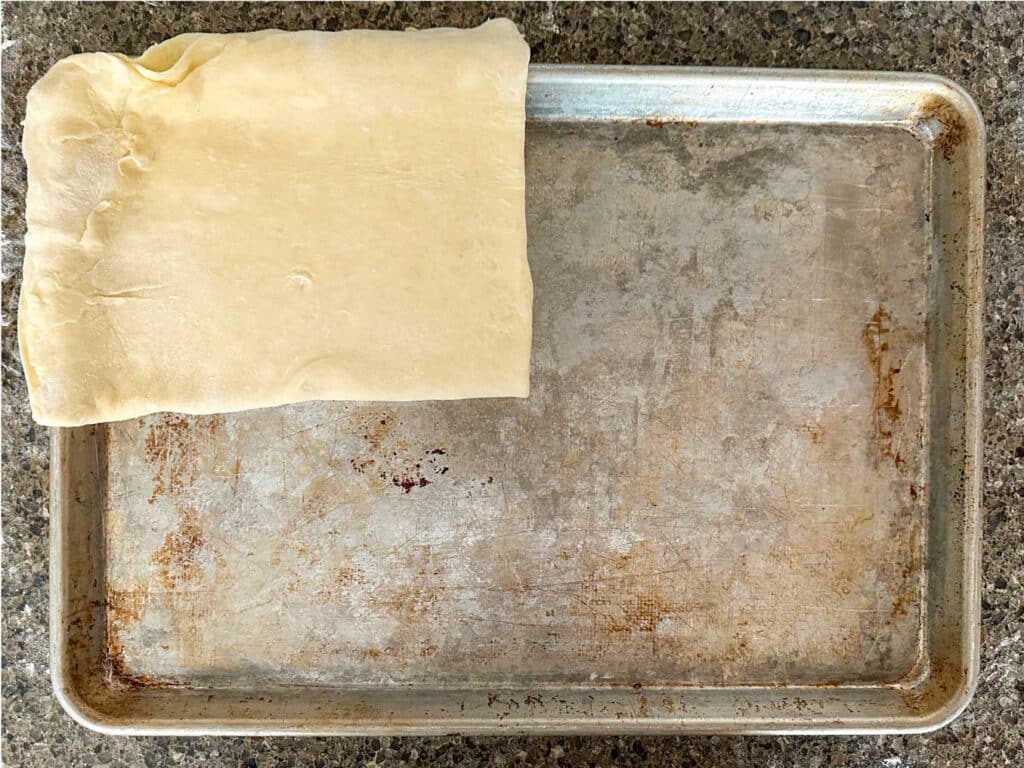

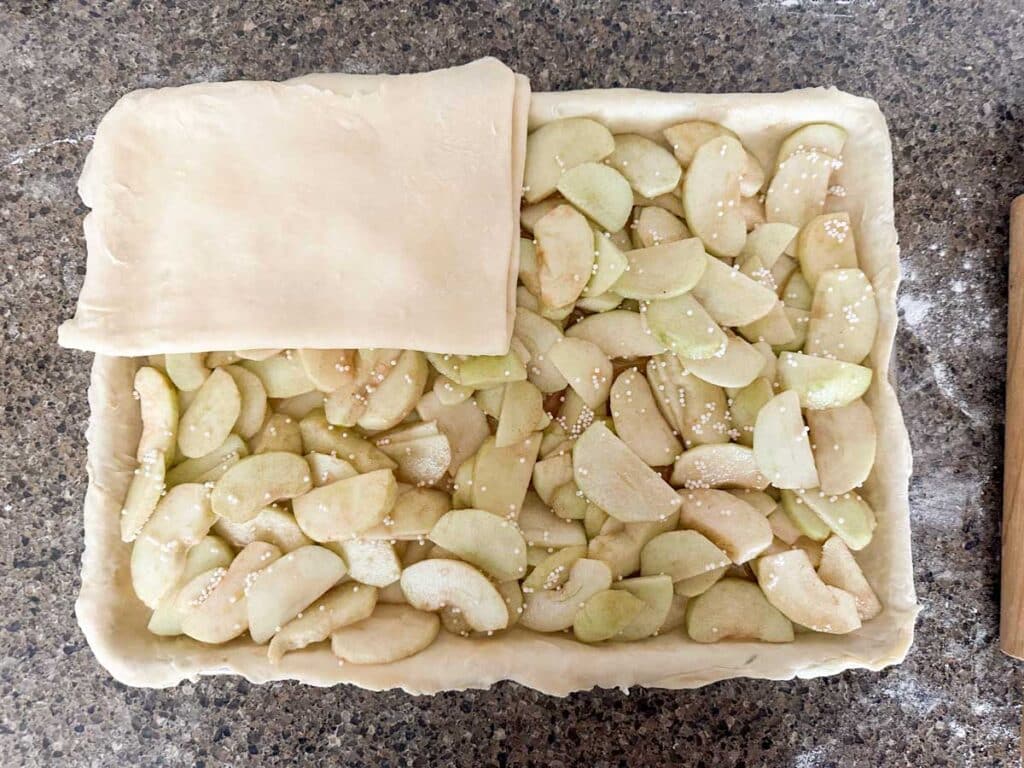
Gently and evenly place your apple filling over the bottom crust.

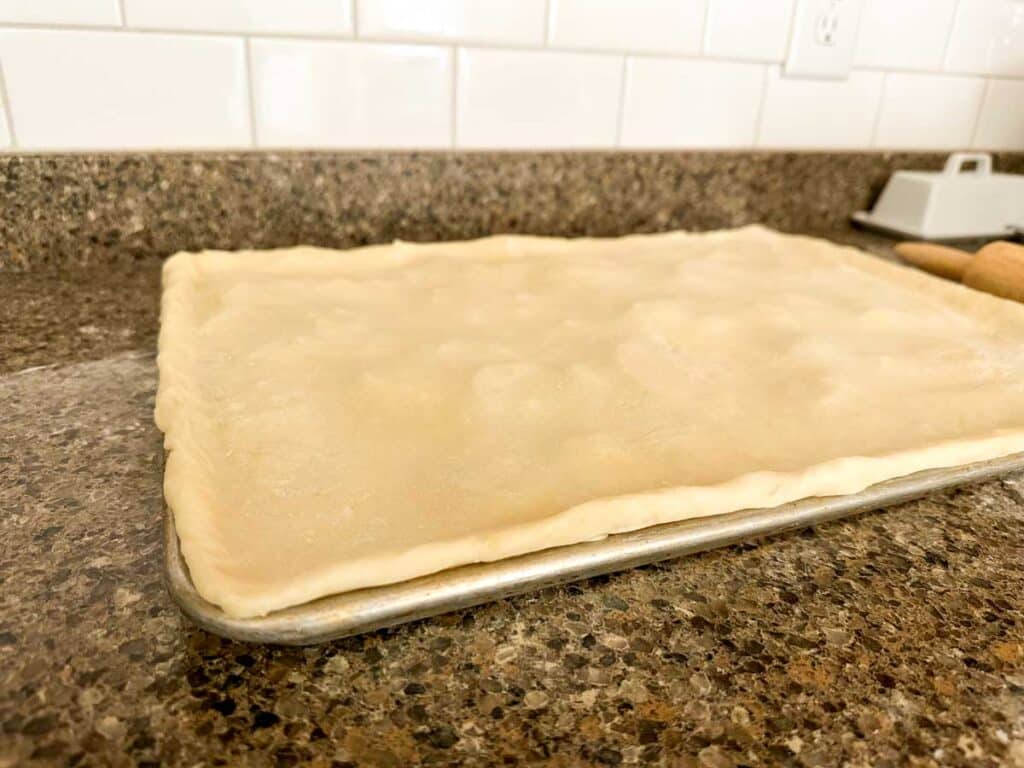
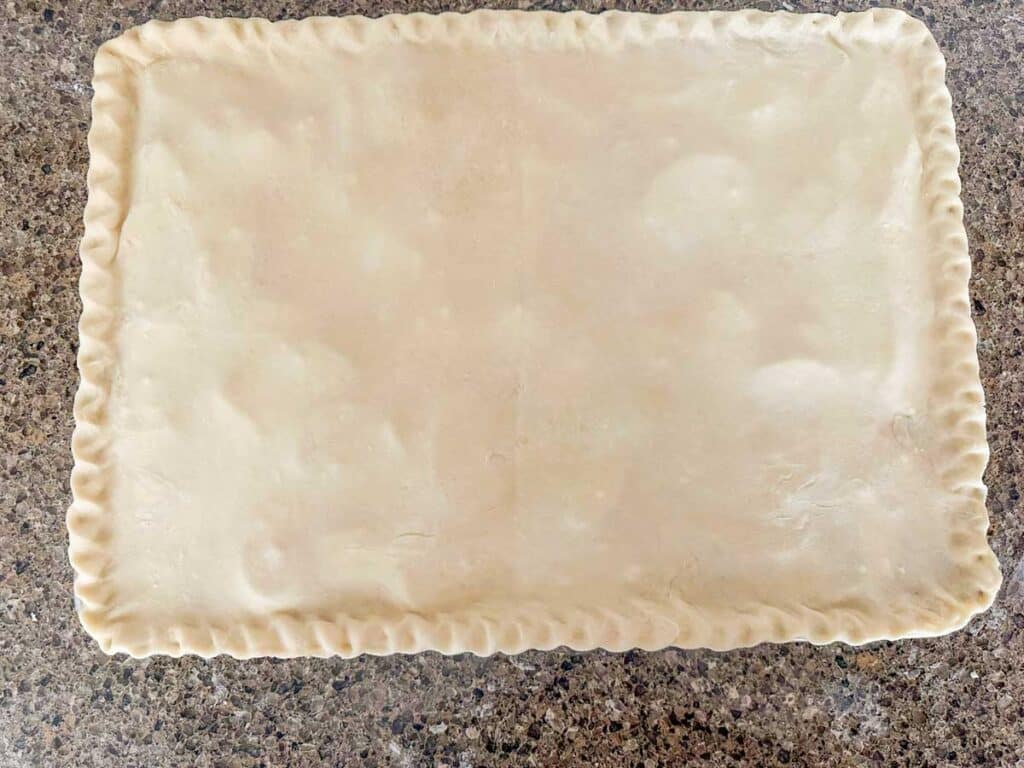
Dust your work surface with flour again and roll out your 2nd crust slightly smaller than the first (about 14 x 19 inches). Place your second crust over the apple mixture and tuck and pinch your edges so they lay on top of the lip of the pan, press to seal. Apply the egg wash with a pastry brush.

Baking the Bars
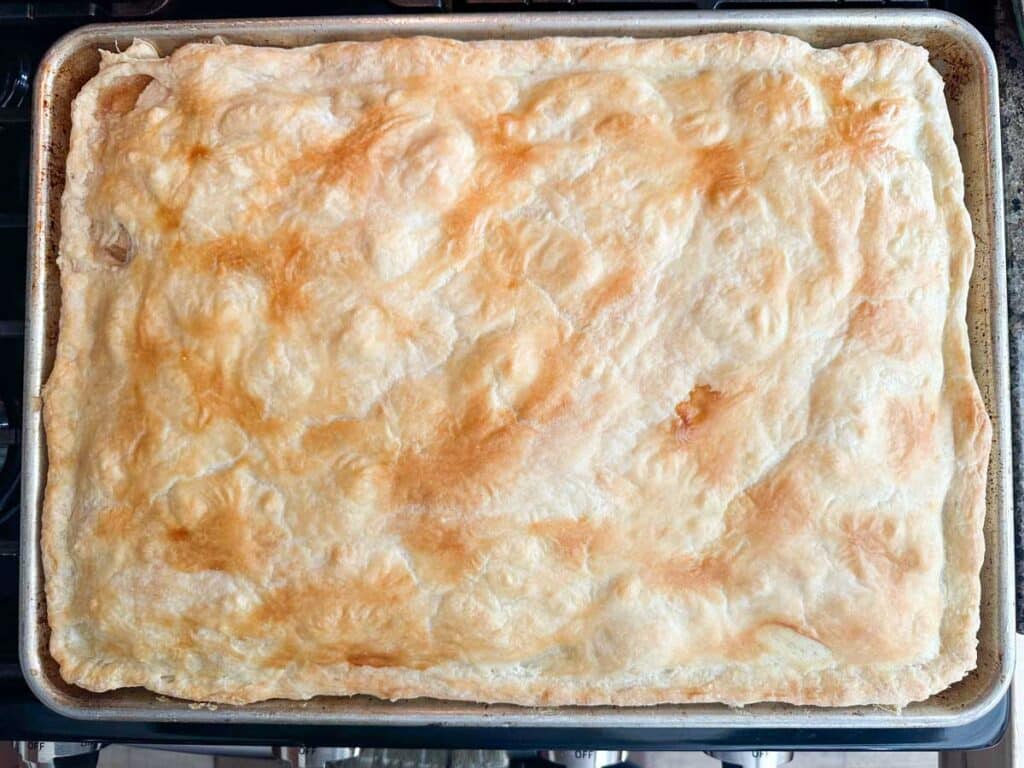
Bake the assembled bars in a preheated oven until the crust is golden brown and the apples are fork-tender. The bake time may vary depending on your oven, so it’s essential to keep a close eye on the bars during the baking process.
Glazing the Bars
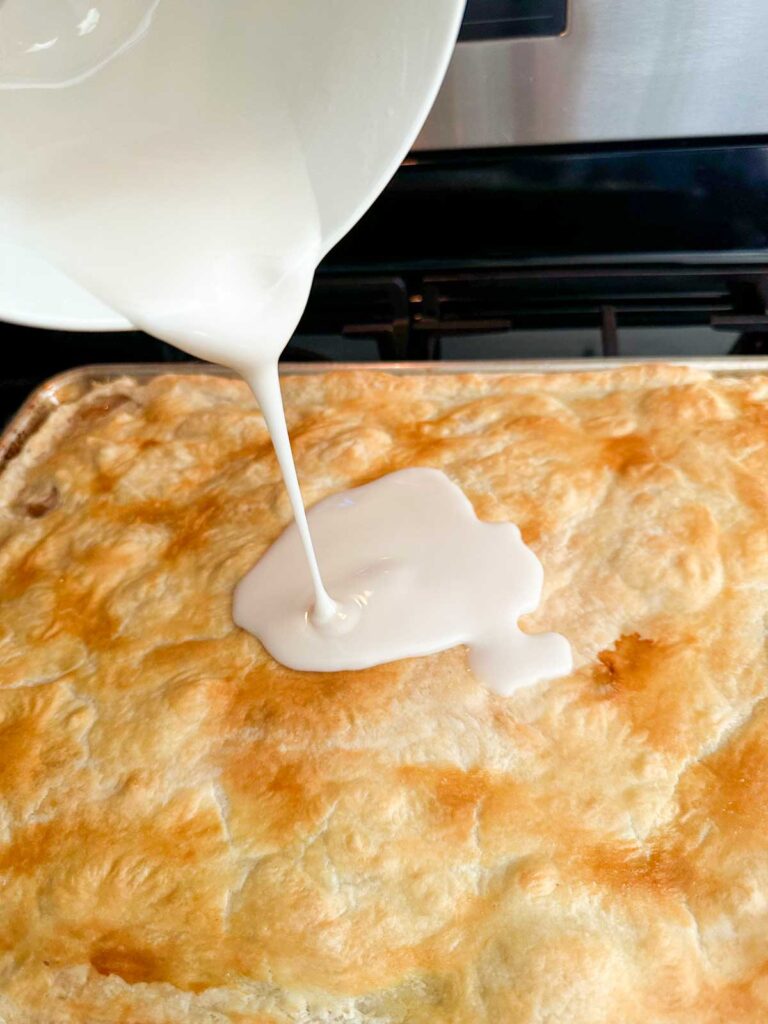
The glaze is vital to these bars and should be spread onto the bars when they are still warm. I prefer to wait about 5 minutes to spread the glaze on top. If you are impatient – the glaze will bubble while it cools on the bars. The glaze is a very simple confectioner’s sugar and milk drizzle. More recently, I began adding a little vanilla and salt to my glaze and it’s perfection! Since the glaze is applied to the warm bars, it will soak into the upper crust slightly.


Serving Suggestions
Apple pie bars are versatile and can be served in various ways. They’re delicious whether served cold, at room temperature, or warmed up. For a yummy and decadent dessert, serve them warm with a scoop of vanilla ice cream on top.

Storing and Freezing
My mom’s baked glazed apple pie bar recipe can be stored at room temperature for up to two days. The glaze will not be hardened and will remain shiny once the bars are covered. These bars also freeze well, making them a great make-ahead dessert option.
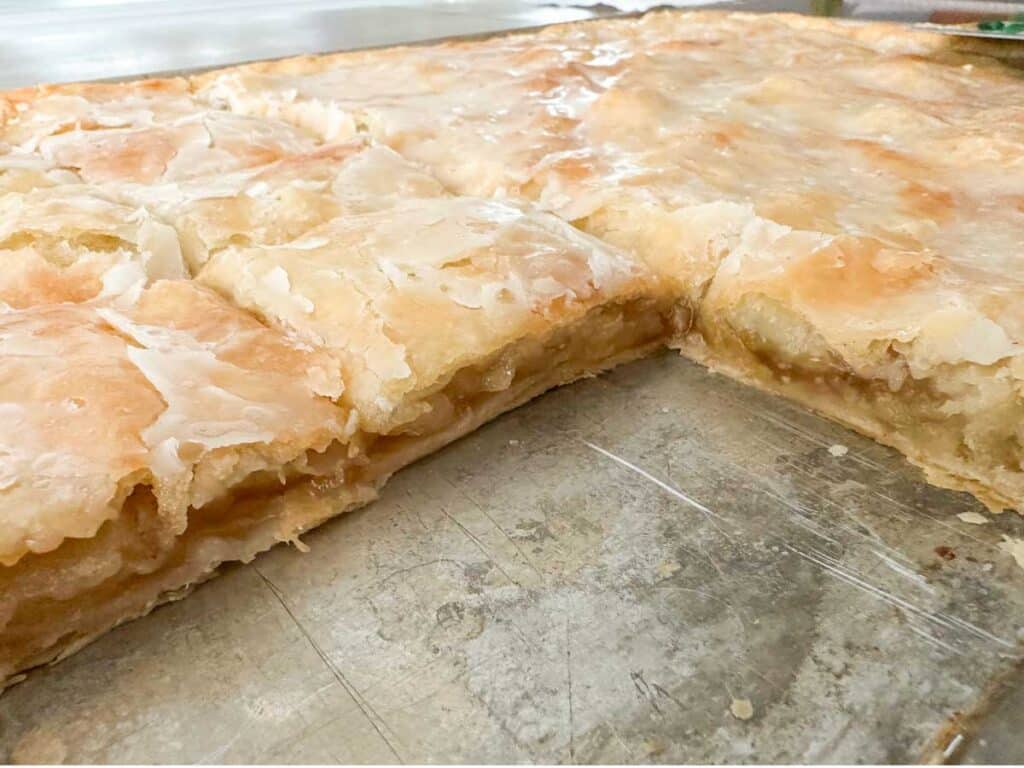
This glazed apple pie bar recipe combines the sweet and tart flavors of apples with a buttery crust and a vanilla glaze on top. With these tips and techniques, you’ll be well on your way to creating the perfect apple pie bars.
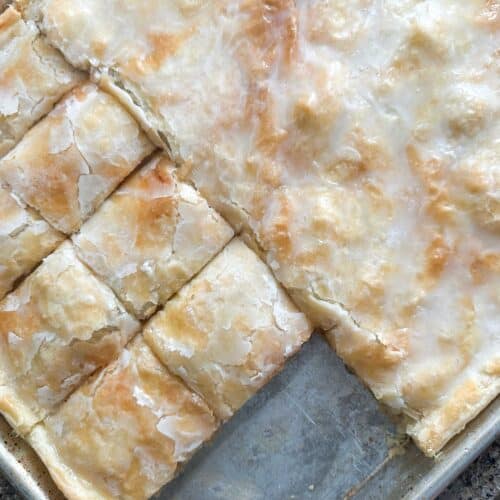
Glazed Apple Pie Bar Recipe
Description
Ingredients
Crust:
- 1 c. butter, or shortening
- 1 tbsp granulated sugar
- 1 egg yolk, reserve white for egg wash
- milk (enough to make 2/3 cup with yolk)
- 2 ½ c. all-purpose flour, unbleached
Filling:
- 8 to 10 lg tart apples, 9 to 10 sliced cups
- 1 c. granulated sugar
- 1 tsp ground cinnamon
- 2 ½ tbsp quick-cooking tapioca pearls , See post notes about other thickeners
Egg Wash:
- 1 egg white , from making the crust
- 1 tbsp water
Glaze:
- 1 c. confectioner's sugar
- 1 tsp vanilla extract
- 2-3 tbsp water
- pinch salt
Instructions
To Make the Crust:
- Mix the sugar and flour in a medium bowl. Cube the cold butter and add it to the flour mixture.
- Toss the cold butter cubes, keeping them separated. Smash the cubes individually between your fingers.
- Use your pastry blender to break up the chunks of butter into smaller than pea-sized pieces.
- Place your yolk (reserving the egg white for later) in a measuring cup. Add enough milk to make 2/3 cup of liquid and stir.
- Mix Incorporate your yolk/milk mixture into the flour mixture and mix lightly to incorporate.
- Lightly dust flour on your work surface and continue to incorporate any remaining flour for an even consistency on your crust dough.
- Shape the dough into a ball and wrap it in plastic wrap, refrigerating for at least 30 minutes, while you prepare your apple filling
To Make the Filling:
- To a medium bowl (big enough to hold sliced apples), mix the sugar, cinnamon, and thickener (crushed cereal, tapioca, or flour). Set aside.
- Place your peeled, cored, and sliced apples in the sugar mixture, tossing to coat. Set aside and begin assembling your bars.
To Assemble the Bars:
- Remove our dough from the refrigerator and divide into halves, with 1/2 being slightly larger for the bottom crust.
- On a lightly floured surface, roll out the larger dough portion into a 15 x 20-inch rectangle.
- Carefully place the crust into the bottom of the ungreased sheet pan. Gently press the crust to form the pan, allowing about 1-inch overlap over the lip of the pan.
- Gently and evenly place your apple filling over the bottom crust.
- Dust your work surface with flour again and roll out your 2nd crust slightly smaller than the first (about 14 x 19 inches).
- Place your second crust over the apple mixture and tuck and pinch your edges so they lay on top of the lip of the pan, press to seal.
- Apply the egg wash with a pastry brush.
To Bake the Bars:
- Place the bars in an oven preheated to 350℉ for 40 to 45 minutes.
- Mix your glaze ingredients together while the bars bake.
- Remove the bars from the oven when the top crust is golden brown and the apples are fork-tender.
To Apply Glaze:
- Drizzle the glaze on your warm apple pie bars and gently smooth it over the top so there is an even consistency.
- Allow the bars to cool slightly before cutting and serving.
Nutrition
I’ve already made these apple pie bars twice this fall. Between this recipe and my frosted cream cheese pumpkin bars, I’ve got you covered!
Happy Fall!
As an Amazon Associate, I earn from qualifying purchases at no extra cost to you. Thank you for your support!

What tem oven please
Sorry Michele! Oven should be 350°F. I’ve updated the recipe.
What temperature is this supposed to bake at? All you say is a ‘preheated oven.’
So sorry for my error! Oven should be 350°F.