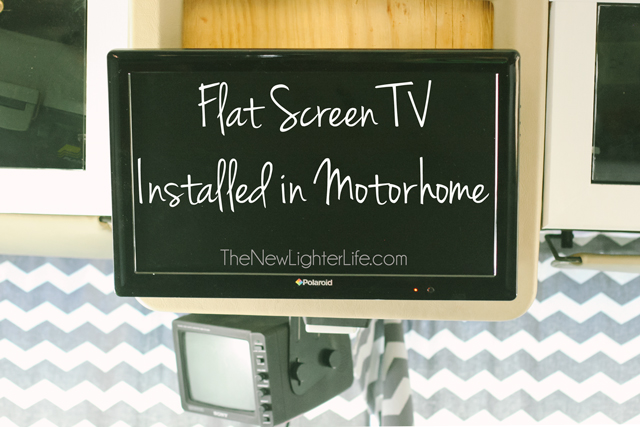
Today I’m sharing with you how to install a flat-screen TV in a Motorhome.
If you’ve followed along with our Camper Remodel, you know everything inside the camper was from the ’90s. The box TV was no exception.
We’re not big TV watchers but we decided we wanted to upgrade to a flat-screen so we could receive digital channels without a digital receiver box.
First things first, Mark took off the front plastic plate and removed the TV.
He cut 2X4’s to build an “H” Frame that could fit into the cubby hole. He screwed that frame to the built-in existing metal frame that was inside the cubby.
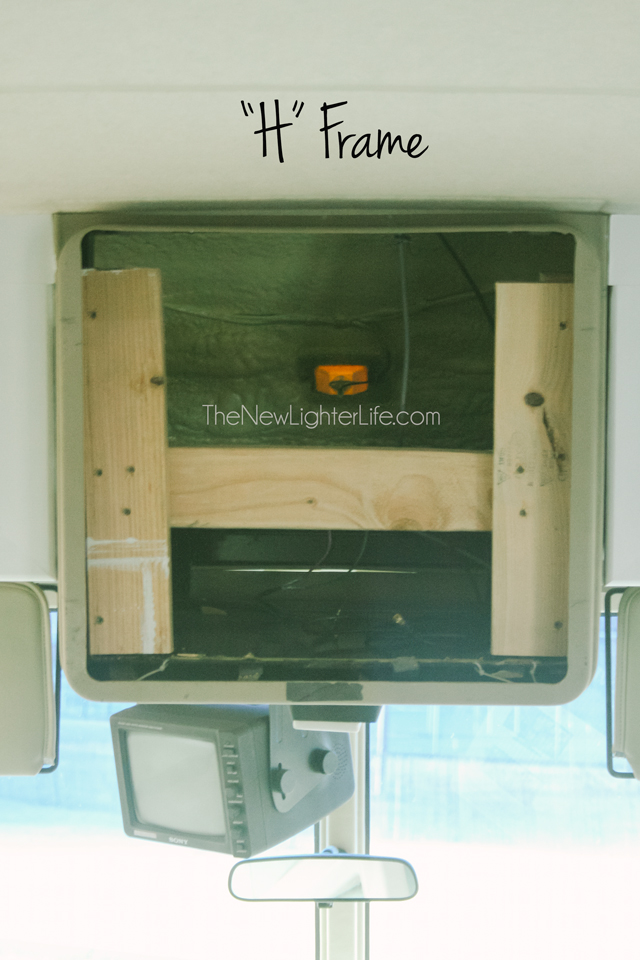
Next, he took a piece of plywood and cut it to the measurements to fit over the TV opening. The purpose of the plywood is for it to be a mounting piece. Since there is not a wall to attach the TV to, Mark had to build one. He used a jigsaw to cut an opening so he could run the cords through the opening for power and hookups.
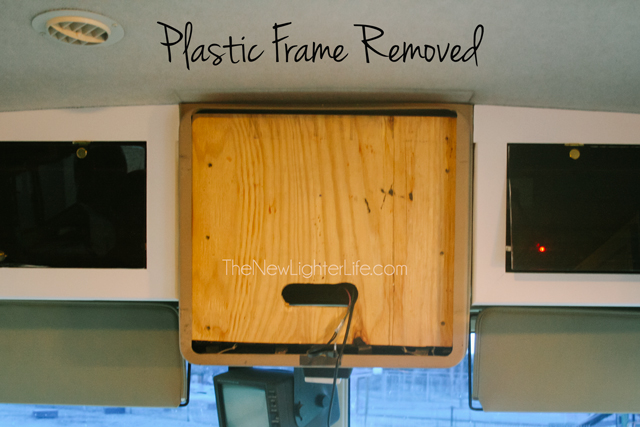
That plywood face was screwed into the “H” that Mark made.
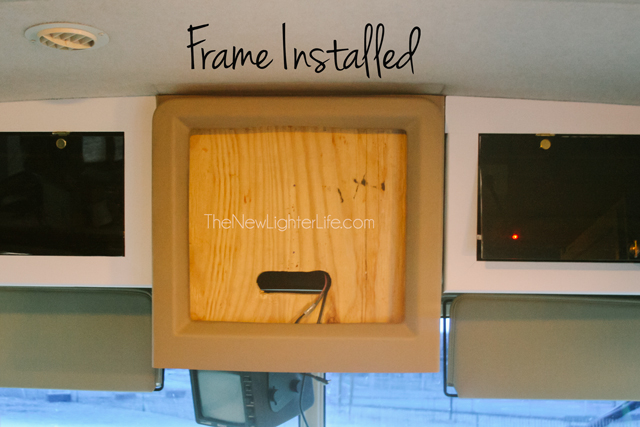
Next, the plastic frame was re-installed over the plywood face
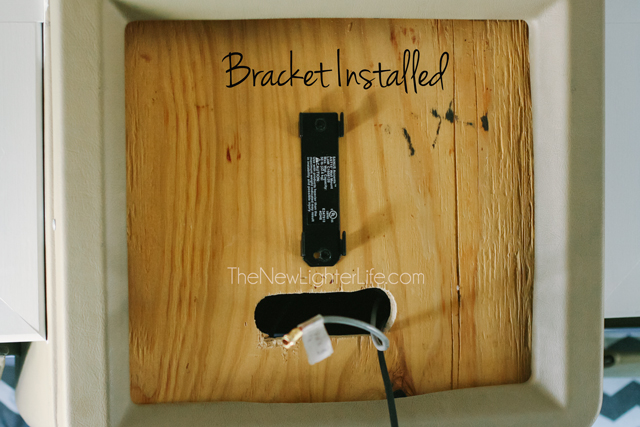
The flat-screen came with a mounting bracket so Mark screwed that into the “drywall” mounting piece.
Mark mounted the TV to the mounting bracket and it was securely attached to the cubby hole.
Now, this worked great as far as stability, but the TV’s position and lack of tilt were annoying. When anyone would sit in the side chair, the glare from the TV made it so the picture was not visible.
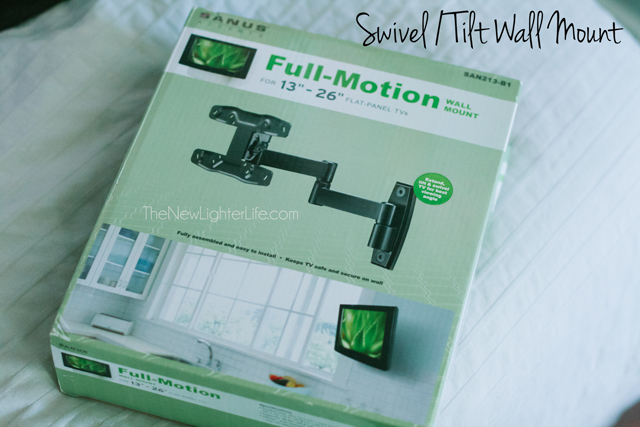
So we bought a swivel/tilt wall mount at Target for around $60.
 The old bracket had to be removed and the new mount was screwed onto the plywood. The position of the swivel was lowered due to that cutout for cords and because the TV would have sat too high on the cubby.
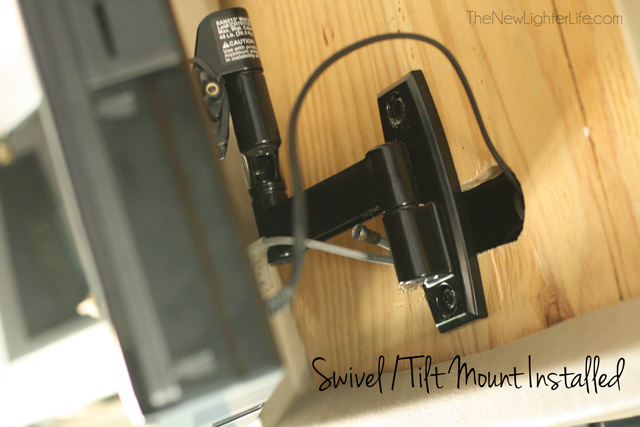
Now we need to finally paint our plywood. Someday.
I am getting ready to do the same, but I am thinking of ways to make the empty area where the old TV sits accessible for storage, maybe small things like cell phone chargers, small power supplies. Your information on the mounting problem with glare saved me some time, I would have never thought of that. Thanks…..Jim..
A cubby behind the TV is a great idea! My initial thought is you’d need to build a cabinet front for the TV to be attached to. If you installed shocks the door could be held open while you access the cubby. Just a thought on how it could be done.
Glare was a nuisance! 🙂 Glad we could help!
Julie,
What is the size of the TV?
Thanks,
Teresa Cook
It is a 26 inch Teresa. Hope this helps.
How is that bracket holding up? We have a similar one, for a tv about the same size, maybe a bit smaller, but we haven’t installed it yet, because we’re worried it will pull out of the wall from all the vibration when traveling, since it’s not made for rv use. Have you noticed anything giving way at all, or a lot of up and down motion of the tv when traveling? Thanks!
Hi Sarah! Since we took that front frame off and screwed the plywood into the frame inside TV cubby, placed the front frame back on and attached the wall-mount bracket it’s very secure. You’re right, not made for RVing but very secure by our estimation. Honestly, we didn’t notice any vibrations or motions when driving, that TV was pretty stuck up there. 🙂 We had talked about removing it when we were driving but since it was very secure and tight to remove, we left it up with zero problems.
Pretty! This has been a really wonderful post. Many thanks for supplying this
info.
Thanks for providing this. Installing a flat-screen TV in my RV makes my RV a mobile home. Now we can enjoy our favorite movies and TV shows even on our RV.
Installing flat-screen TV in RV makes an RV a mobile home. My family gets to enjoy our favorite movies and TV shows while I stay focused on driving us to the next destination.
Thank you for sharing these information, they are very helpful to me. I was able to install a flat screen TV in an RV.