If you’ve been following along on our posts, you’ll know that we renovated our little bumper puller last spring. We have the lowdown on painting a camper since we painted the walls and cabinets. I wrote about painting camper cabinets already but wanted to give you some quick information and tips on painting camper walls and the best camper paint I’ve found.
One thing I love about painting, the options are endless, the cost is low, and the impact is huge!
The last time we painted an RV was when we remodeled our 1996 Winnebago Adventurer all those years ago when we were full-timers. I could have sworn that I shared about that but I was looking through our Big Reveal and realized I didn’t ever actually post more details.
So today, I’m going to share some information on recommended supplies along with before and after shots. Before I delve into that, let me discuss stripping the walls…
How Much Prep Work for Camper Walls?
There are a few tips I have for getting your walls ready for paint.
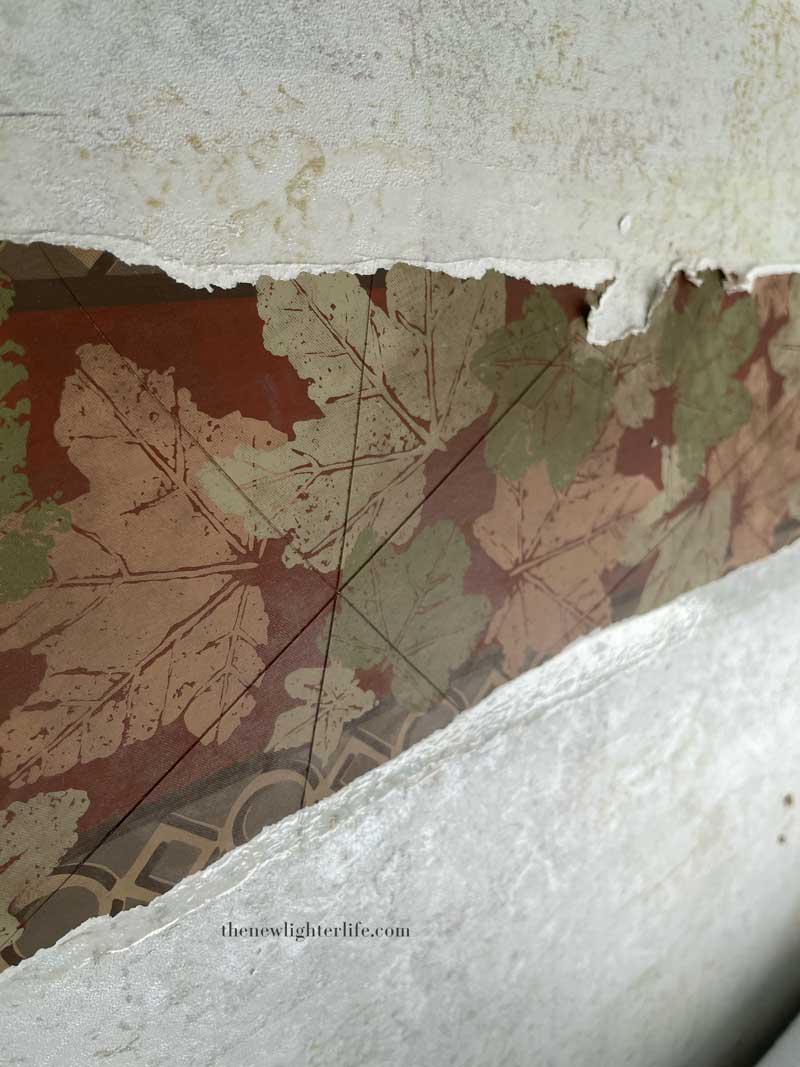
- Remove all wallpaper. This stuff can really stick depending on the age of your camper. I recommend you use a razor blade and some Goo-Gone to get rid of any residue from peeling the wallpaper off.
- Remove nails, hooks, window hardware, etc.
- Fills any unneeded holes with some putty (DAP Drydex works great).
What? No wall stripper??? On our Winnebago, we used TSP to clean the walls before painting. While there may have been some benefit to that, I chose to skip TSP this time around and use a higher-quality paint. This worked out for me. If you’re using cheaper paint, I recommend you use TSP to be on the safe side.
Supplies for Painting Camper Walls
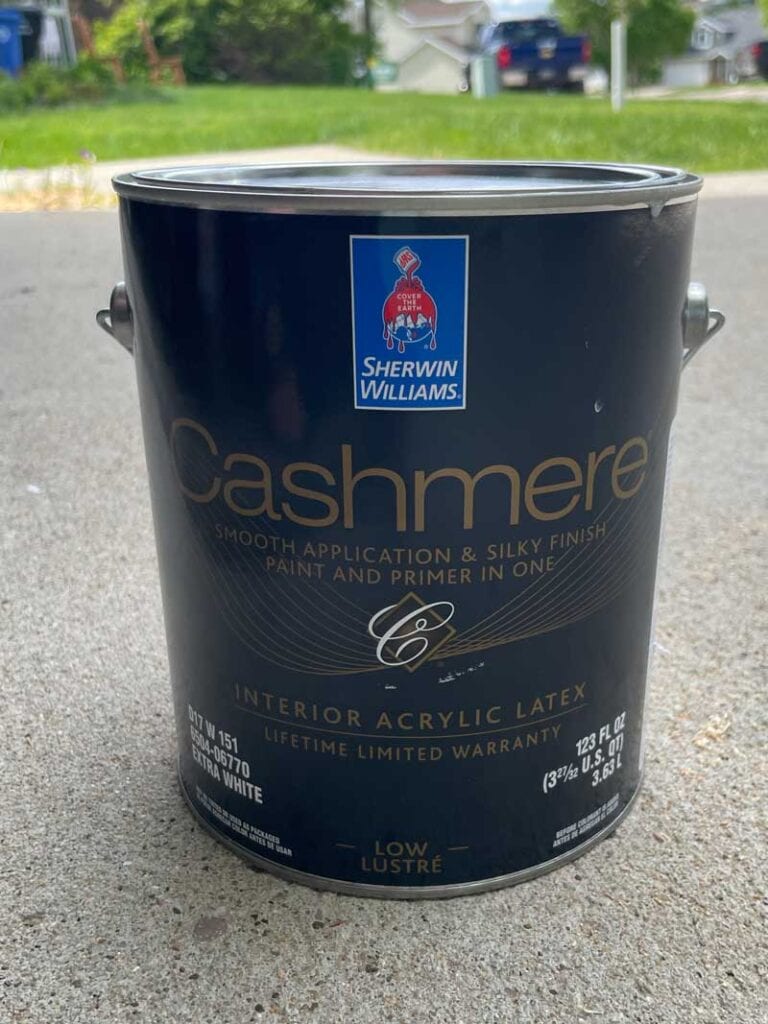
- Camper Paint – Sherwin Williams Cashmere Paint is our go-to. This is a paint and primer in one and has really good coverage. I did need to apply 2 coats but I’ve gone the cheaper route before on paint and had to do 3 coats…no thanks!
- Paint Brushes – I talked about this in my cabinet paint post, but there is only one kind of paintbrush worthy of my hard-earned money, Purdy. My girlfriends have an interior painting business and they are the ones that tipped me off to Purdy. Now keep in mind, that you need to take care of your brushes. Actually, I think painting techniques and brush care are worthy of their own separate post. Trust me, nothing makes a camper remodel more frustrating than crappy brushes.
- Drop Cloths – you’re definitely going to need to cover that RV furniture that you cannot remove for painting.
- Paint Bucket – These little magnetized buckets are great for pouring just the right amount of paint to cut in and do the trim painting. Plus they have plastic inserts that you can throw away when done. The magnet in the bucket is super helpful for holding your brush to the side when you need to stop for a few minutes.
- Paint Brush Cleaner – If you got your Purdy brush, make sure you have this wire brush cleaner.
- Painter’s Tape – if you are not super steady with cutting in, I recommend painter’s tape but if you can be steady NOT using painter’s tape will save you time.
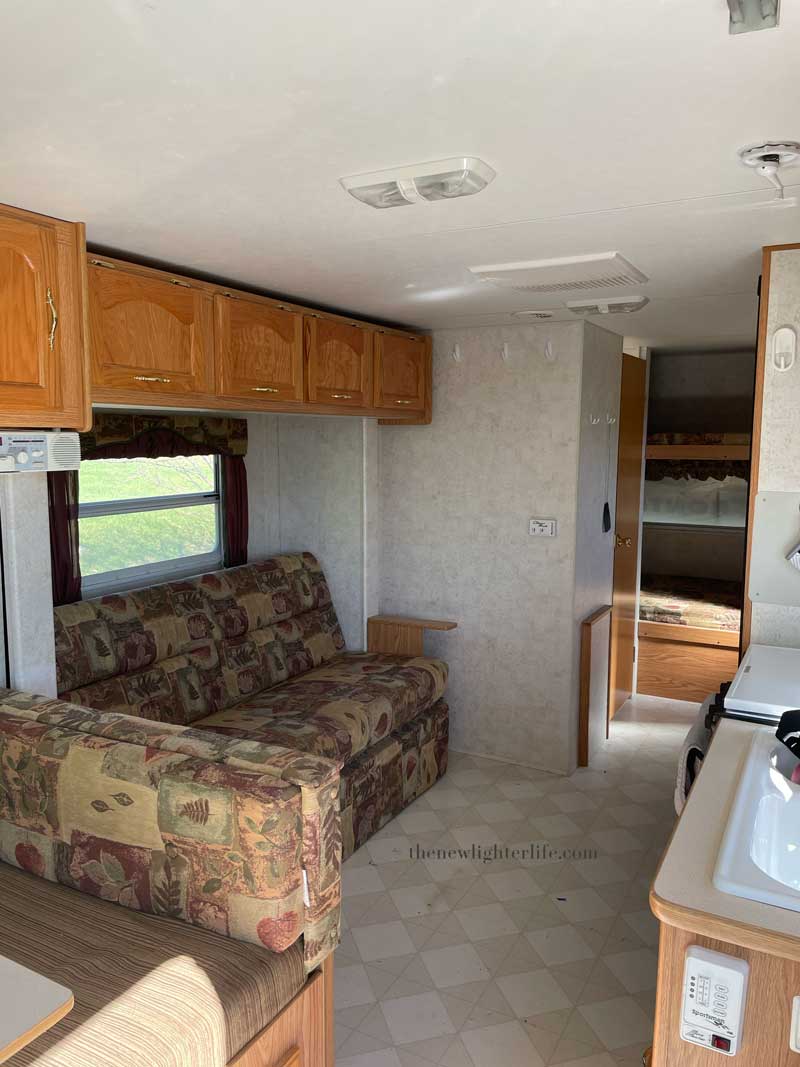
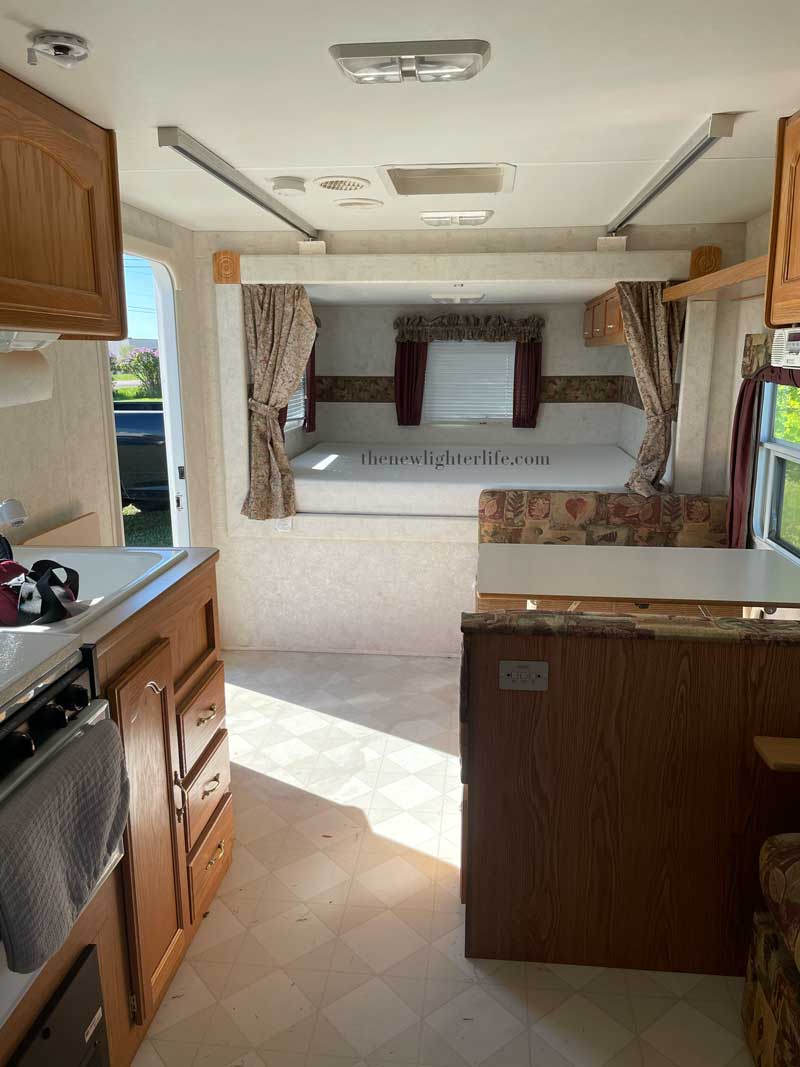
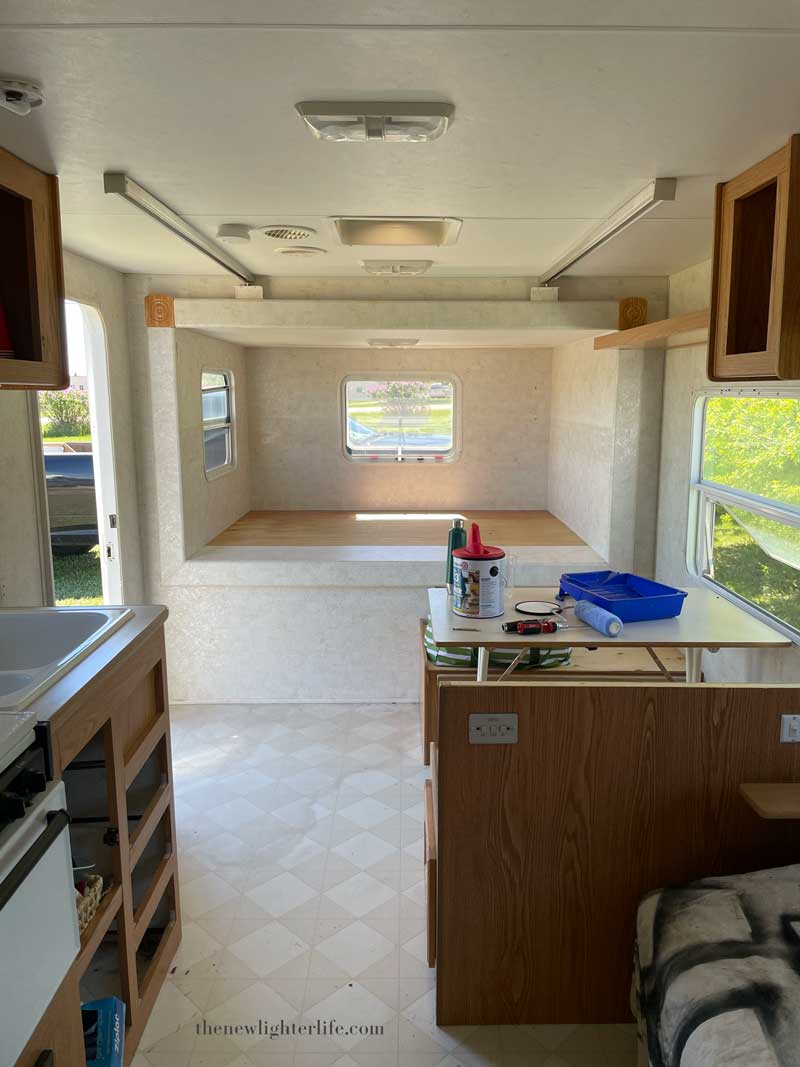
And now for the before pictures…

Here we are mid-process and all prepped for paint…
And here are the end results…
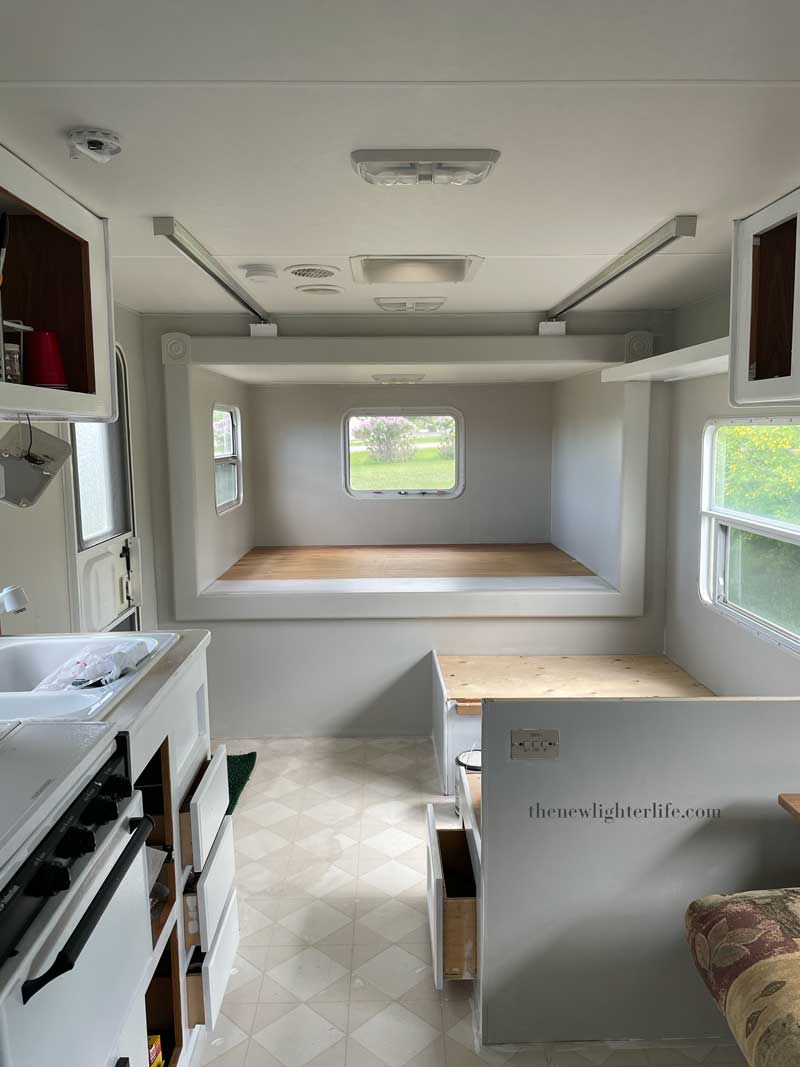
Of course, this isn’t the complete end result of the camper renovation as we finished painting the cabinets, installing LVT flooring, and hanging new RV blinds. Nonetheless, the walls are complete here and it looks so much better.
The camper walls really did not look bad before since they were a muted color. Still, a neutral camper paint color made a HUGE difference, don’t you agree?!
For little snippets of the final end results, check out our Travel Trailer Remodel Series.
Blessings!
As an Amazon Associate, I earn from qualifying purchases at no extra cost to you. Thank you for your support!

1 thought on “Transform Your Camper with a Fresh Coat of Paint: A Complete Guide to Painting the Walls”