About a year ago, I announced that we had sold our renovated travel trailer and bought a 2002 Winnebago Minnie Winnie 31R. That sounded like a happy little event in our life, but there is definitely more to that story. Today, we dive into replacing rotting walls in a camper.
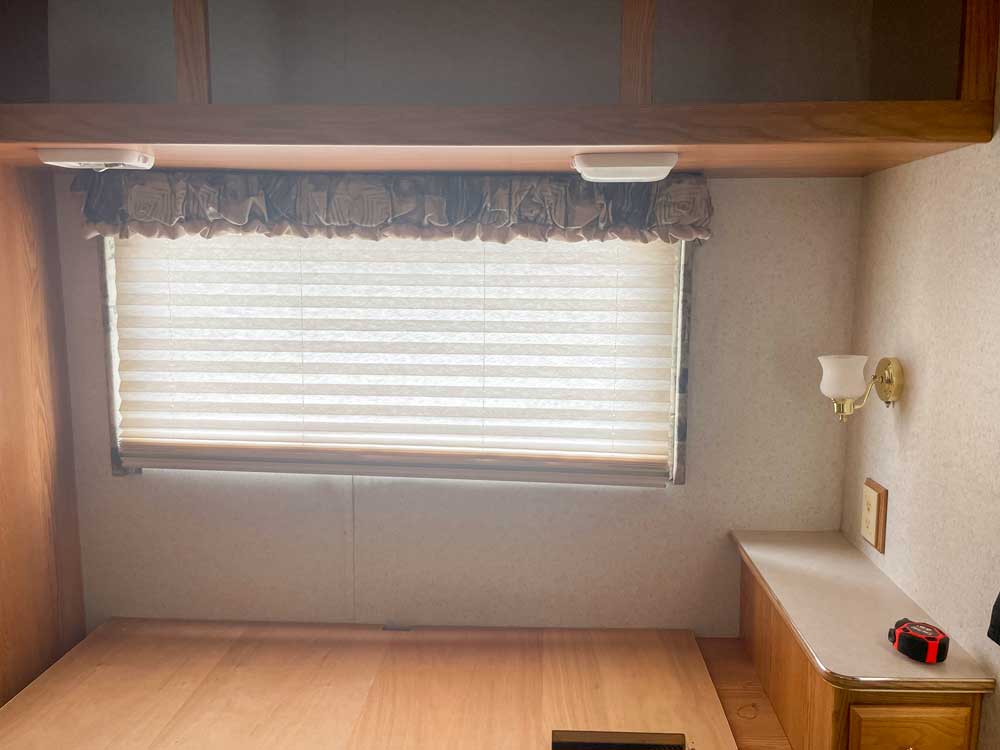
Inspecting Before Buying
When we looked at the camper, the owner pointed out that there was some delamination on the back driver-side corner rv wall. He told us that he sealed the RV exterior walls and that the shop that serviced his RV told him that the fix was good. The delamination we could see was not to be worried about since the corner was reinforced.
Mark and I checked the interior wall that the delamination was on and it appeared solid. We felt like the owner was very forthcoming, so we took the plunge and bought the camper. I’m sad to admit that we made a big mistake.
Why Replacing Rotting Walls in a Camper is Necessary
A few weeks after buying the RV we were prepping for a big trip through the Smokie Mountains and down to Florida when we noticed something was awry. We were making the bed and Mark’s hand grazed the back interior walls. The two back wall panels at the back of the RV were squishy.
We could have just ignored it and used the RV, however, there are three primary reasons why we felt the RV wall replacement was absolutely necessary.
- Structure & Safety – The rotted wall would only deteriorate more with time and use, which could affect the stability of the camper walls and attached cabinets.
- Resell – I believe in full disclosure when selling a camper. Some people will steer far away from a camper that has had water damage. But it is what it is and you have a much better chance of selling a camper that you conscientiously repaired than one with hidden issues.
- Health – As I’m sure you know, mold is not something you want to breathe in regularly. The only way to truly get rid of mold is to remove it and/or treat it.
Looking back, I should have known there was something up with the camper when we first looked at it. You see, the owner had air fresheners throughout. We removed them when we cleaned the camper and were prepping for our trip, that’s when we realized we had a mold problem.
Since our trip was only a couple of weeks away, we decided to just deal with the repair when we got back.
Assessing the Damage
If you’re reading this and trying to determine whether your RV has rotting walls, here are a few things to look for:
- Soft spots in the walls, floors or ceilings.
- Discoloration of the walls, floors, or ceilings.
- Musty smell.
- Walls or floors are warped or buckling.
- Seams of walls are peeling
- Delamination of the outer layer of a wall from the inner layer.
In the case of our RV, we had soft spots, peeling seams, and a musty smell and delamination. So we knew we were in trouble.
On a side note, we also fixed a leak in our travel trailer. You can read about that here.
Address the Underlying Issue
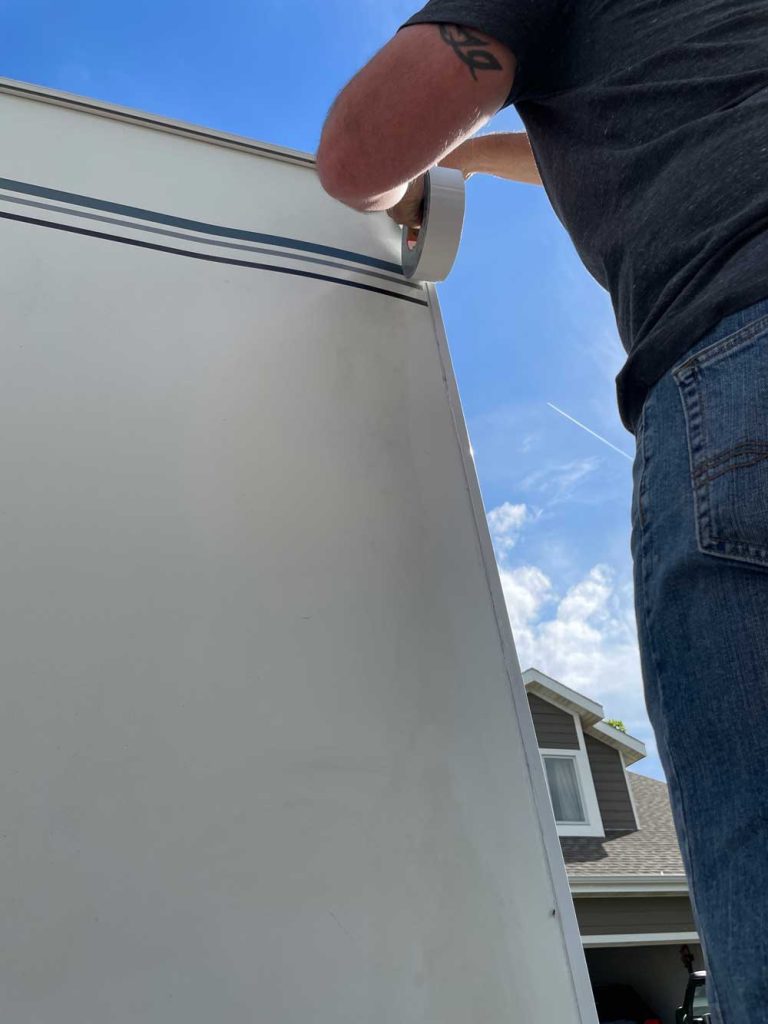
If there are rotting walls or water damage in your RV, you absolutely must address the underlying issue. Replacing the damaged area is fruitless if the leak is not repaired. In our experience, finding the source of a water leak can be tricky.
Here are some ideas to get you started:
- Check the Roof: Look for cracks, holes, or other damage that may be allowing water to seep in. Also, check the seals around any vents, antennas, or other fixtures on the roof.
- Inspect the Windows: Make sure the seals around the windows are in good condition and not cracked or missing. Also, check the window frames for any signs of water damage or warping.
- Inspect Discoloration: Follow water stains to their source to identify where the leak is coming from.
- Check the Plumbing: Inspect the nearby pipes and connections for leaks or signs of corrosion.
- Inspect the Exterior: Inspect the exterior of the camper for any signs of damage, such as cracks or holes in the siding or around the corners. Water can enter through any gaps or cracks in the exterior, even tiny ones.
- Test for Leaks: If you can’t pinpoint the source of a leak, you can use a water hose to simulate rain and check for water inside the camper.
Once you figure out where your RV is compromised, you can fix the source of the water leak and move on to the actual repair.
Tools & Supplies For Replacing Rotting Walls in Camper
In our experience, it is pretty challenging to figure out the extent of hidden damage until you start digging in. But you’ll want to at least have the following tools on hand to get started.
Tools Needed
First, you’ll want to make sure you have the basic tools needed for the replacement.
- Circular saw or jig saw to cut the new wall panel to size.
- Drill and driver bits to remove any fixtures and attach the new wall panel to the RV frame.
- Stapler and staples for areas where screwing into the RV was not feasible.
- Pry bar (we like the Purdy Painter’s Tool) and hammer to remove the old wall panel.
- Utility knife to cut through any sealant or adhesive that may be holding the old wall panel in place.
- Measuring tape for making accurate cuts.
- Mask to protect your lungs from mold.
Materials Needed
This is a list of the materials we used for our RV wall replacement and would be needed for nearly all wall replacement projects.
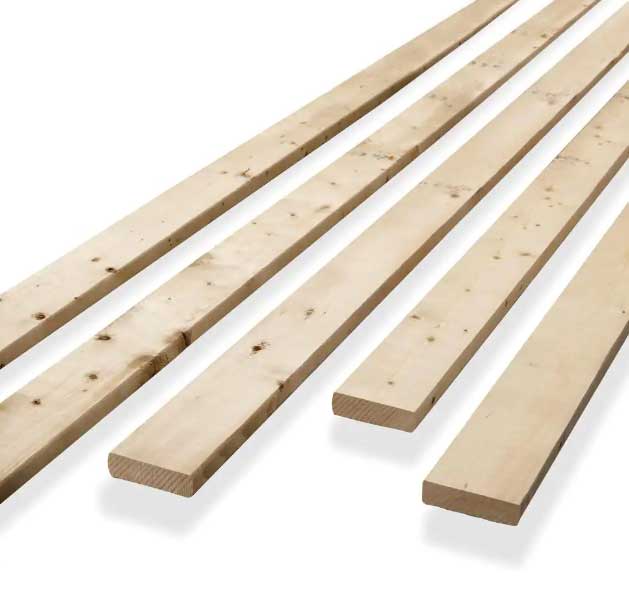
1″ X 4″ Boards from our local hardware store
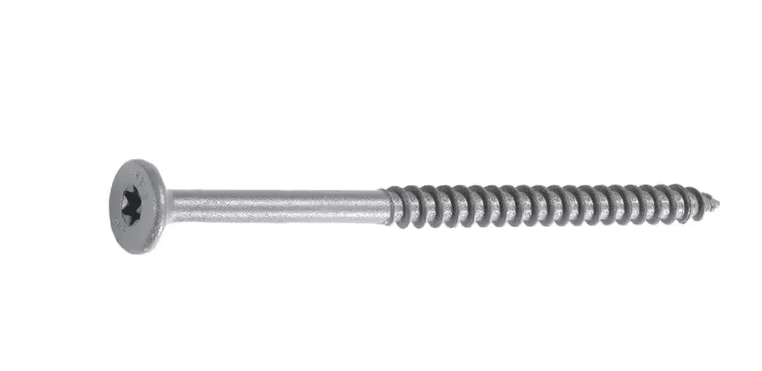
5-inch wood screws to screw through the width of 1″x4″ boards to original support boards.
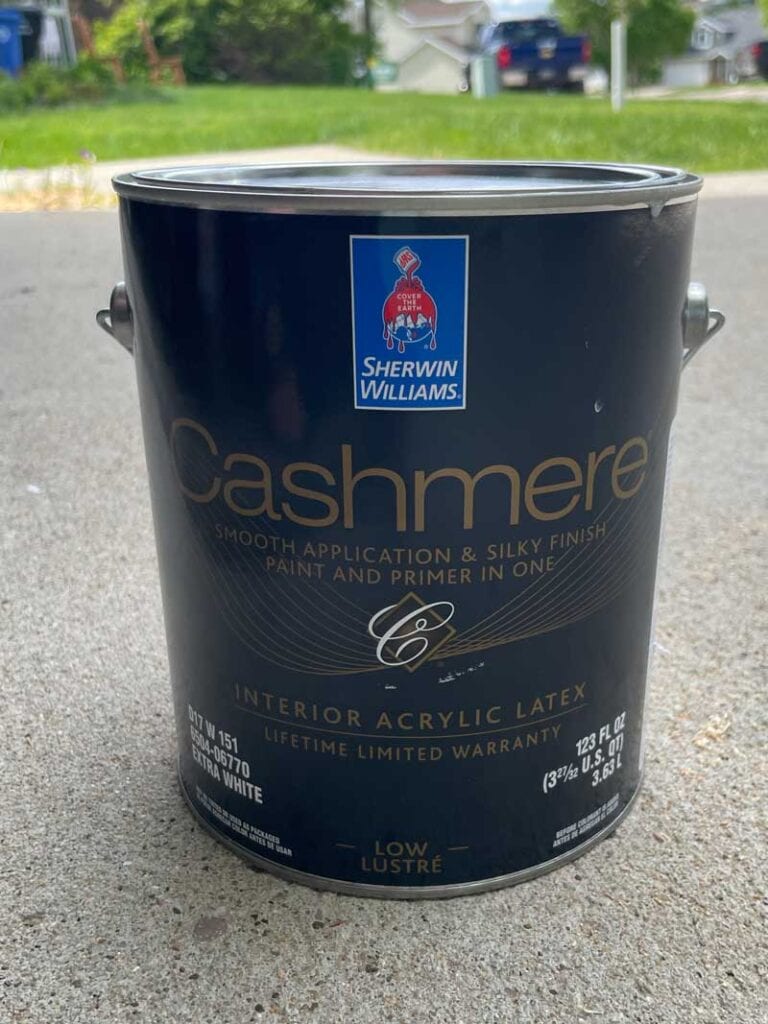
Our go-to paint for RV walls is Sherwin Williams Cashmere. Paint/Primer in one.
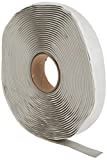
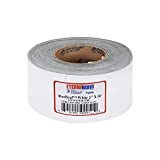
Instead of sealant, we used Eternabond on our outside seams.
Replacing the Rotted Walls in Camper: Step-By-Step
Here is the step-by-step process Mark used to replace our back wall. Depending on the location of your rotting wall, you may have additional steps.
Before you get started and if possible, you will want to make sure you address and seal up the area of your RV where water is leaking, (Eternabond was perfect for our situation).

Prepping the Area
- Ensure no power is connected to the RV (especially if you have electrical outlets on the wall being replaced.)
- Remove any belongings in the area.
- With a drill, unscrew any cabinets or fixtures attached to the wall that will be replaced. These are often hidden inside cabinets along with a metal strip.
In our case, the bed and its compartment had to go along with the upper cabinets and the nightstand. Underneath the bed are the water tank and pump, which stayed in there.
Tear Out
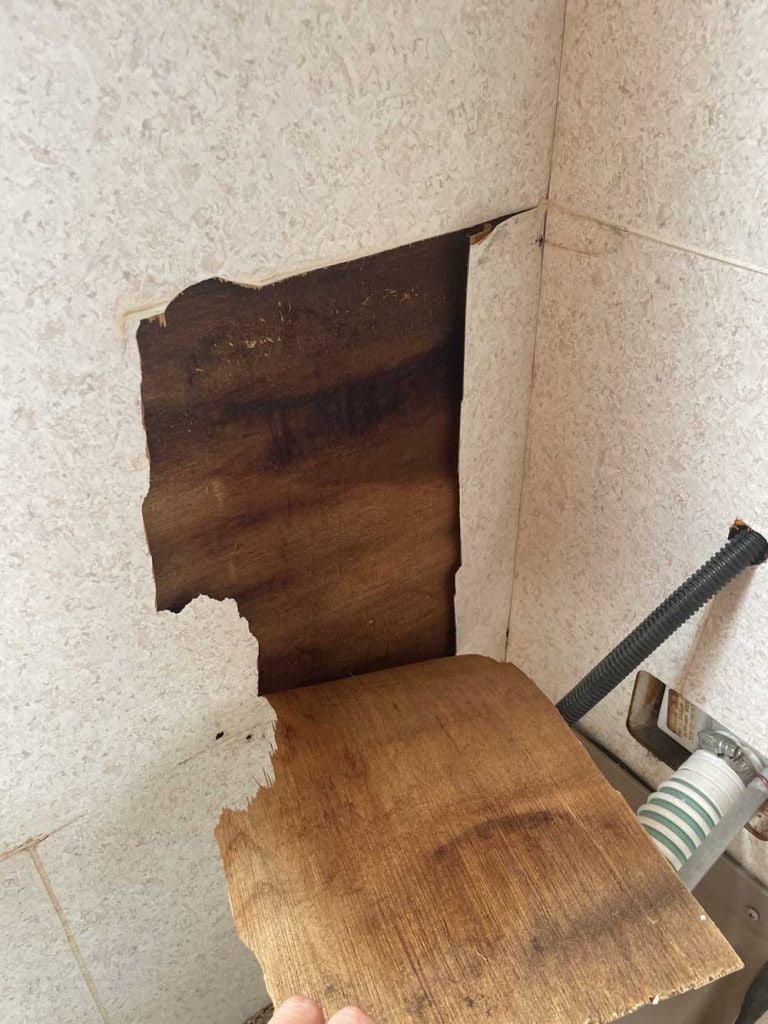
- Tear out the rotten wallboard to a point where no further water damage occurred and where a join with the new replacement wall makes the most sense.
- Remove any moldy & damaged insulation.
- Consider whether you should remove any support boards or they can be salvaged. Safety and structure should be taken into consideration.
- Remove any exterior windows that have water damage around them (see note below). There are at least 3 different types of RV windows so research your type of window and remove it according to the instructions (recommend searching for your specific type of window).
- Scrape away any caulking and residue from the window and cut out. (you can use rubbing alcohol or mineral spirits.)
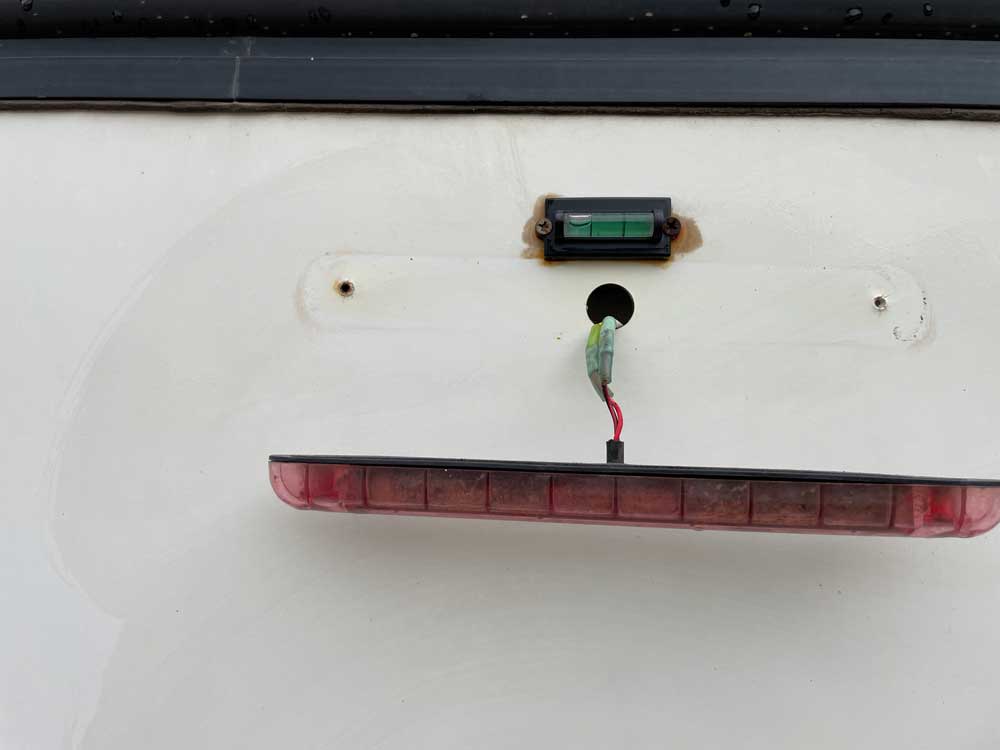
NOTE: If your RV is being stored indoors during the repair, you can also remove any exterior windows on the wall you are replacing. OR you can remove any windows now and cover the RV with a tarp and move on to dealing with the mold. We opted to wait to remove the exterior window until we were ready to install the new wall.

Mold Removal
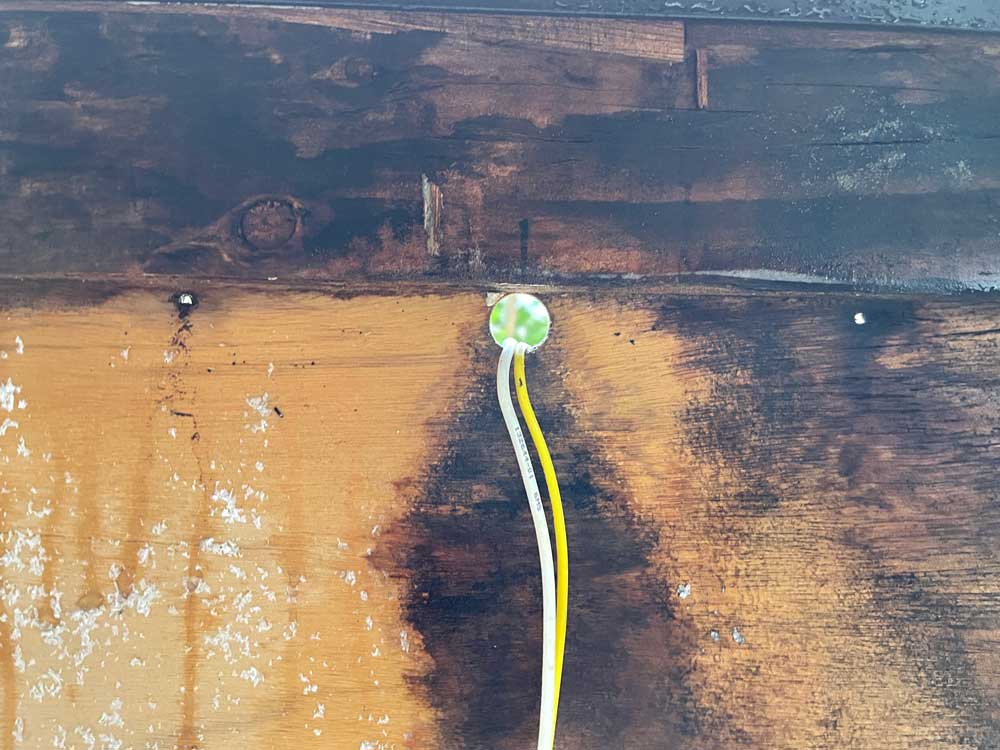
- Spray any moldy areas that cannot be removed with bleach water. Use a mix of no more than 1 cup of bleach to a gallon of water.
- Wipe the area clean.
- Spray with bleach/water mixture again.
- Let all surfaces air dry completely. This may take over 24 hours.
Seal With Primer
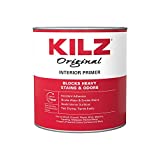
- Apply primer to all original wood and surfaces and let it dry.
- Apply a 2nd coat of primer to exposed areas and let it dry.
Address Delamination Areas
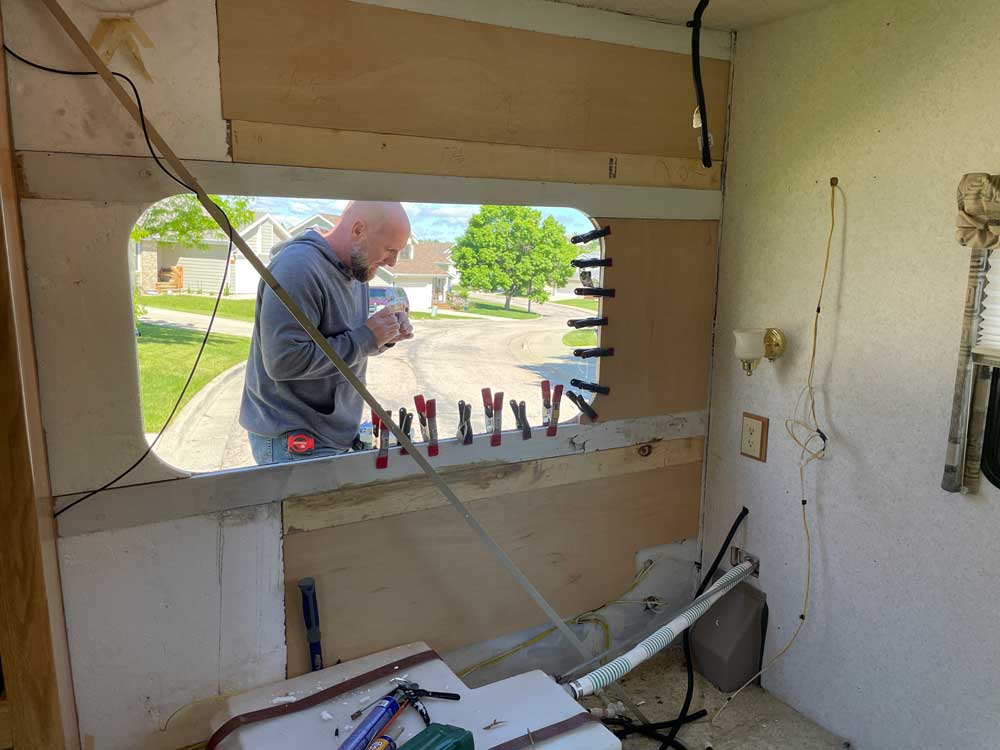
If the exterior fiberglass around the area of the damaged window area has delaminated from the wood surround, you will need to join the fiberglass to the wood again.

- Apply a heavy amount of Liquid Nails between the wood and the fiberglass (window frame area).
- Quickly clamp the wood and fiberglass together and apply pressure to the surrounding wall.
- Let set for at least 6 hours but the actual cure time may be 24 hours.
Installation
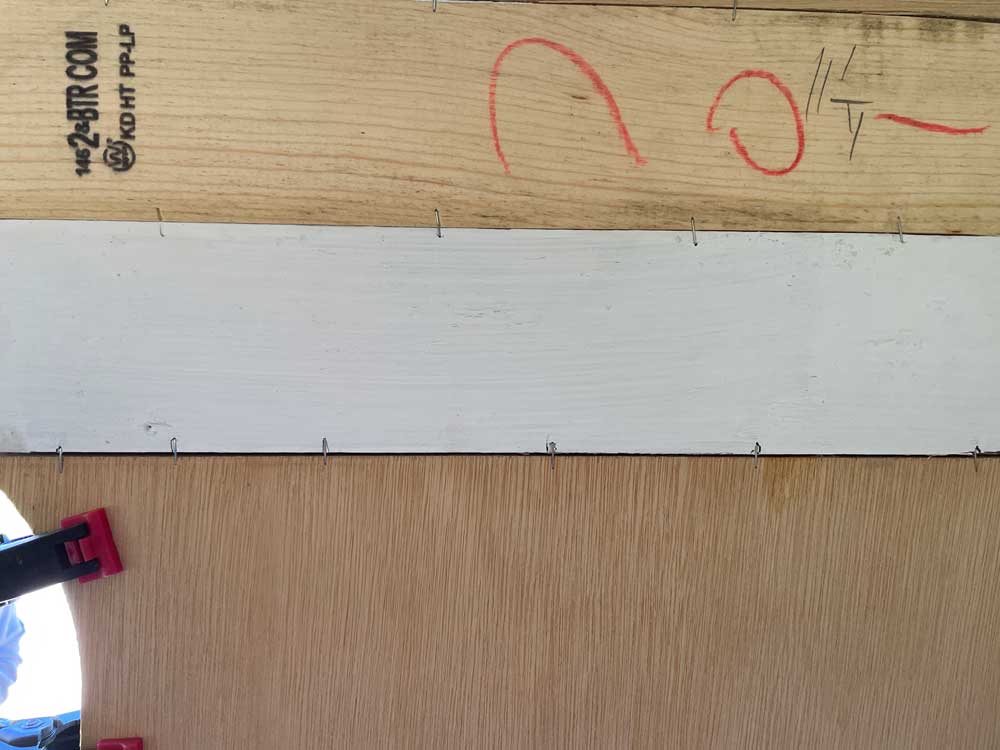
- Affix any necessary wood support boards. In our case, we attached new 1×4 pieces of wood. Screws were driven through the width of the board.
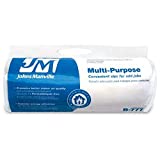
- Install any replacement insulation to areas where insulation was removed.
- Cut and shape replacement 1/8″ plywood over insulation.
- Staple any joins that need added reinforcement. We were unable to screw the new support boards directly through the boards and into the fiberglass exterior of the camper (this would obviously compromise the water seal at each hole). For this reason, the new support boards were reinforced with staples into the joining plywood and old/treated support boards
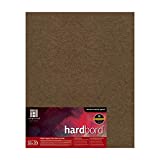
- Cut the new 1/8″ hardboard paneling to cover the entire replaced wall.
- Screw cut-to-shape hardboard into wood supports of the reinforced wall.
Put Your Camper Back Together
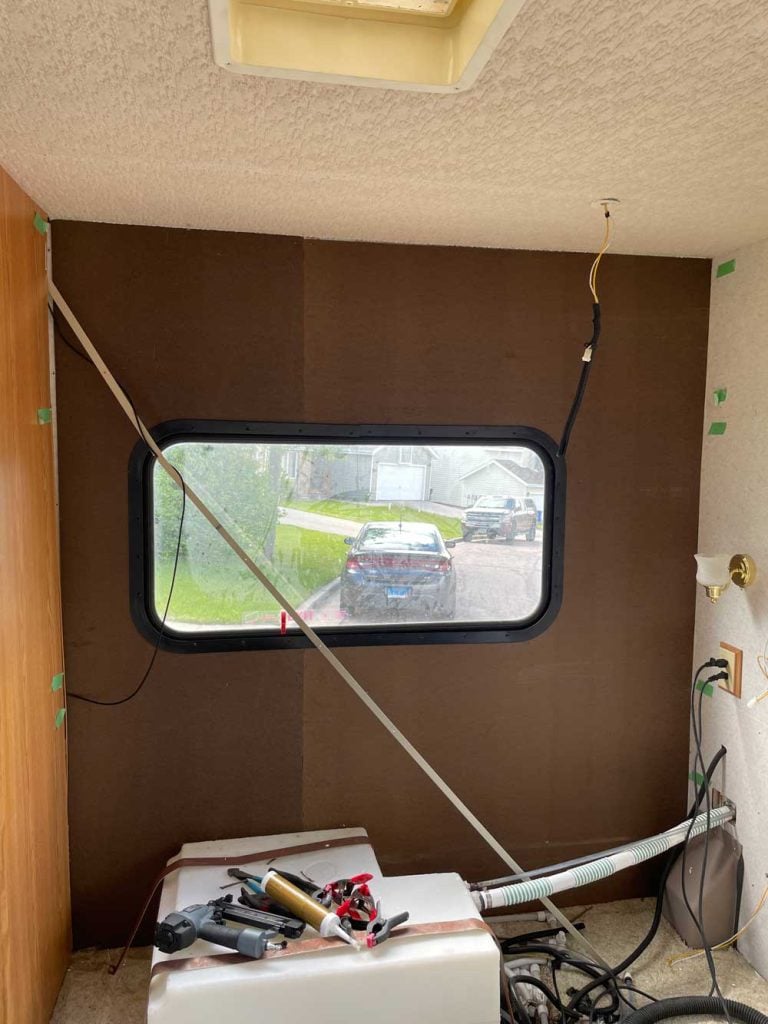
- Reinstall the window according to your RV’s window type.
- You may decide to paint your wall at this point. (we did not due to time constraints but I wish we would have.)
- Place and reattach all the furniture cabinets and fixtures back in place.
Phew! It was quite a process. If you’d like to see what we were dealing with, here is a video with the damage and an explanation of the repair process.
If only we knew then, what we know now about inspecting used campers. We would have saved ourselves a ton of time and money by avoiding this camper. I guess the silver lining is that I was able to share with you all about replacing rotting walls in camper, which is no small feat as far as camper renovations go.
What’s Next for the Winnie?
We (mark) finished replacing the rotted wall last spring. Thankfully, the camper walls are firm and the mold smell is gone!
Before I leave you for today, let’s chat real quick about the driver’s side (delaminated side). We will be monitoring that side for any negative changes. All the outside seams are sealed with Eternabond, so we’re hopeful there are many more years of use in the Minnie Winnie.
We are concerned we’ll get in over our heads if we try to repair that at this point. If that driver’s side wall becomes a problem, we will address it or let a professional repair it. If you need to do a more extensive wall repair (and dig into the fiberglass exterior) it looks like these guys tackled that in their Class C renovation.
Mark went to check on the camper (he has camping fever) a few weeks ago and saw that there was a crack in the linoleum. He checked to see if there was any indication of another water leak, but the subfloor is completely dry and there is no sign of another water leak.
We decide to bite the bullet and do another camper renovation because of the crack in the floor. I confess I’m not looking forward to this, but I AM excited to get that ugly back wall painted.
Stay tuned for those updates!
As an Amazon Associate, I earn from qualifying purchases at no extra cost to you. Thank you for your support!


Use screws or adhesive (depending on the patch material) to secure the patch in place. If using screws, countersink them slightly below the surface.