We’re happy to report that our rig is skirted.
There are lots of options for skirting an RV, which we discussed here.
We opted for vinyl skirting.
We learned a few tricks and made some mistakes, which we’ll cover tomorrow in a post with all the pictures of the skirting job.
But for today, we’re going to cover the materials for our skirting.
Supplies
We ordered our supplies from 2 different companies.
- The 5th Wheel Enclosure Kit and 3M EZ Snaps from EZ Snap Direct.
- Vinyl, velcro, & vinyl cement from Sailrite.
The 5th Wheel Enclosure Kit
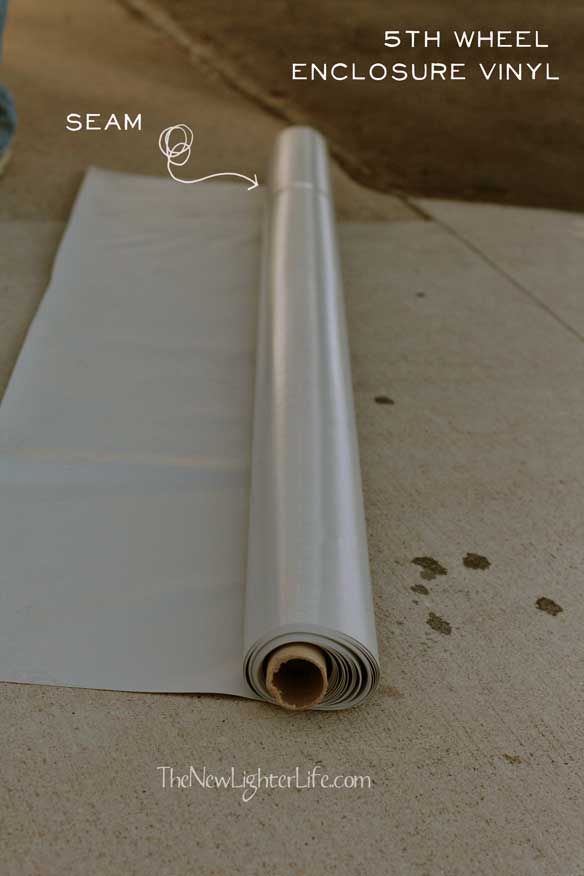
 We were surprised to find out that the 5th Wheel Enclosure Kit was simply a 25-foot length of vinyl that was glued to another 15″ strip of vinyl. Not that we question the durability, it was just so simple. We figured we could have done this ourselves. But doing the math on what it would have cost us, it was more efficient to buy the kit. We would have saved a meager $20 by doing the entire thing as a DIY.
For starters, we were not able to find the 3M EZ Snaps anywhere else. (they are out there I’m sure, we just couldn’t find them) We could have just bought the snaps from EZ Snap Direct, but then we’d have been charged $28 shipping, (shipping was free since our order was over $250)
So it made sense for us to buy the Enclosure Kit from EZ Snap. If you are doing the screw-in type of snaps (they are available from Sailrite) I’d recommend simply making your enclosure kit to save some cash-o-la.
The Skirting Material
We went with the ShelterRite 18 oz. vinyl. There is a bunch of info here, but basically, it is non-fraying (so you don’t have to sew the edges) and super-durable.
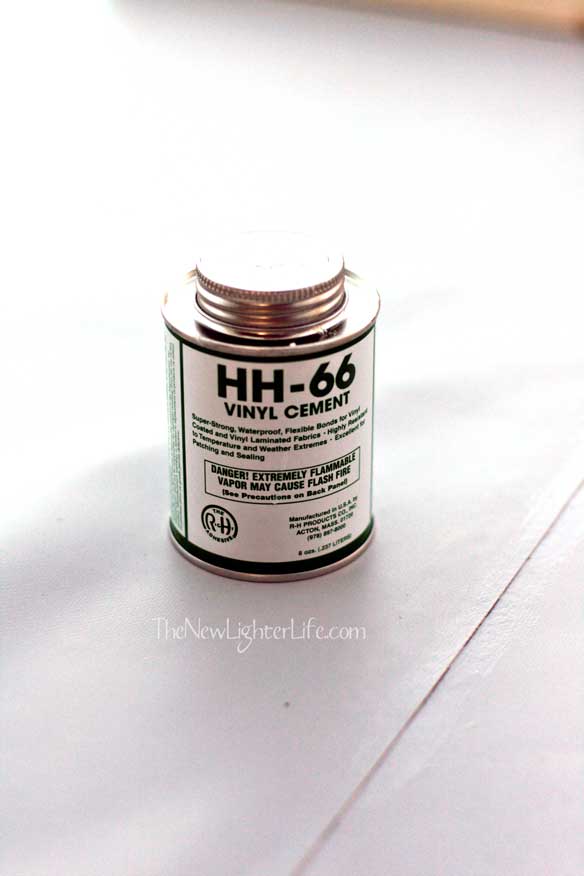
HH-66 Vinyl Cement is what we used to glue the seams. That stuff works super fast and is perfect, (order more than you think you’ll need though…uh-huh).
The Snaps
We opted to go for the 3M adhesive snaps simply because we didn’t like the idea of drilling holes in our camper. Those puppies are super strong, once you place them, there’s not moving.
Velcro
In order to get easy access into the 5th wheel portion and also break up the VERY long piece of finished skirting, we put some velcro between some of the pieces of vinyl. Make sure you order sticky back velcro unless you plan on sewing your velcro on…uh-huh.
Cost
For all our materials, it cost us just under $730 (and that includes shipping).
But that’s it for today, other than the sewing machine and thread we ended up needing. But we’ll cover all that business in the next post.
As an Amazon Associate, I earn from qualifying purchases at no extra cost to you. Thank you for your support!


Can’t wait to see how it turns out. We are electing to skip skirting this winter. We have to move every 7 days to take on water and empty our tanks so I think skirting will not be something I want to deal with. Plus – it’s already in the 20’s/30’s here and I saw the snaps needed to be applied at 60F or greater….