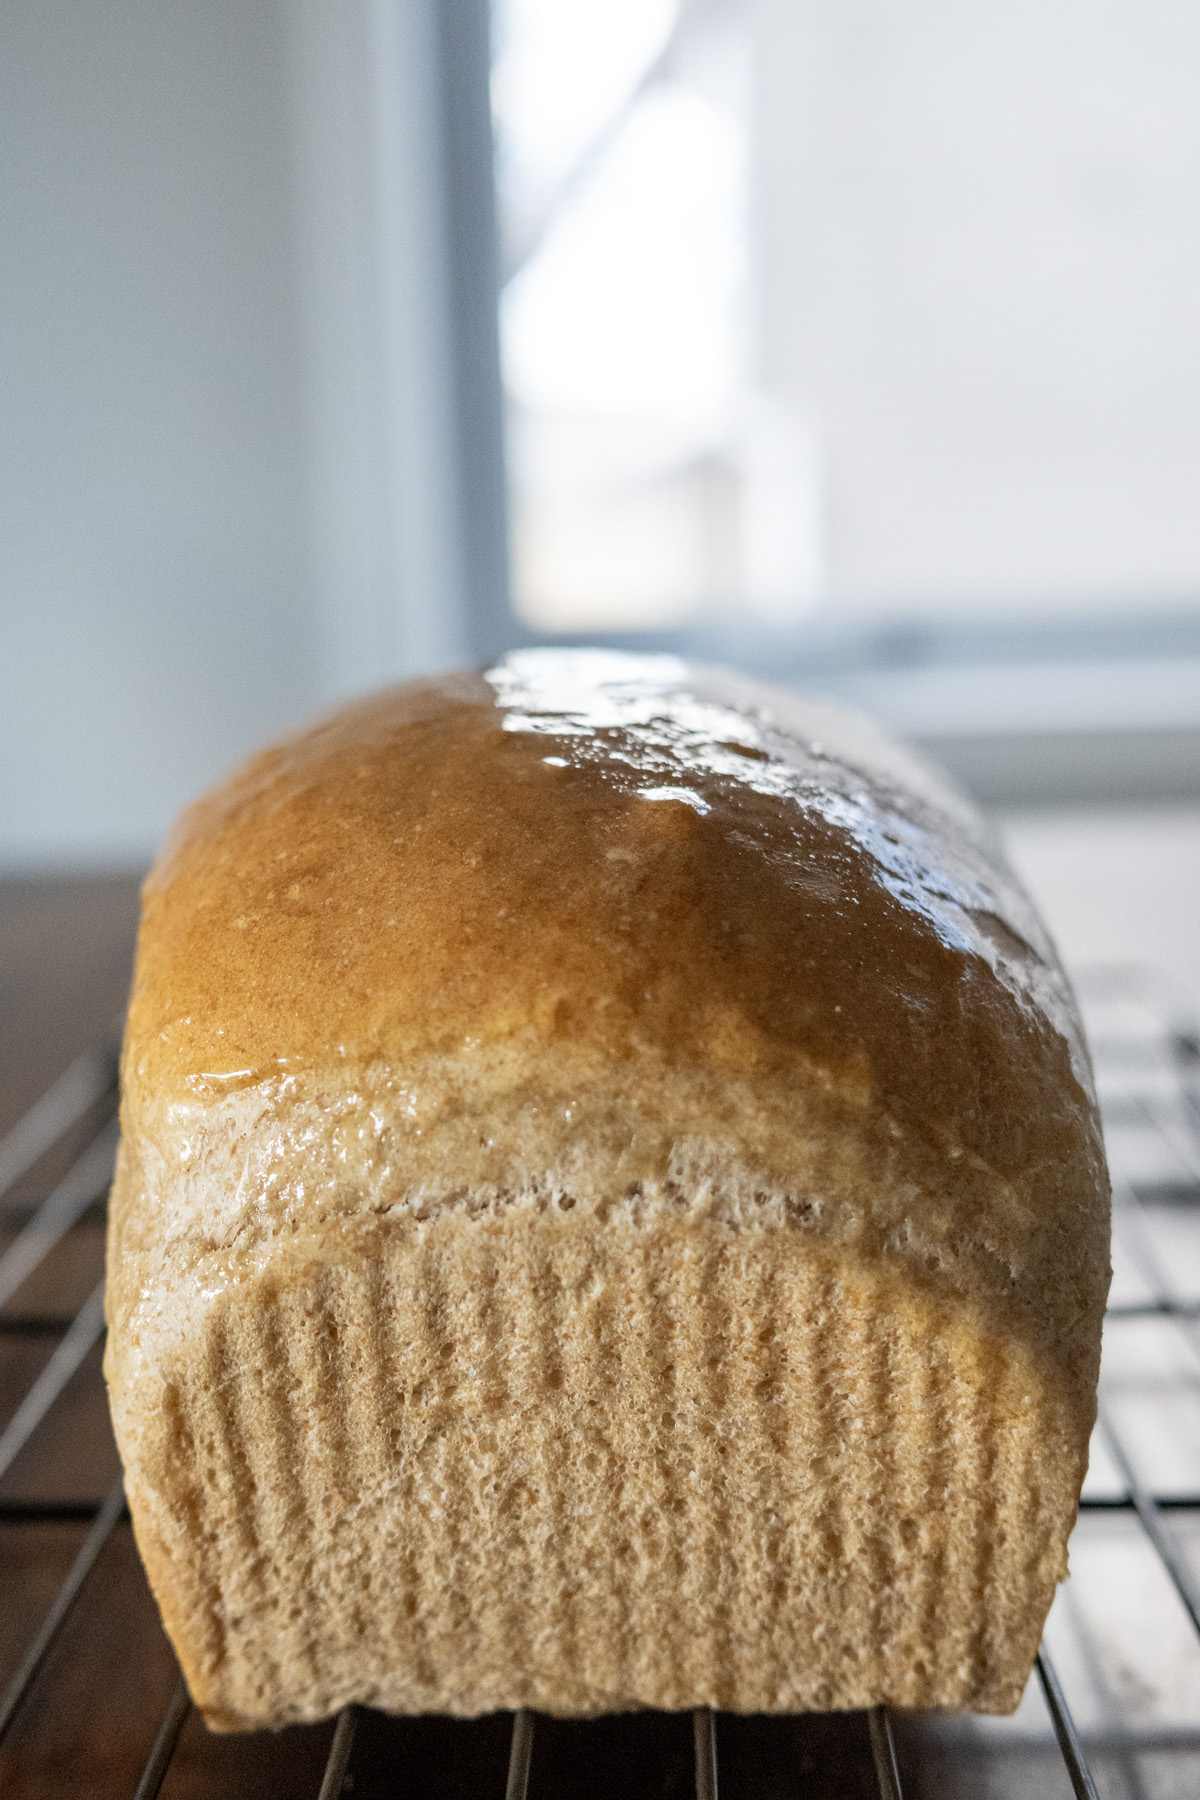
There’s something magical about baking bread from scratch, especially when you’re using fresh-milled flour. Today, I’m sharing my Fresh-Milled Honey Wheat Bread Recipe with Sponge—a loaf that’s soft, slightly sweet, and packed with that nutty, wholesome flavor only fresh-milled wheat can deliver. This isn’t your average bread recipe; the sponge method gives it an extra boost of texture and taste, while a touch of apple cider vinegar helps break down the wheat for easier digestion. Plus, it’s sized perfectly for a 1-pound loaf pan, making it an everyday staple you’ll want to bake again and again.
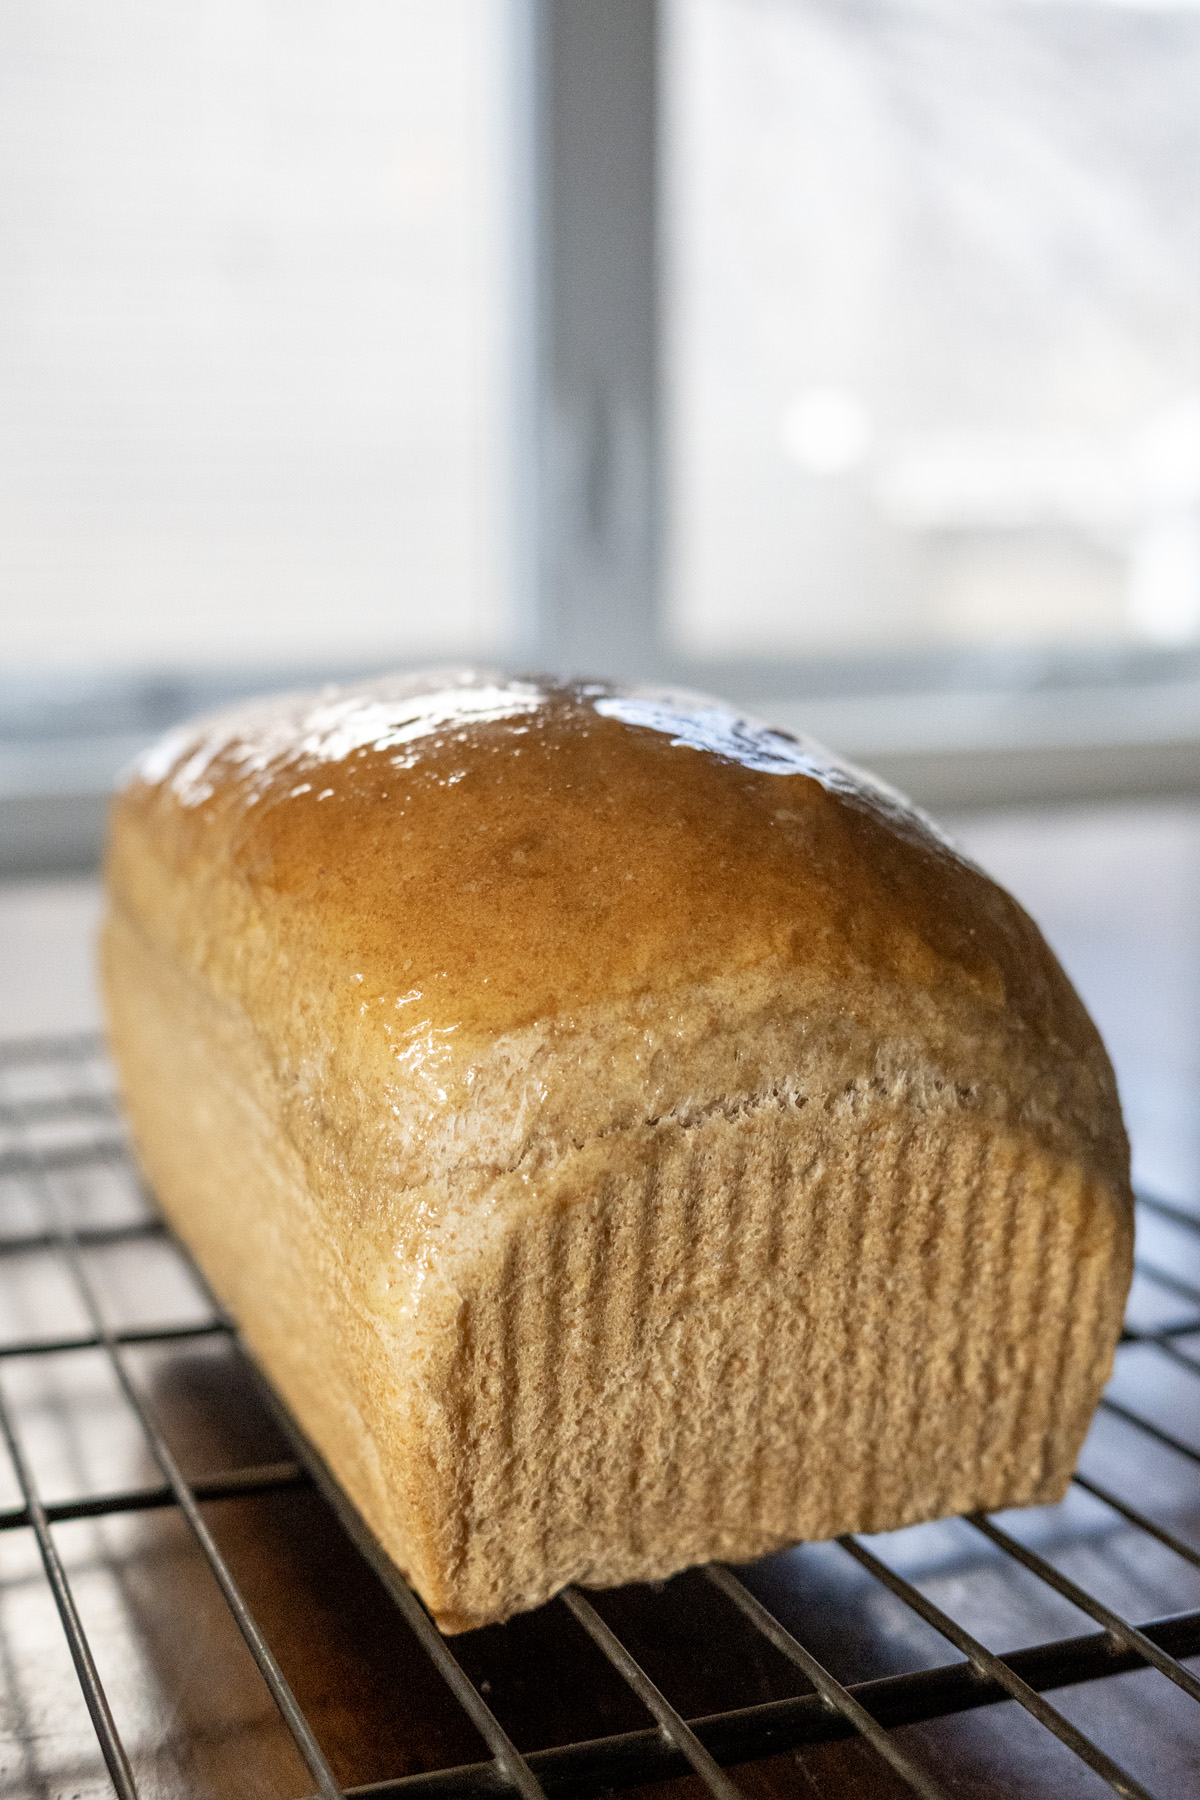
If you’re a fan of partial wheat breads like this one, you’ll love how it strikes a balance between hearty and light. It’s a little lighter than my 100% Whole Wheat Bread, but it’s got more character than my classic White Sandwich Bread. Think of it as a cozy middle ground—perfect for sandwiches, toast, or just slathering with butter.
Let’s dive into why this recipe works, a few tips to nail it, and the step-by-step process to get that golden, domed loaf on your table!

Why You’ll Love This Fresh-Milled Honey Wheat Bread
- Fresh-Milled Flavor: Grinding your own hard red winter wheat gives this bread a rich, nutty taste you can’t get from store-bought flour.
- Sponge Method Magic: Starting with a sponge (a pre-fermented mix of flour, water, and yeast) adds depth and a tender crumb.
- Honey Sweetness: A generous dose of honey balances the wheat’s earthiness with a subtle, natural sweetness.
- Perfect Size: Scaled for an 8.5 x 4-inch loaf pan, it’s just right for the most common bread pan.
Baking with Fresh-Milled Flour: What to Know
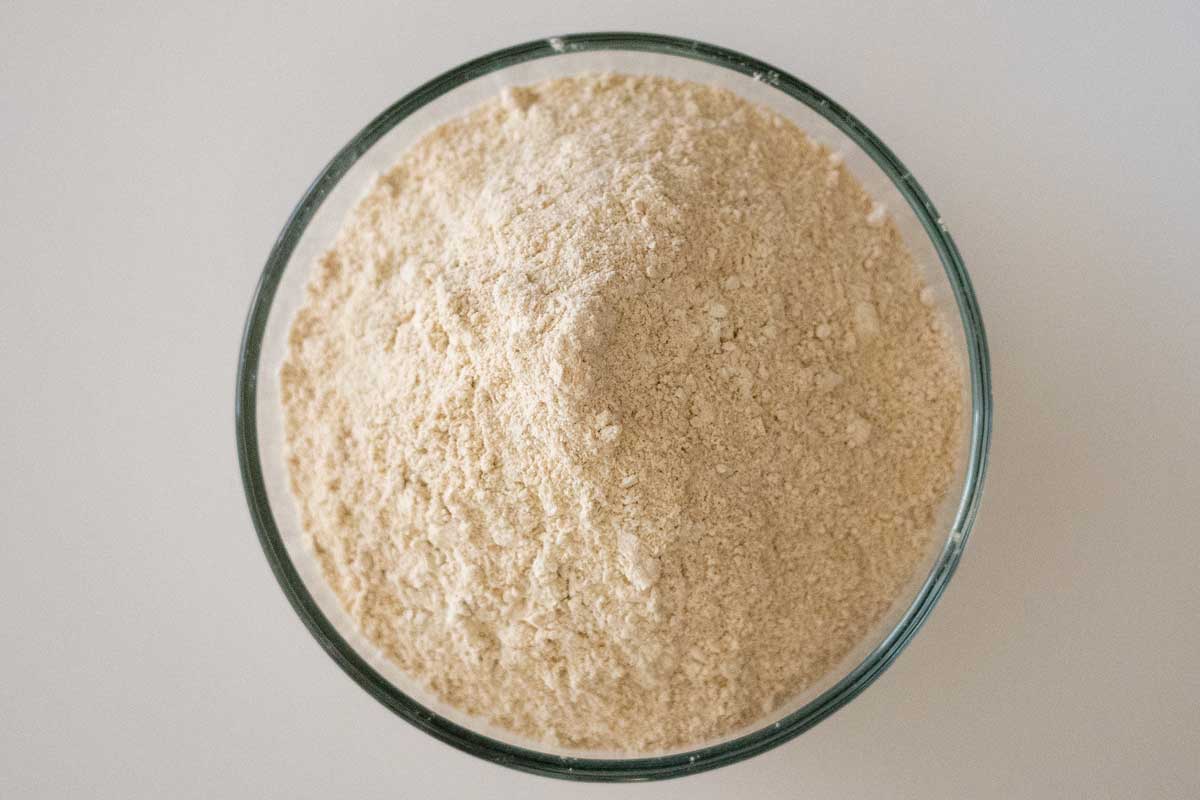
Fresh-milled flour is a game-changer, but it’s thirstier than store-bought flour. That’s why this recipe includes extra water and a flexible range (3-6 tablespoons) when mixing the dough—adjust as you go until it feels soft and slightly tacky. The apple cider vinegar softens the wheat’s bran and boosts shelf life without leaving a tangy taste. Trust me, you won’t even know it’s there.
Using store-bought whole wheat flour? It absorbs less water than fresh-milled, so start with 2-3 tbsp water in the dough and add more only if needed. You’ll still get a tasty loaf, just with a milder flavor!
Why Hard Red Winter Wheat and Bread Flour?
This recipe uses a combo of hard red winter wheat and bread flour for the perfect loaf. Here’s the breakdown:
- Hard Red Winter Wheat: Fresh-milled from this high-protein grain (11-13% protein), it brings a robust, nutty flavor and hearty texture. It’s ideal for whole wheat breads because it’s strong enough to support a good rise, even with the denser bran and germ.
- Bread Flour: With its high protein content (12-14%), bread flour lightens the loaf, giving it a softer, airier crumb and better structure. It balances the density of the wheat flour.
- What About All-Purpose Flour? You can swap bread flour for all-purpose (around 10-11% protein), but the loaf will be slightly denser and less lofty. It’ll still taste great, just a bit more compact—think rustic rather than sandwich-style.
Milling your own wheat is key here, but if you’re using store-bought whole wheat flour, expect a slightly less pronounced flavor since it’s not as fresh.
The Purpose and Benefits of a Sponge (Especially for Wheat Bread)
Ever wonder why we bother with a sponge? This pre-fermented mix of flour, water, yeast, and honey is a game-changer, especially for wheat bread. Here’s why:
- Flavor Boost: The short fermentation (30 minutes to 1 hour) lets the yeast start breaking down the flour, creating deeper, more complex flavors.
- Better Texture: It hydrates the fresh-milled wheat flour fully, softening the bran and making the crumb tender instead of coarse.
- Improved Rise: By giving the yeast a head start, the sponge strengthens gluten development, helping the dough rise higher despite the heavier wheat.
- Digestibility: That extra time also begins breaking down phytic acid in the wheat, making nutrients more bioavailable—a win for whole grain lovers!
For wheat bread, where density can be a challenge, the sponge is like a secret weapon. It’s worth the small extra step!
Fresh-Milled Honey Wheat Bread Recipe Ingredients
For the Sponge:
- 1 ½ cups (180g) fresh-milled hard red winter wheat flour
- 1 cup (240g) lukewarm water (100-110°F)
- 1 ¼ tsp (active dry yeast
- 1 tbsp (15g) honey
For the Dough:
- All of the sponge
- 2 cups (240g) bread flour
- 1 tbsp apple cider vinegar
- 3 tbsp (45g) honey
- 3 tbsp (42g) unsalted butter, softened
- 1 tsp salt
- 3-6 tbsp lukewarm water (100-110°F, adjust as needed)
How to Make Fresh-Milled Honey Wheat Bread
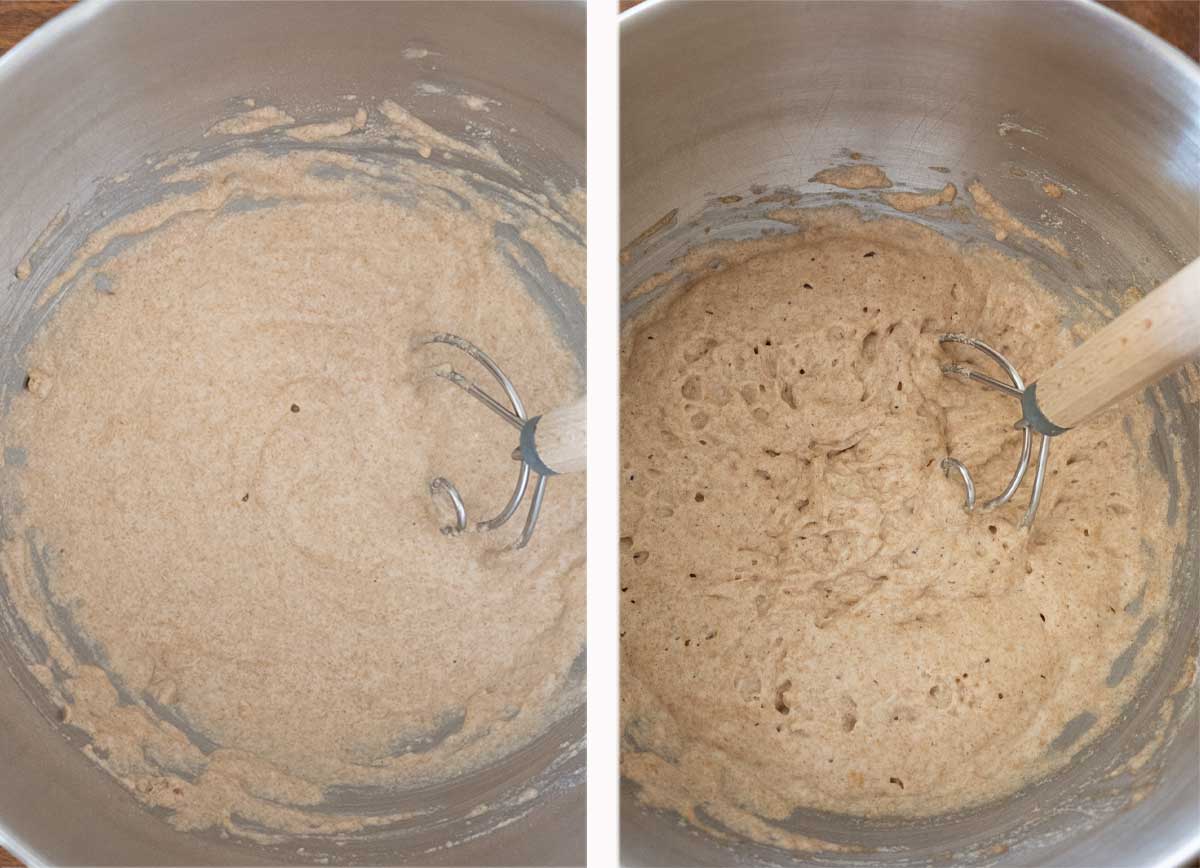
- Activate the Yeast & Make the Sponge: In a small bowl, mix ¼ cup of the lukewarm water (100-110°F) with the active dry yeast and a pinch of the 1 tbsp honey. Let it sit for 5-10 minutes until foamy. In a medium bowl, combine the foamy yeast with the remaining ¾ cup water, the rest of the honey, and the wheat flour. Stir into a thick batter, cover, and let it rest for 30 minutes to 1 hour until bubbly.
- Mix the Dough: In a large bowl or stand mixer, combine the sponge, bread flour, apple cider vinegar, 3 tbsp honey, butter, and salt. Mix until it starts to form a dough, then add lukewarm water 1 tbsp at a time until it’s soft and slightly tacky (not sticky). I usually need about 4 tbsp, but it depends on your flour.
- Knead: Knead by hand on a lightly floured surface for 8-10 minutes, or use a mixer on medium-low for 6-8 minutes, until smooth and elastic. It should pass the windowpane test—stretch a piece thin enough to see light through without tearing.
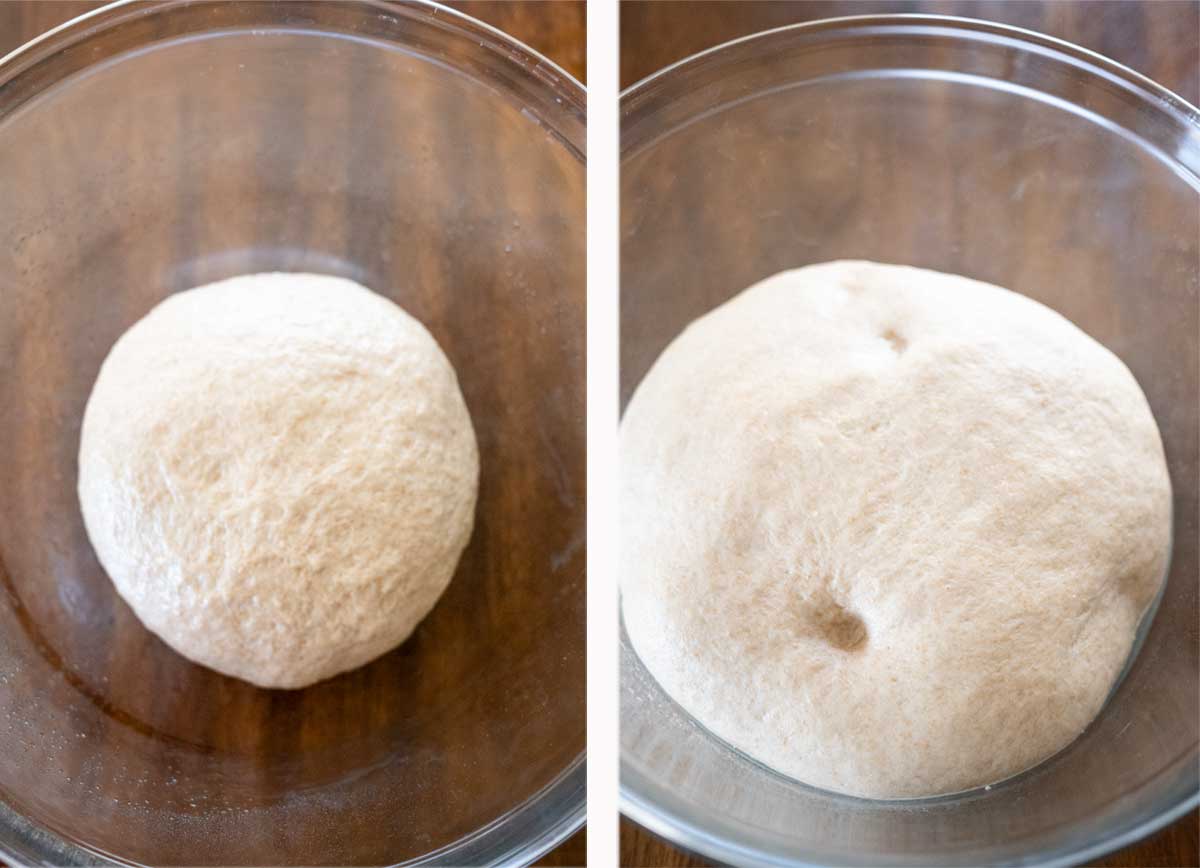
- First Rise: Place the dough in an oiled bowl, cover, and let it rise in a warm spot (75-80°F) for 1-1.5 hours, until doubled.
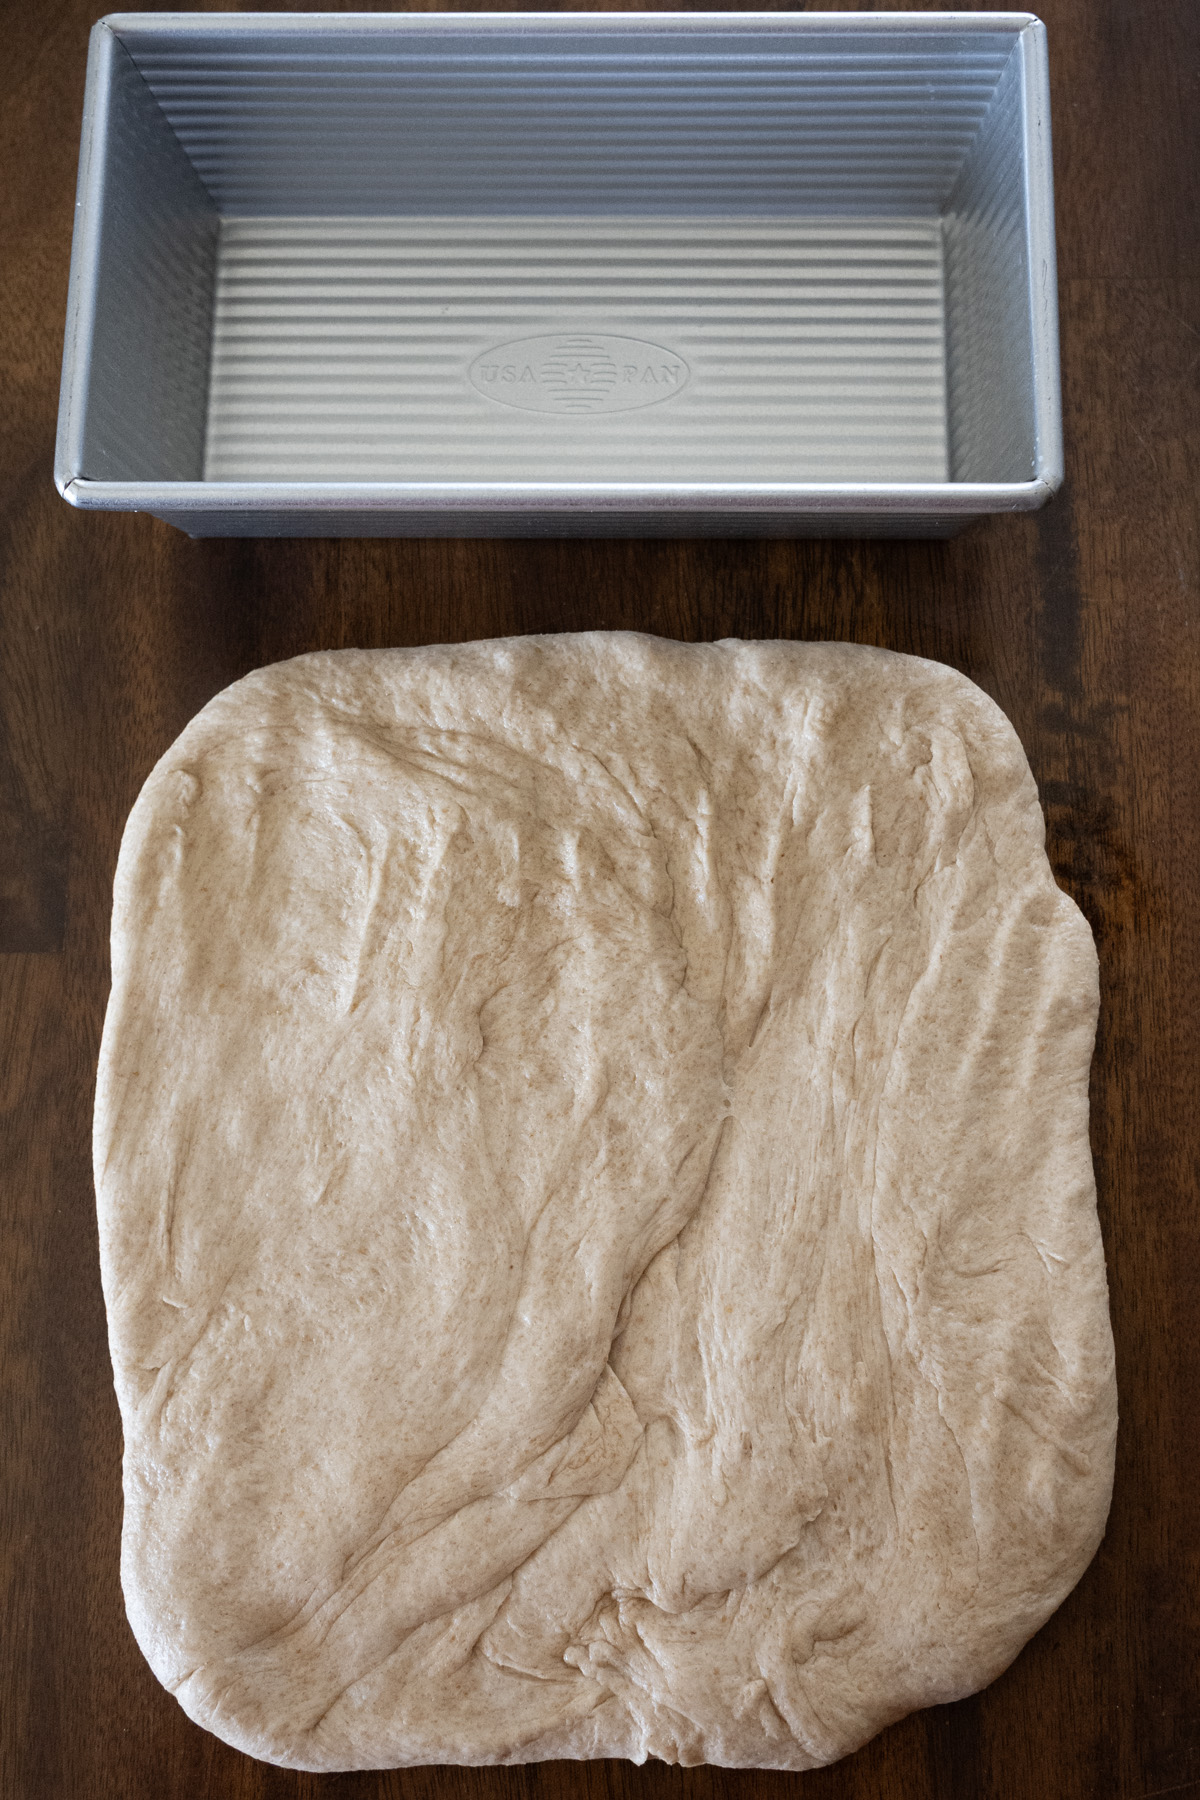
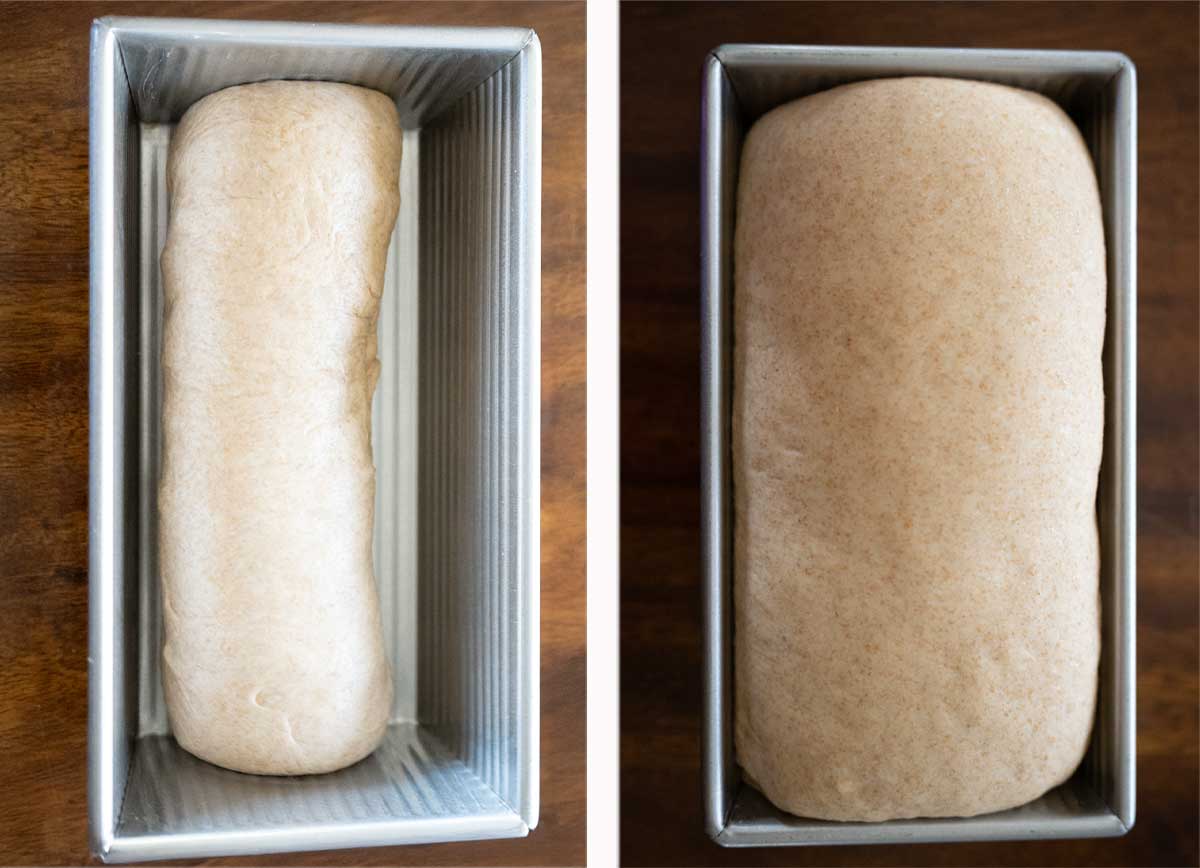
- Shape: Gently deflate the dough, shape it into an 8-inch log, and place it seam-side down in a greased 8.5 x 4-inch loaf pan.
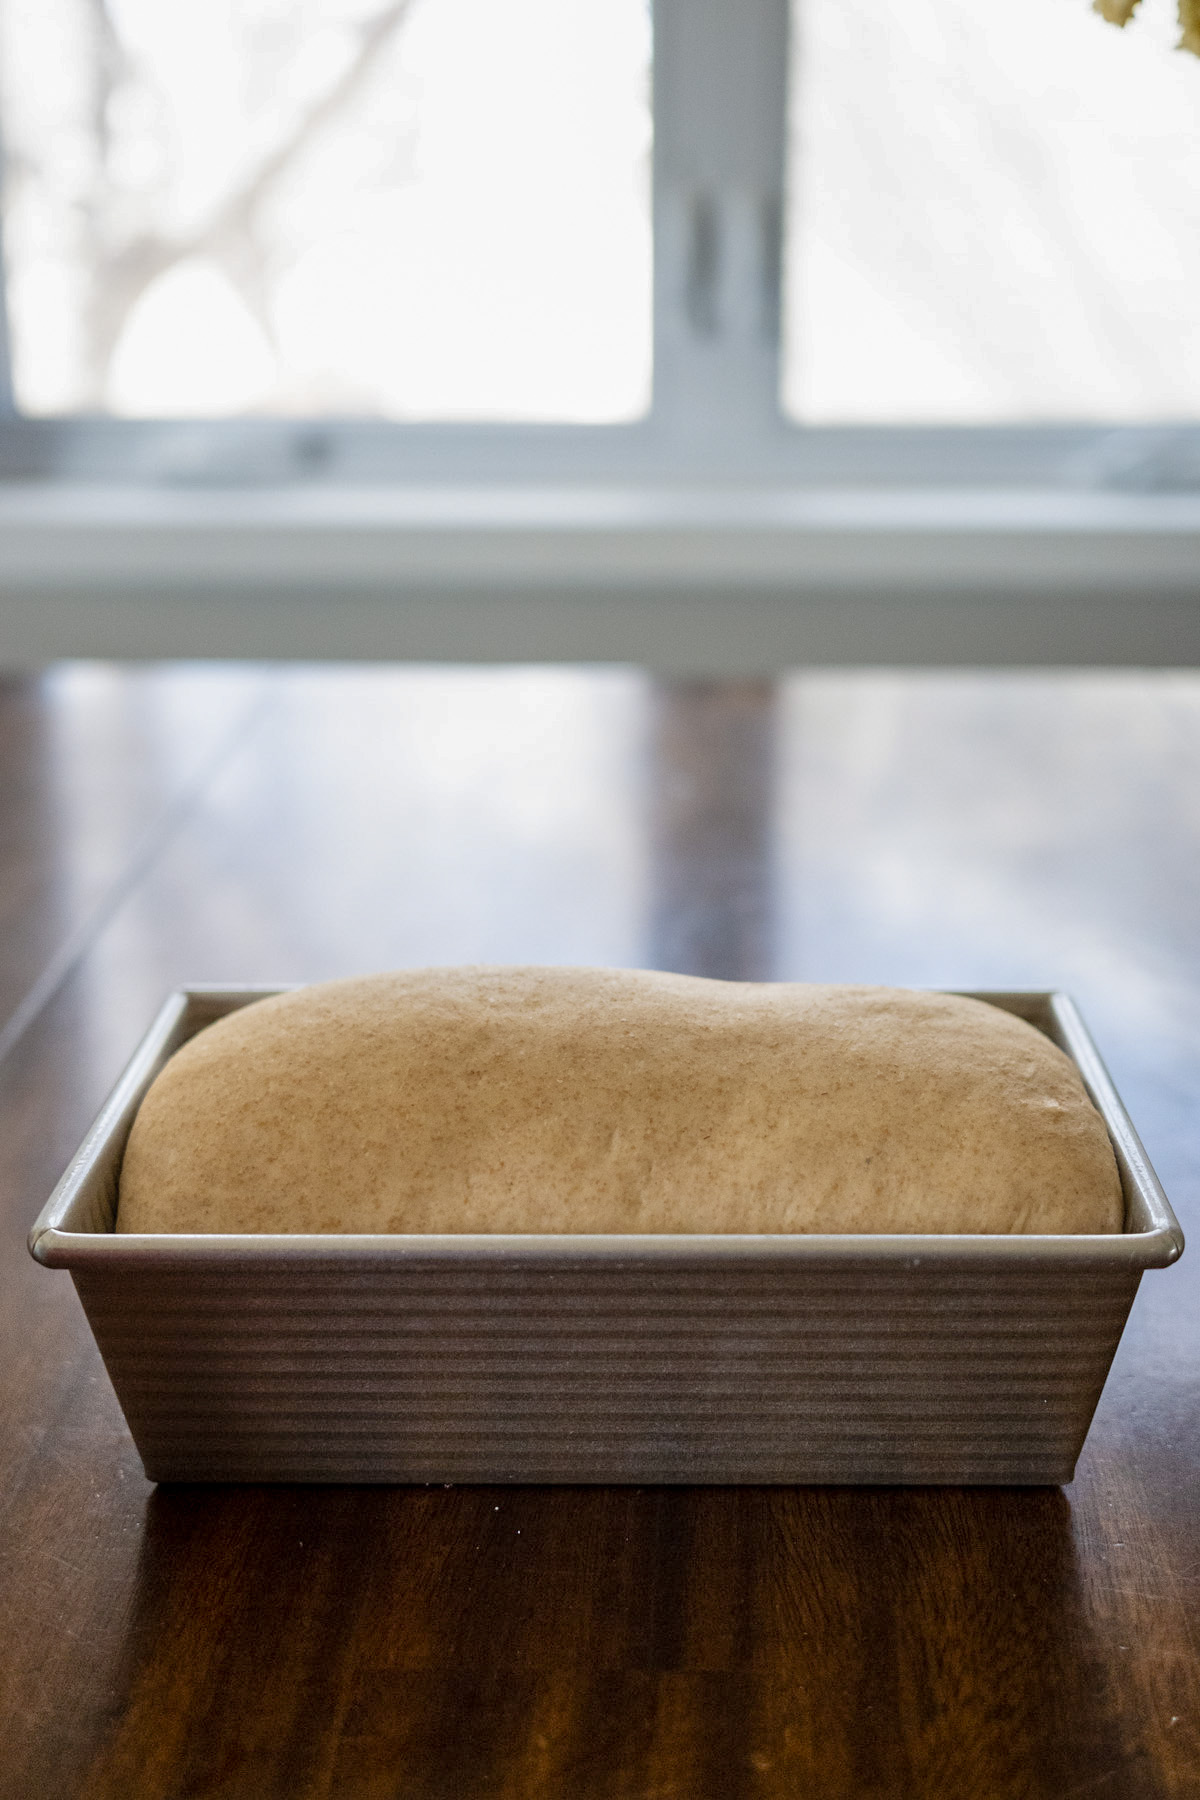
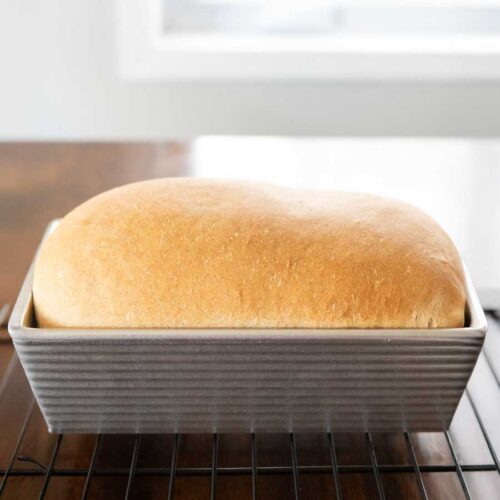
- Second Rise: Cover and let it rise for 45 minutes to 1 hour, until it crests about 1 inch above the pan rim.
- Bake: Preheat your oven to 350°F (175°C). Bake for 35-40 minutes, until golden brown and the internal temp hits 190-200°F. Tent with foil if it browns too fast.
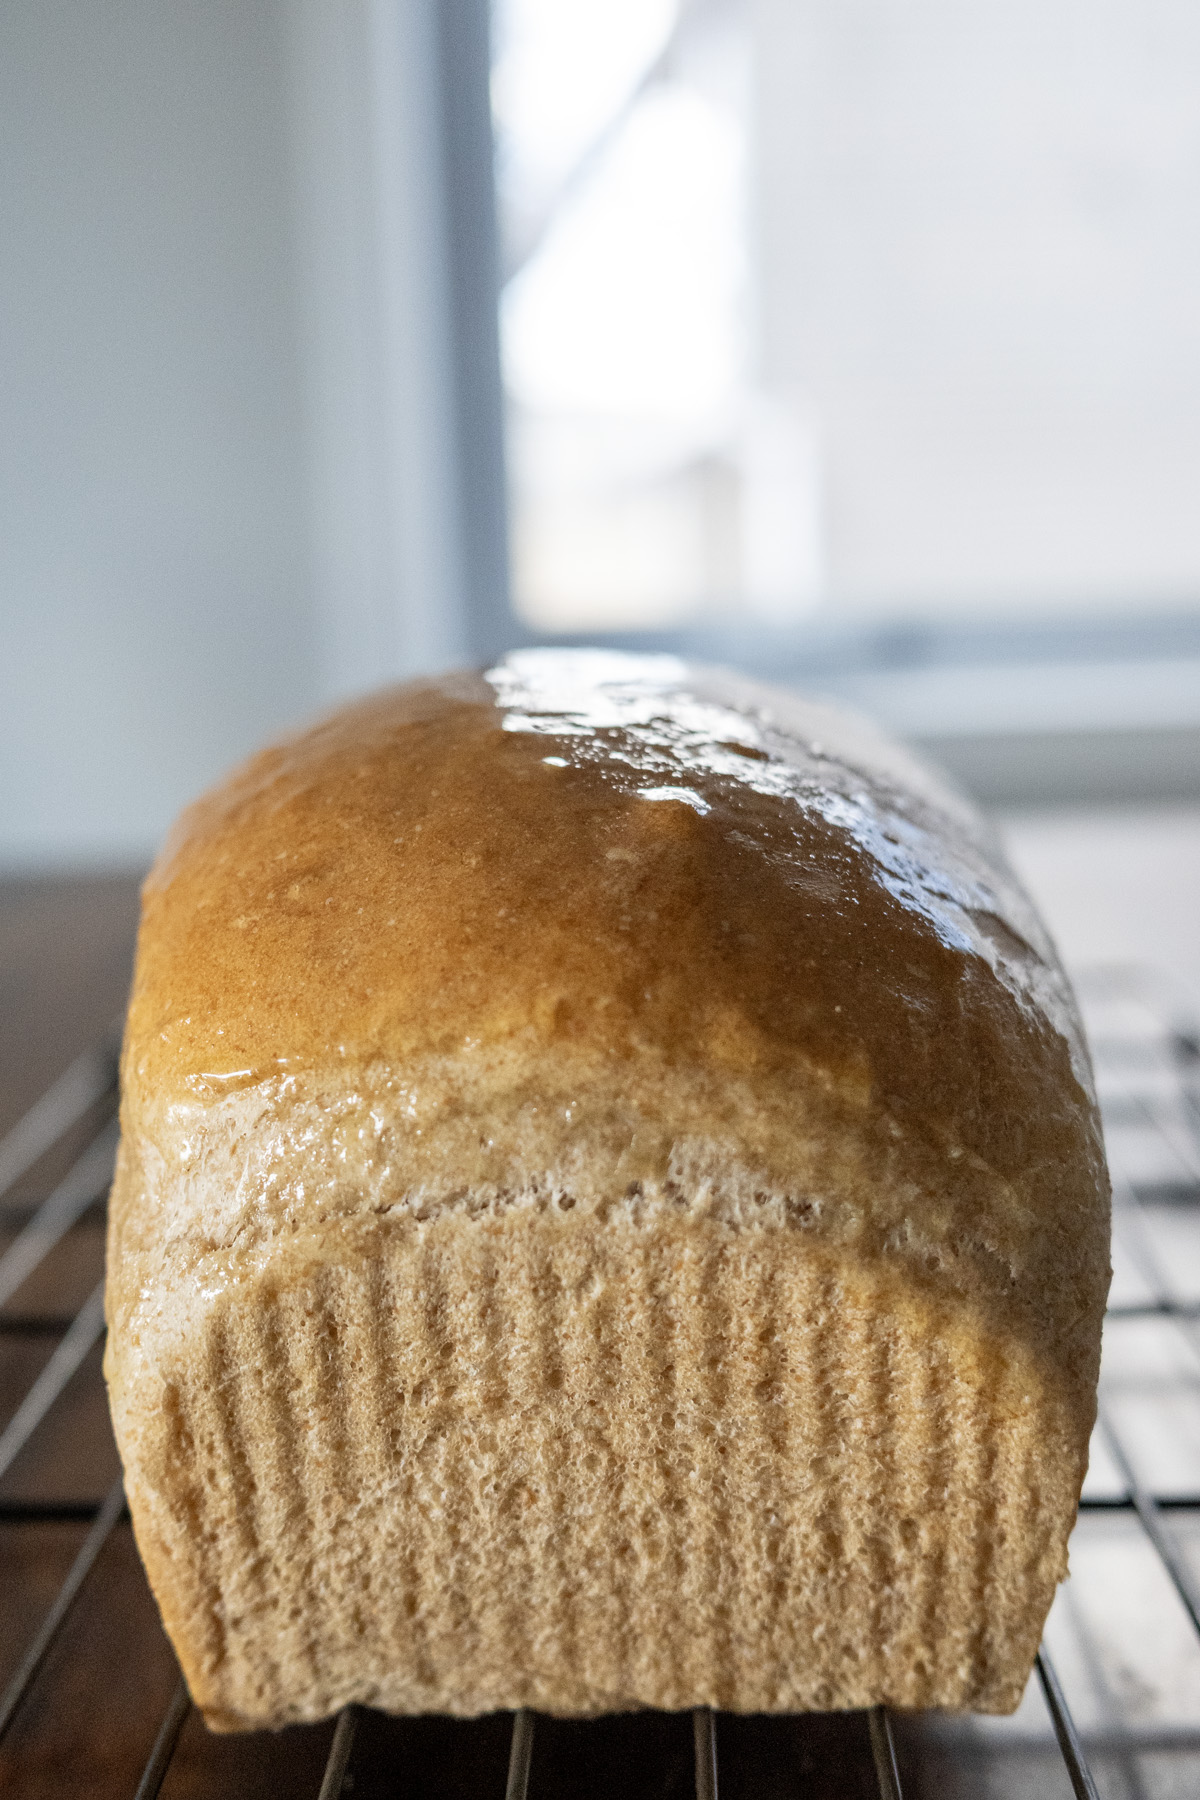
- Cool: Let the bread cool in the pan on a wire rack for about 10 minutes before removing it. Brush with butter for a softened top crust. Cool on the rack for at least 1 hour (or longer) to avoid a gummy texture—bread continues to bake and the crumb stabilizes as it cools.
Tips for Successful Fresh-Milled Honey Wheat Bread
- Yeast Check: If your yeast doesn’t foam, it’s likely expired—grab a fresh batch!
- Water Temp: Too hot (above 120°F) kills yeast; too cold (below 90°F) slows it down. Aim for 90-110°F.
- Speedy Rising: To speed up rising, place the covered dough in your oven on the “proof” setting (usually 80-100°F). It can cut the time by 15-30 minutes—just keep an eye on it!
- Fresh-Milled Flour: Mill your wheat just before baking for max flavor. Store extras in the freezer to keep it fresh.
- Pan Size: An 8.5 x 4-inch pan is ideal. A 9 x 5-inch will work but might give a flatter loaf.
More Bread Recipes to Try
Love baking bread? Check out these favorites from my collection:
- 100% Whole Wheat Bread – A hearty, all-wheat loaf for the purists.
- Grandma’s Old-Fashioned Oatmeal Bread – Soft, slightly sweet, and oh-so-nostalgic.
- White Sandwich Bread – A fluffy classic to replace store-bought forever.
Final Thoughts
This Fresh-Milled Honey Wheat Bread Recipe with sponge is a labor of love that’s worth every minute. The smell of it baking, the golden crust, the soft crumb—it’s bread-baking bliss. Whether you’re a fresh-milling pro or just dipping your toes in, this loaf will make you feel like a rockstar baker. Give it a try and let me know how it turns out—I’d love to hear your thoughts in the comments!
Happy baking!
Fresh-Milled Honey Wheat Bread
Description
Ingredients
For the Sponge:
- 1 ½ c. fresh-milled hard red winter wheat flour, 180g
- 1 c. lukewarm water, 100-110°F (240g)
- 1 ¼ tsp. active dry yeast
- 1 tbsp. honey, 15g
For the Dough:
- All of the sponge
- 2 c. bread flour, 240g
- 1 tbsp. apple cider vinegar
- 3 tbsp. honey, 45g
- 3 tbsp. unsalted butter, softened (42g)
- 1 tsp. salt
- 3-6 tbsp. lukewarm water, 100-110°F ( adjust as needed)
Instructions
- Activate Yeast & Make Sponge: In a small bowl, mix ¼c. of the lukewarm water (100-110°F) with yeast and a pinch of the 1 tbsp. honey. Let sit 5-10 minutes until foamy. In a medium bowl, combine foamy yeast with remaining ¾ c. water, remaining honey, and wheat flour. Stir into a thick batter, cover, and rest 30 minutes to 1 hour until bubbly.
- Mix Dough: In a large bowl or stand mixer, combine sponge, bread flour, apple cider vinegar, 3 tbsp. honey, butter, and salt. Mix until it forms a dough, adding lukewarm water 1 tbsp. at a time until soft and slightly tacky (not sticky).
- Knead: Knead by hand on a lightly floured surface for 8-10 minutes, or in a mixer on medium-low for 6-8 minutes, until smooth and elastic (windowpane test).
- First Rise: Place in an oiled bowl, cover, and let rise in a warm spot (75-80°F) for 1-1.5 hours, until doubled.
- Shape: Deflate dough, shape into an 8-inch log, and place seam-side down in a greased 8.5 x 4-inch loaf pan.
- Second Rise: Cover and let rise 45 minutes to 1 hour, until it crests 1 inch above the pan rim.
- Bake: Preheat oven to 350°F (175°C). Bake 35-40 minutes, until golden and internal temp is 190-200°F. Tent with foil if browning too fast. Cool in pan on a wire rack for 10 minutes, then remove and cool on rack for at least 1 hour.
Recipe Notes
-
Check yeast: If it doesn’t foam, it’s expired—use fresh yeast!
-
Water temp matters: 100-110°F is perfect; too hot (above 120°F) kills yeast, too cold (below 90°F) it won’t activate.
-
Speed up rising: Use your oven’s “proof” setting (80-100°F) to cut rise time by 15-30 minutes.
-
Fresh-milled flour: Mill just before baking for best flavor; store extras in the freezer.
-
Store-bought wheat flour: It absorbs less water—start with 2-3 tbsp. in the dough and adjust.
-
Pan size: 8.5 x 4-inch is ideal; a 9 x 5-inch pan works but may yield a flatter loaf.
-
Cooling is key: Wait at least 1 hour to avoid a gummy texture as the crumb stabilizes.
Nutrition
As an Amazon Associate, I earn from qualifying purchases at no extra cost to you. Thank you for your support!
