How did we replace our RV flooring? That is a question we’ve received multiple times concerning our RV Remodel.
For materials, we scoured the internet and found that most RVers recommend vinyl flooring sold by Home Depot, Allure Trafficmaster plank flooring to be exact.
We did quite a bit of reading about the product and started to find alarming reviews, like here and here. There were a variety of issues but the most common seemed to be surrounding Home Depot’s lack of customer support for the product and how stinky the flooring was once installed (off-gassing).
Some people said it took months for the smell to go away and that was with open windows. Since this remodel was done late in the winter, airing wasn’t an option and we sure didn’t have a few months for it to finish off-gassing before we lived in it.
Ugh.
The more we read, the more we became concerned. In the end, we decided to NOT install Allure.
Now in all fairness, I KNOW many RVers use this flooring and have no issues whatsoever. But we didn’t want to be one of the ones that got a bad batch.
We then looked to our local Lowe’s to see if they had a similar flooring that was not prone to off-gassing issues. They had something similar, yes, but did it off-gas? It was possible and we weren’t taking any chances so we settled on the most affordable option out there. Mark installed sheet vinyl.
Is it stylin’ and amazing?! No. but it serves its purpose only cost us about $300 to do our entire camper. 4 months later, we’re very pleased with the flooring. It’s held up well and if for some reason we need to do anything to the subfloor, we can pull up the vinyl and place it back down. Easy peasy.
Our 96′ Winnie has one large slide over the dining and living area. Because of the year, it is a raised slide and sits about 3 inches higher, (see crappy picture below).
So how do we properly replace the RV flooring on the slide?
When Mark demo’d the camper he took out the booth dinette and couch and ripped out the carpet in the slide area. We were a bit apprehensive about dealing with a raised slide but after the fact, Mark would tell you it was very easy to do.
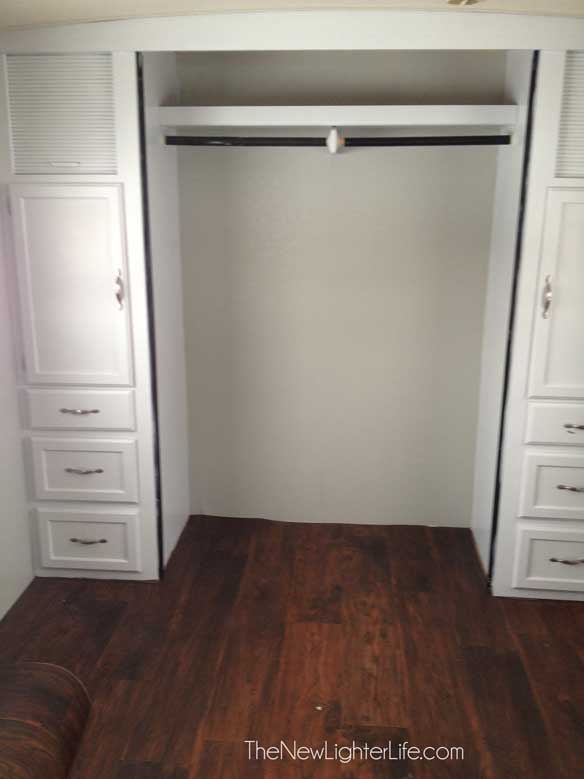
Once all the carpet and staples were removed, he simply laid the vinyl down and trimmed it with wood against the wall, and screwed in a metal transition strip along the top at the front of the slide and in the doorways between the bathroom and bedroom.
He had to deal with the front of the slide, which was originally covered with carpet. (see crappy picture below)
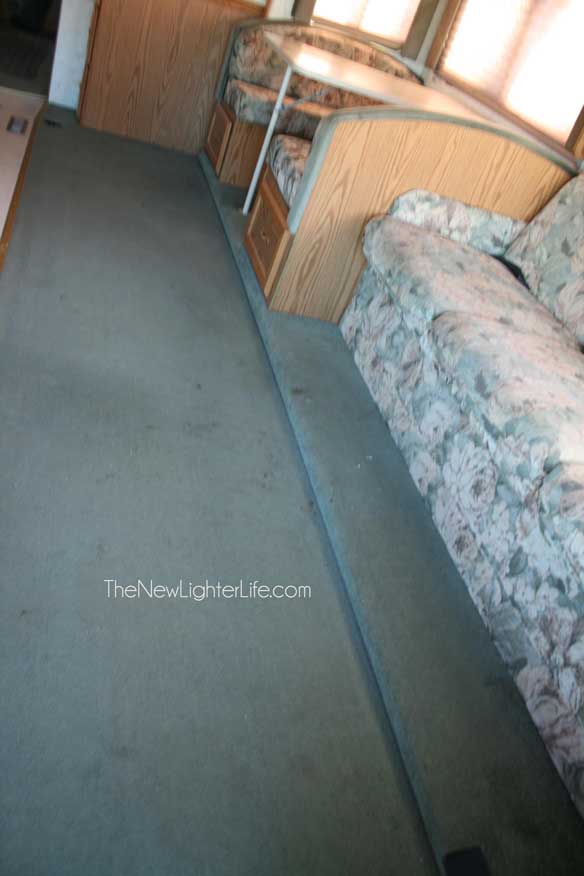
To cover the front, he bought 1/2″ X 3″ trim boards to cover the 13 feet of length of the slide.
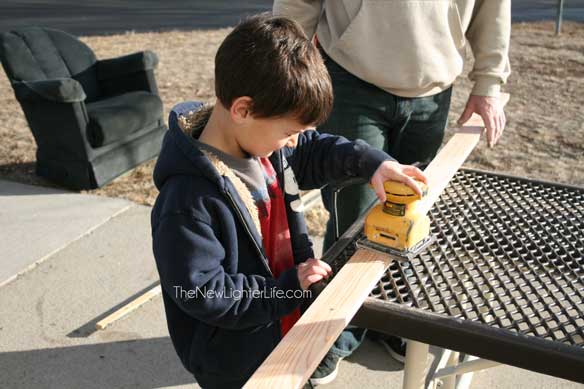
Our son, Eli, was employed in the sanding of the board and Mark stained the wood a dark color.
Mark wanted to make sure the slide was sealed so he installed 3/4″ weather stripping all along the slide first. It was screwed right to that metal strip you can in the picture below. This is the type of weatherstripping that is used on garage doors.
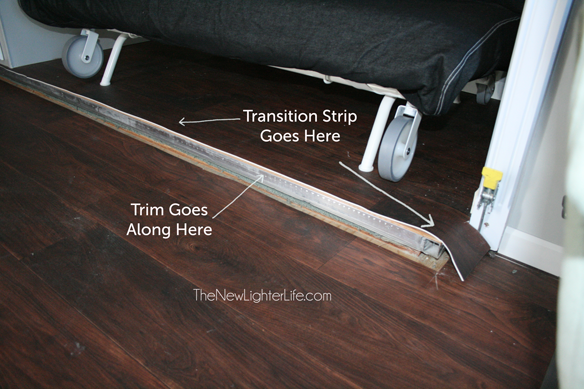
After the stripping was attached, he screwed on the sanded and stained trim board, and lastly, the metal transition strip was attached to the top outer edge of the slide (and overlaps the front wood trim slightly.

The Snag
So this all worked great and looked awesome. But after taking the slide in and putting it back out we ran into a problem that I shared about here. The front corner of the wood trim snagged the vinyl. It snagged it good.
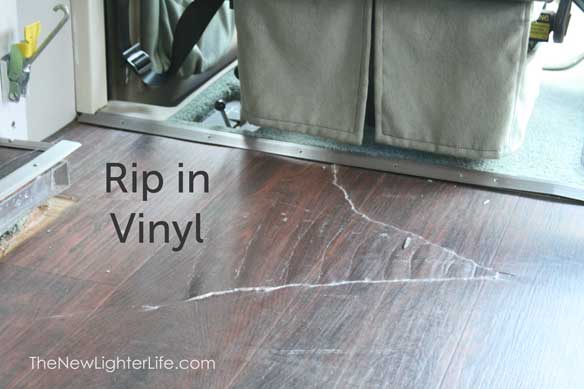
Stinkles!
Rather than replace the entire sheet of vinyl, Mark cut out the offending area which was a 1 1/2 foot by 3 1/2 foot area. He cut some fresh vinyl from the scraps we had and tacked it down with 2-sided carpeting tape.
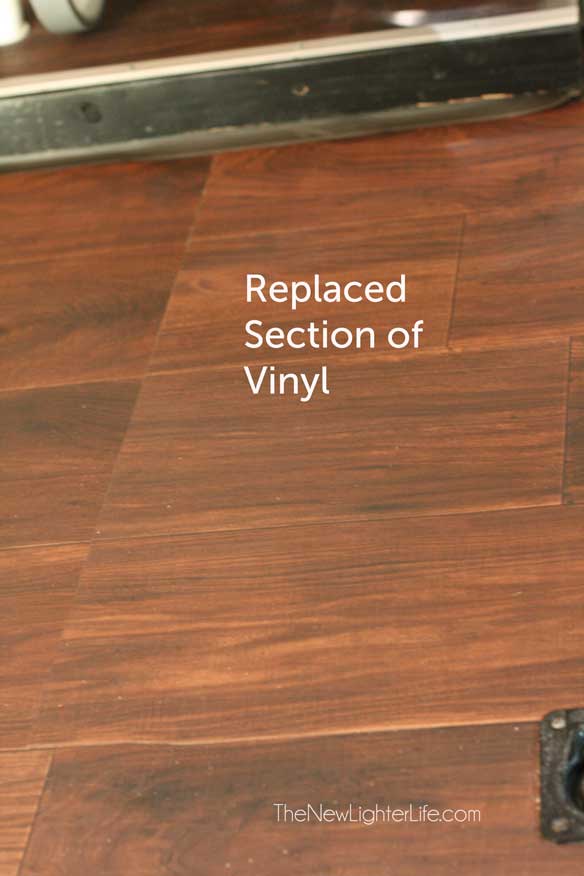
In the picture, it is obvious. But if we didn’t point out to you in the camper, you’d likely never notice the patch job.
To stop the slide from snagging the vinyl again, Mark trimmed about 1/2″ down the length of the front trim pieces
The Stairwell
The stairwell was previously completely covered in carpet. In order to get all the adhesive off of the stairs, he had to spray a product (similar to Goo-Gone) and scrap the glue off.
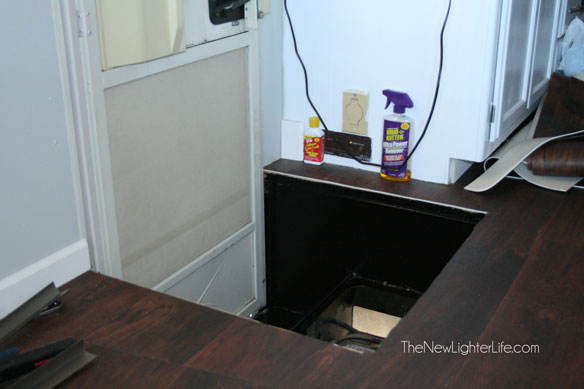
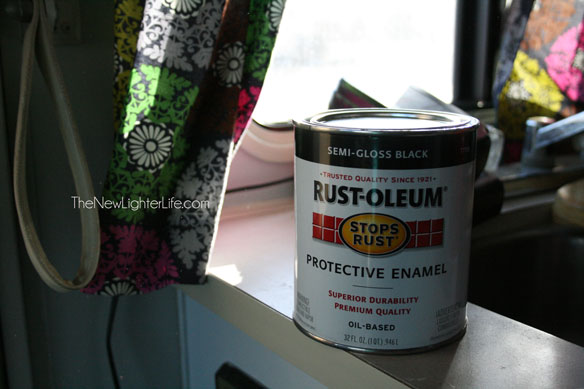
The walls of the stairwell were painted with an oil-based paint since the material was metal
Lastly, he placed the vinyl on the top of each step and trimmed the edges with a metal transition strip.
That open step is where the batteries are housed. Once the cover is on, you can see the vinyl on those 2 stairs.
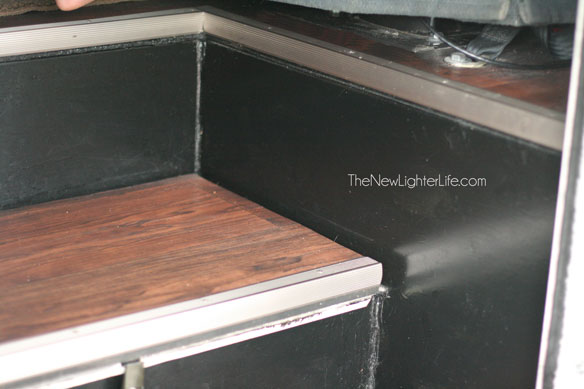
The picture below shows the trim that Mark placed around the outside walls where the vinyl was placed.
And here is a closeup of the finished stairs with all the transition strips in place.
Up until this writing, I’ve not convinced Mark to remove the cab carpeting and recover the doghouse (the engine cover between the 2 front seats). Truth be told, we don’t even notice the old upholstery/carpet. Hardly.
Maybe someday, but for now our flooring is complete.
Until next time,
As an Amazon Associate, I earn from qualifying purchases at no extra cost to you. Thank you for your support!

I was wondering what brand of flooring you used? Thanks!
Sorry, I’m not sure what brand sheet vinyl we used. It was purchased from a local retailer (not big box).
Your floors look great! I have been reading through your remodel posts tonight, and I am really impressed with all you have done. Also, I really love your curtains. 🙂
Thank you Laura! We had lots of fun making all the changes…very little work for a huge impact.
I have a question . How did you get the carpet out from under the slide?? We have all ready start demolition and wonder if there is a trick or how you address this problem. Thank you
Hi Chris, it’s been many years but if my memory serves me right, I believe we used a needle nose plier to pull the carpet up from those tight spots. Anything we couldn’t get up, we cut as close to the edge as we could with a razor blade. Good luck!
Love reading about other people’s renovation projects! Our project is ongoing and here is where I am writing about it. http://teacherontheroad.weebly.com/
Congratulations Penelope! Thank you for stopping by and I look forward to reading about your renovations!
Thank you for this explanation and pictures! We are leaning towards sheet vinyl to replace carpet in our new-to-us motorhome in prep for a year long trip with kids and big dog. It was particularly helpful to envision how the transition strips would work with seams.
Great! Hope your remodel goes well and you enjoy your adventures!
Now that you have had your vinyl flooring in place for a while, has there been any problem with the rollers on the slide damaging the vinyl as the slide is moved in and out? Looks great.
No, there haven’t been any problems with the vinyl. We are very pleased with how it’s held up.
How did you remove the carpet from under the slide? We are in the process of removing the old carpet and installing vinyl planks on our class C motorhome with three raised slides and are having a bit of a problem removing all of the carpet from under the slide.
How did you get carpet out from under slide
We replaced our old ten trailer flooring with the allure, I allowed it to breathe (acclimatize) before installing about 4 days this allowed the off gassing to be virtually nothing once I installed.
So glad you had a good experience Allure! We wrestled with the decision for sure, but I love a happy ending.
We have a camper that never moves from its location, we never slide the slider in could I still replace the carpet with vinyl flooring without a lot of problems, do you think?
How did you get the carpet out from under the raised slide? And did you put new flooring under the slide?
Then depending on the size of my transition strip and how it sits on the main flooring, I may have my slide out flooring stop a bit before the edge so that the transition strip can come flush as the slide sinks into the fully out position.
Hi Julie, since the original carpet is thicker than your new flooring was there any problem of the slide moving over your new flooring ?
Will replacing carpeting with vinyl flooring add more weight to trailer? We’re thinking of using the strip type that looks like wood planks.
Thank you,
Joyce d.