We have done it again! We’re in the midst of a camper remodel. Seems we just cannot help ourselves. Today I’m sharing with you how to replace camper flooring with LVT. This update was surprisingly easy and turned out gorgeous!
Our family has been SUPER busy in the background finishing up a complete remodel of our 2002 KZ Frontier 2405 Camper.
Way back when we were full-time RVers (for about 18 months), we bought an old 1996 Winnebago Adventurer Class A. Before we moved into it, we did a thorough remodel and loved the results! That remodel was a doozy with so many small children underfoot, but it was well worth the effort.
To make a long story short, we eventually settled into a traditional home and sold our Class A.
Just last summer, we bought a travel trailer to enjoy camping in the Black Hills again. Since we bought our little camper, I have had our epic remodel in the back of my mind. This spring, we decided to give it a go and gave our 2002 KZ Frontier 2405 camper a facelift.
I felt a bit more adventurous on this remodel since it is just for camping, and I took some risks in the painting and prep work, which I’ll get into in my upcoming post on the painting.
I plan to go over the flooring, painting, finding/repairing a leak, and a big reveal.
Oh, did you notice I mentioned a leak?! YES! We had a significant leak in the camper that we did not realize until we started digging into the remodel. I’ll share about that later, so stay tuned if you have leak issues with your camper.
For today, it’s all about upgrading the floors with LVT
If you’ve been a longtime reader, you may remember that we installed sheet vinyl flooring on our Winnebago. At the time, it was the most affordable option. While the flooring was very durable, it was challenging to work with on the installation.
Fast-forward to today; we have a very good friend who has a construction business and has done many jobs installing LVT. He happened to have some leftover boxes of LVT that he gifted us. He also lent us his LVT cutter to us and left us with some professional tips to do the installation 100% by ourselves.
Before I get into sharing tips and how we installed it in our camper, here are the reasons why LVT is an AWESOME choice for a camper.
Benefits to LVT in an RV
- Durability – LVT is super durable and can withstand a ton of abuse without warping.
- Floating Floor – Since LVT rests on the subfloor, you do not have to be concerned about buckling or movement. Personally, I do not recommend a glue-type LVT floor that has limited movement and may not withstand freezing or shaking/fibrations while traveling. Plus, glue down would be a challenge to pull up if there is any leak in your camper or you want to change out your flooring someday.
- Easy to Clean – Since the flooring resists scratching and is waterproof, you will end up with a squeaky clean surface that is a snap to wipe clean.
- Easy to Install – Truly, I will say that the flooring is easy to install. You can install LVT directly over your old floor as long as it is an even surface. Working with the tiles is very easy to do versus maneuvering huge sheets of vinyl. With a few simple tools, you can cut them to fit your space exactly.
Tools & Supplies to install LVT
- Primer – if you need to paint your subfloor. I like Zinsser 1-2-3 (which I used when painting my cabinets as well)
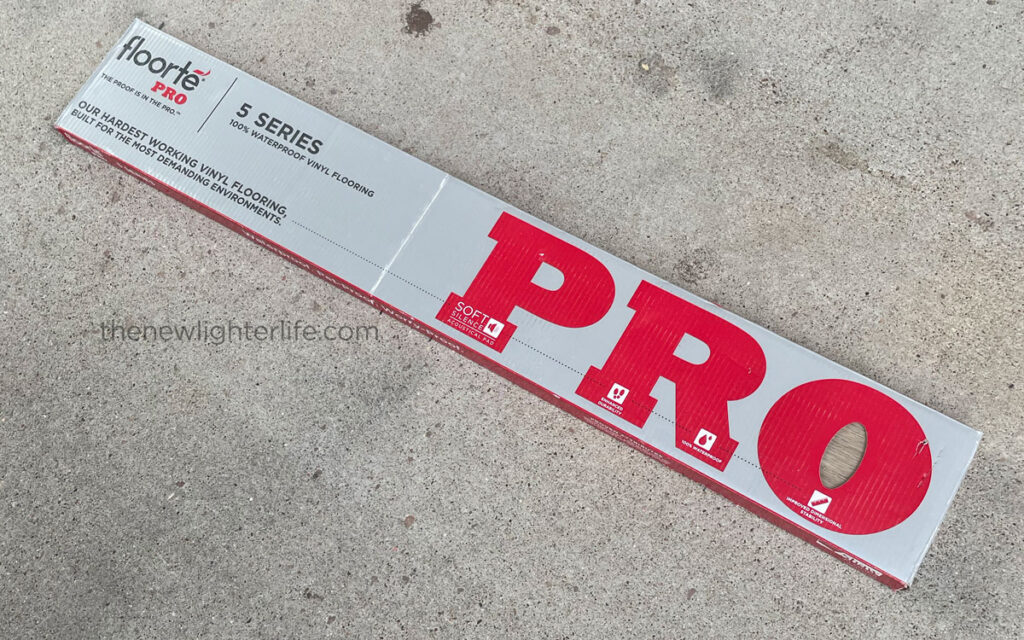
- Luxury Vinyl Tile – We chose this Floorte Pro 5 Series Vinyl since we got some boxes from our friend.
- Tools to Cut! You have many options here! (1) Table saw to rip strips of LVT evenly. (2) Circular Saw to cut ends. (3) Jigsaw to cut out notches for corners or irregular corners or around the toilet base. (4) Razor blade or box cutter to quickly slice away a portion but may not produce a smooth edge. (5) LVT Cutter if you plan to do a significant amount of LVT, this cutter is a huge time saver for cutting ends.
- Straight Edge, Ruler, Measuring Tape – for measuring and marking.
- Pencil – for marking tile.
With all the preliminary info laid out, let’s get into this super simple install…
How to Install LVT Flooring in an RV
- Prepare Floor Surface – If you suspect a leak or moisture under your existing floors, I recommend you pull out your old floor, repair the leak, and coat the subfloor with a primer, such as Zinsser 1-2-3 (which I used on my cabinets) or Kilz.
- Pick Your Start Point – Once prepped, or if your existing flooring is not damaged, you may start laying your LVT. To pick the optimal location to start, considered where you may have any curved cuts. Our RV has one section that has about a 45-degree curve. In our case, it made more sense to have shortcuts along the ends of the boards versus long cuts the length of the board.
- Cut Tongue or Groove off Starting Piece – ONLY cut the side that will be butted up against the wall. This will prevent damage to the edge of the floor.
- Join Planks Flush – To join the plank ends, you will need to butt the groove under the tongue at an angle and let planks rest on the floor to lay flat. If they do NOT lay flat, they are not snapped together properly, and you’ll need to keep trying other angles to get a smooth join that is flush.
- Wall to Wall – Continue to affix planks to one another end to end until your LVT strip reaches both walls.
- Cut Planks – To get perfect contact wall to wall, you will need to cut them to the proper length. Be sure while you are measuring and cutting, your tongue and grove facing the correct direction.
- Join Strips – Once your first strip is done, continue to build your second strip. Each strip must be joined end to end, so the strip meets wall to wall. Complete strips can then be joined to each other.
- Offset Seams – As you are placing your planks to make strips, be mindful of where the seams are so you can have a random look, and there are not two seams relatively close to one another.
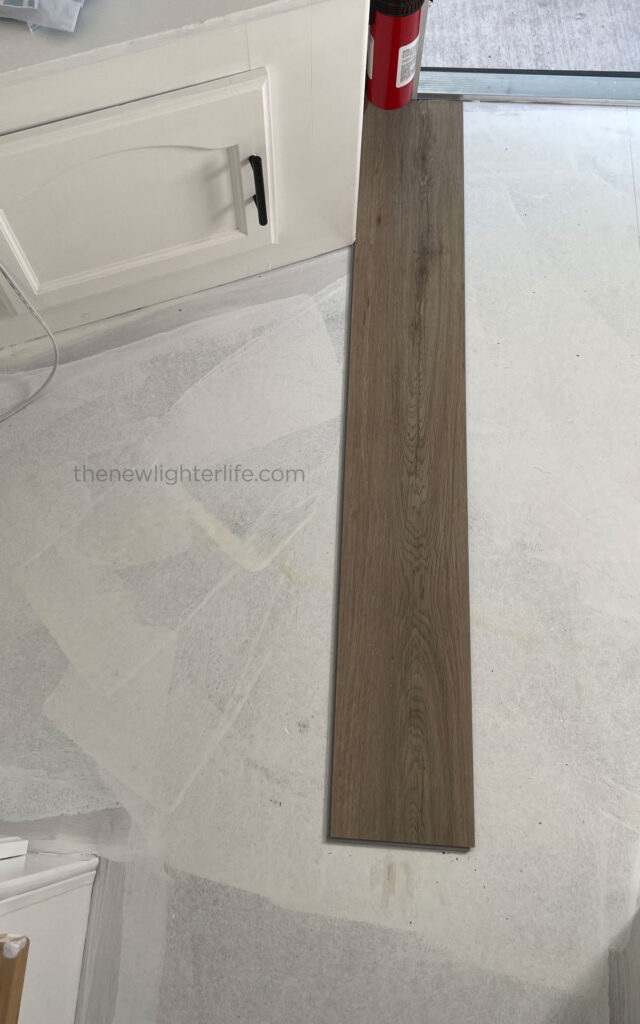
- Measure and Cut Angles – A simple trick is to measure the gap in the distance from the wall to the plank, like so:
 Next, you will mark the left side of the tile the distance you measured above. Mark the angle with a straight edge and cut the angle:
 As you can see, the angle is perfect. Also, note in the top right corner the flushness of the groove for our door. This was achieved by using the jigsaw.
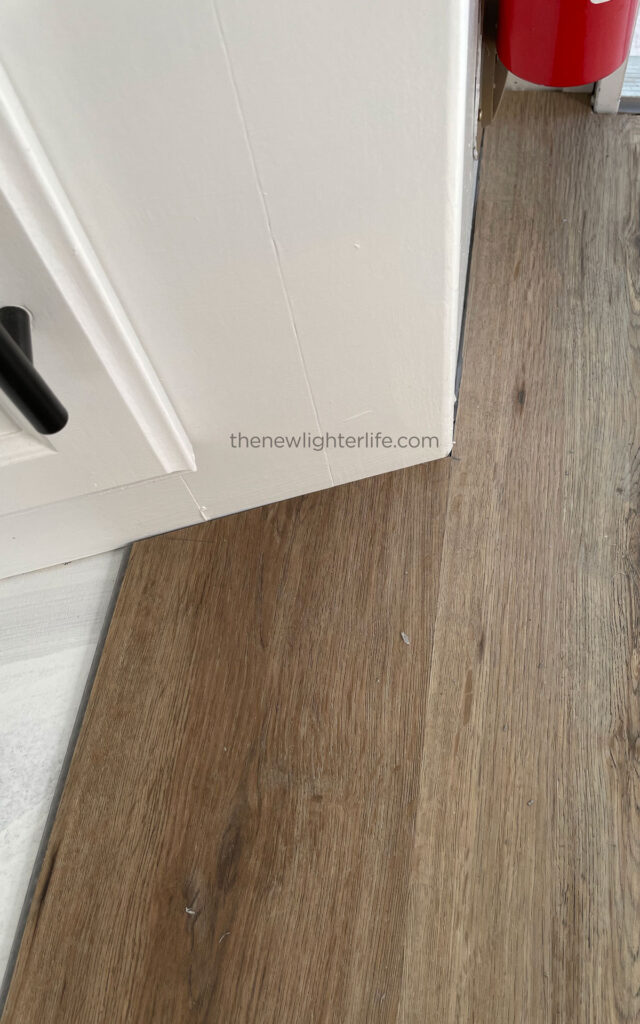
- Deal with the Slide – If your camper has a slide, you will have to address how to install it so that the slide does not catch on the LVT. For our 2002 KZ Frontier 2405, the slide roller is mounted under the couch and needed to be removed and reinstalled a hair higher so the roller would not catch on the LVT.
As you can see, the slide will catch if we place it up against the roller: These are the screws that need to come out to lift the slide roller:
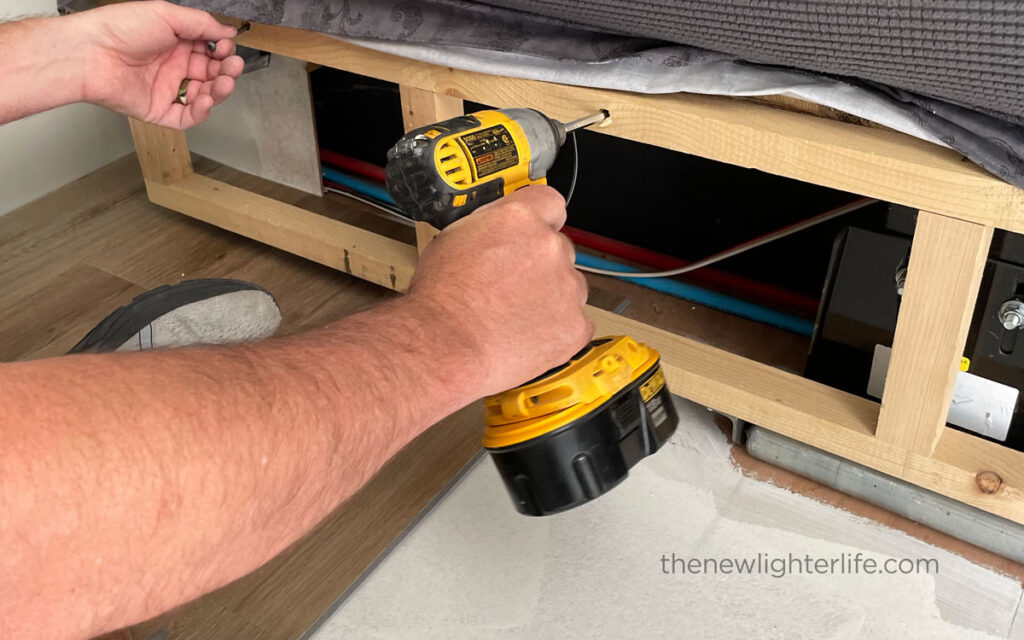
That’s all, folks!
I’ll share more complete photos of the final view in a later post with the complete remodel.
We still plan to put trim in the camper since those edges are not perfectly straight. Trimming and caulking are probably my favorite things about renovations, so I’m chomping at the bit to do that this next weekend before we go camping.
I will say that we are SUPER happy with how our LVT install turned out and would absolutely recommend this simple upgrade in your camper remodel!
As an Amazon Associate, I earn from qualifying purchases at no extra cost to you. Thank you for your support!

3 thoughts on “How to Replace Camper Flooring with LVT”