If you garden or buy in bulk, canning is an incredibly rewarding and inexpensive method of preserving your harvest. Today, we are going to focus on the costs of canning and how you can begin canning on a budget. Some home-grown and home-canned goods cost about half of what you will pay in the grocery store and I’ll show you how. I also have some of the most affordable ways to start canning, the essential equipment needed, and ideas for how you can find cheap canning supplies. I’ll also breakdown the costs with home canning versus store-bought
[ez-toc]
Comparison of Home-Canned Versus Store-Bought
Quality
One way to compare home-canned produce versus store-bought produce is to look at the quality of the produce. With store-bought canned goods, this is extremely difficult to do because there are many unknowns such as:
- pesticides
- herbicides
- ripeness when picked
- freshness when canned
Packaging
Home canned goods are canned in tempered glass jars. Though you can buy commercially canned goods in glass jars, often they are in metal jars that have a protective coating on them. The point of this coating is to prevent corrosion and the metal from coming in contact with the food. More and more commercial producers are eliminating BPA but you may find that your metal canned goods are not BPA-free.
Additives
One look at the label of store-bought labels is that there are often excessive preservatives, sugars, and other unwanted additives, which we would not include in our home-canned goods.
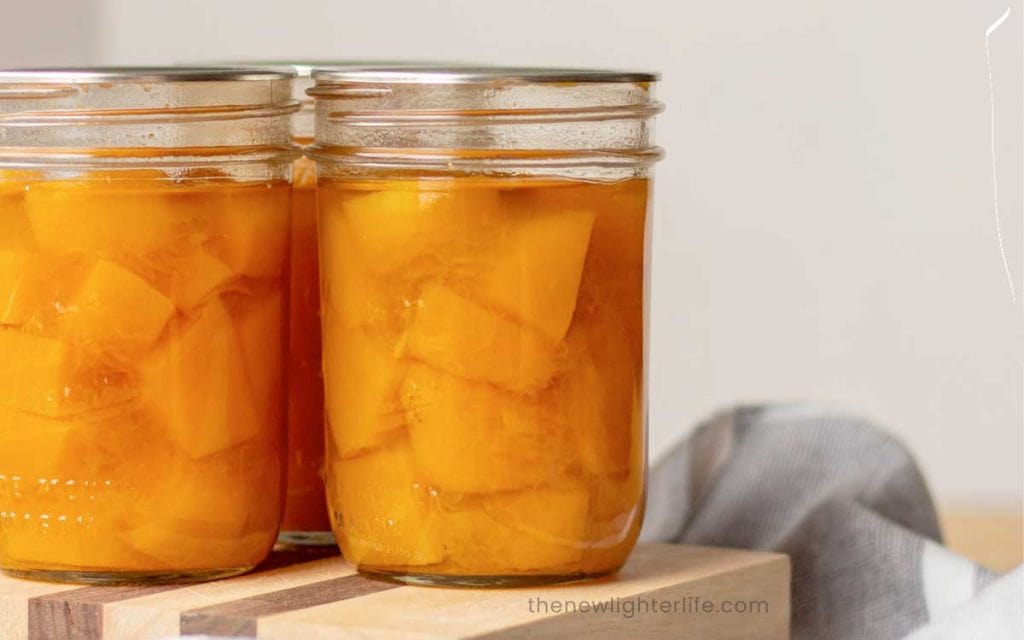
Cost for a Can of Green Beans
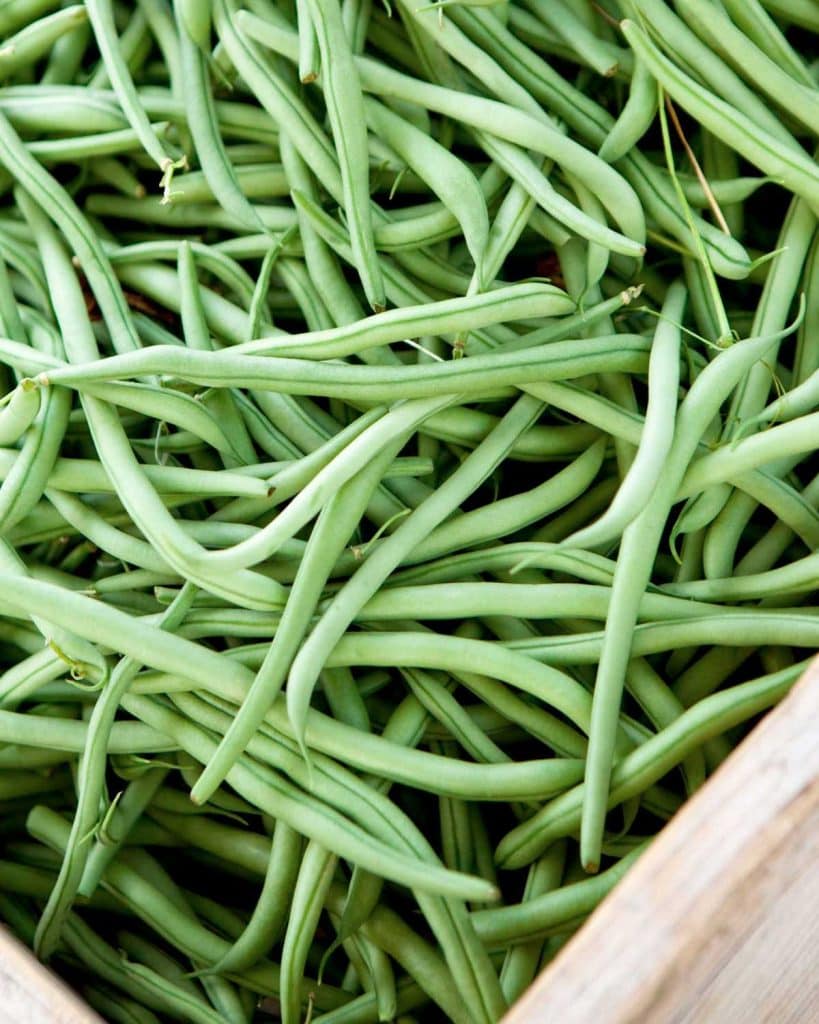
As you can see, it’s nearly impossible to compare the same but let’s just look at the cost for a moment.
Store-Bought – 14.5 oz. can of organic green costs $1.79 plus tax. These beans are in a metal can, with no salt added.
Home-Canned – 18.5 oz jar (1 pint) of organic green beans cost me $0.39/each. Note this does not include my initial investment in a pressure canner, canning tools, time, gas, water, or compost.
- $0.25 for my lid. (This is actually cheaper with my reusable Tattler lid – but we’ll get to that later.)
- $0.04 for my seed. One plant produces far more than 1 pint jar so I’m erroring on more expense here.
- $0.10 for my pint jar. I purchased many of my jars for less than $0.25/each at garage sales quite a few years ago.
Shelf Life
According to the US Department of Agriculture, the shelf life breakdown is as follows:
- Commercially canned low-acid foods are 2 to 5 years and 12 to 18 months for high-acid foods
- Home canned foods are 12 months regardless of acid level. Home-canned goods need to be boiled for 10 minutes (high-acid) or 20 minutes (low-acid) before consuming.
Now I don’t want to be a naysayer here or contradict the USDA’s advice, but I venture to guess that most canners do not follow this shelf-life guidance. Still, I wanted to present the info to you all so you could at least be informed on current guidance for shelf life.
Canning on a Budget: How Much Does It Cost to Start Canning?
Getting started with canning requires an initial investment in equipment and supplies. Quality tools will last you for many years of canning. Prices for supplies are only going up so buying supplies now may be the best purchases you can make. Below is a current cost breakdown to buy these essential tools brand new but I’ll cover these more in-depth further:
- A solid water bath canner (for high-acid foods) costs around $20 (from our hardware store) or up to $70 online.
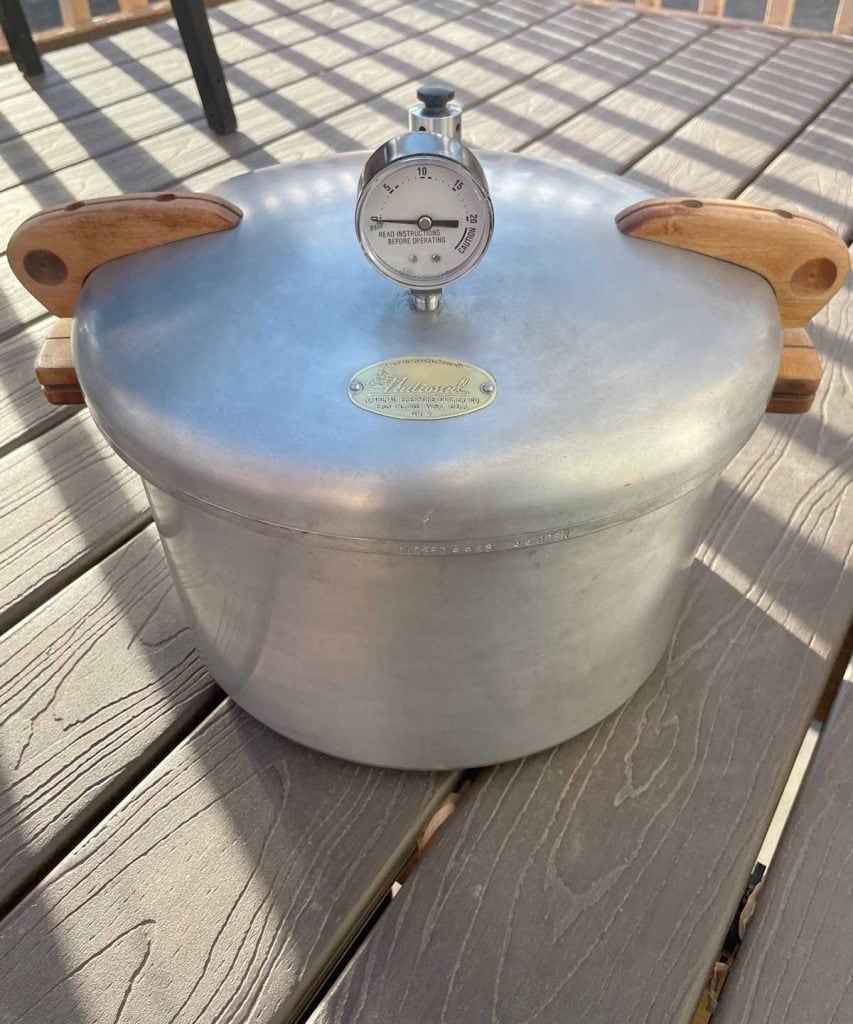
- A new pressure canner (for vegetables and meat) costs around $100 to $450.
- A case of canning jars costs between $12-$15 (these come with new lids and screw bands).
- Lids have a big price range depending on the quantity or type that you buy. They will run you between $0.21 to $0.34 for each disposable lid or you can go with reusable Tattler Lids and gaskets for $0.79 to $0.88 for each reusable lid.
- Canning Tools (funnel, jar lifter, etc.) $20.
This cost breakdown above is for buying brand new but you can save even more by purchasing used, which I’ll cover soon. Suffice it to say, with some careful shopping and budgeting, it’s possible to find affordable options for each of these essential tools.
Water Bath Canners and Pressure Canners
As I mentioned before, water bath canners are suitable for preserving high-acid foods like fruits, jams, jellies, and pickles. Pressure canners are required to safely preserve low-acid foods like vegetables, meats, and poultry. I covered whether you need a pressure canner in this post.
Used water bath canners and pressure canners can often be found at garage sales, thrift stores, or from friends and family members who no longer can. Only a few years ago I replaced my water bath canner (that was lost with movers) with a $0.50 garage sale water bath canner. What a steal, right!?!
If you buy a used canner, be sure to inspect it for rust or damage. You can also replace many of the seals and gauges as I did with my grandma’s old pressure canner. If you opt to do this, I highly recommend you get your lid pressure tested at your local hardware store or agriculture extension office.
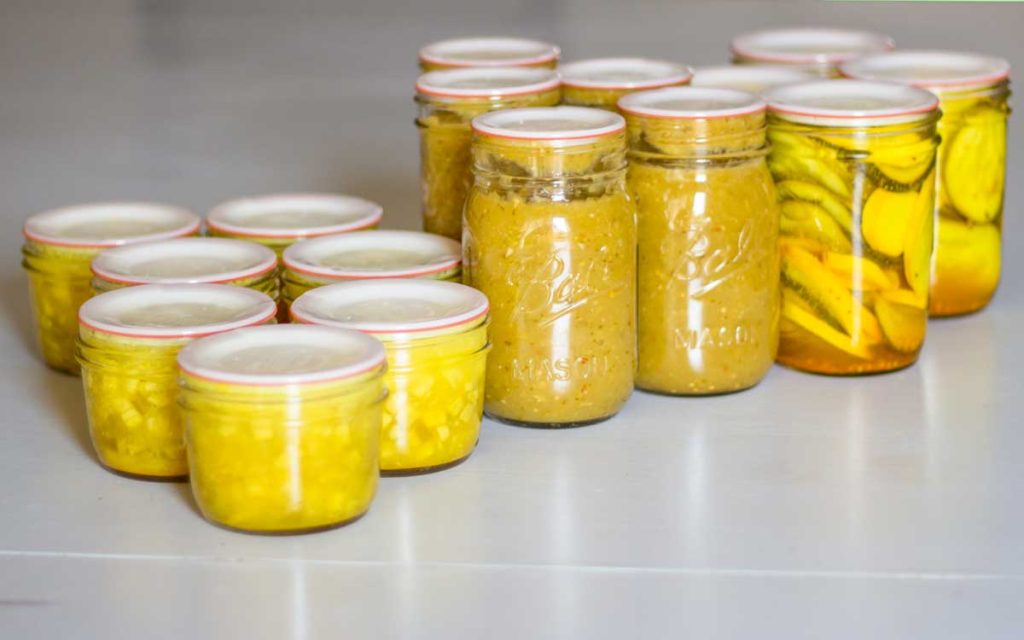
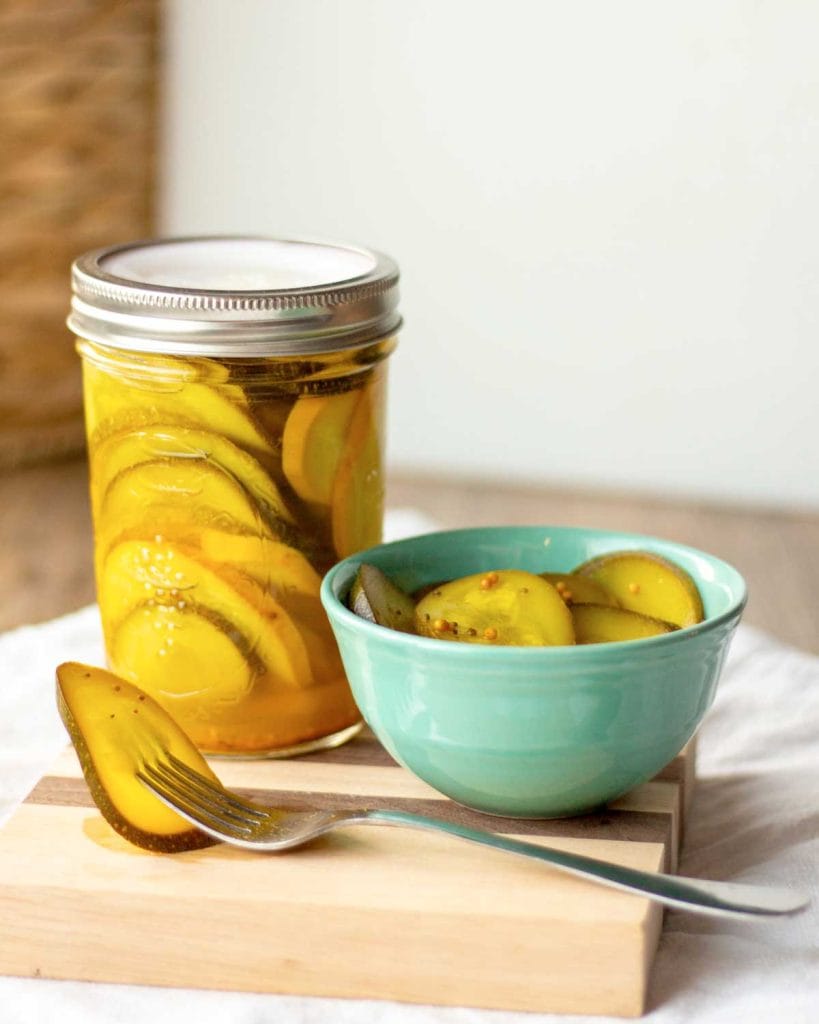
Canning Supplies – Jars, Lids, & Screw Bands
Canning Jars – Reusable New, Used, or Upcycled
You can buy new jars from any online retailer or local store, but I’ve been extremely successful find them used through Facebook Marketplace or garage sales. You can also find them at thrift stores or from friends or family.
Over the years, I’ve upcycled many glass jars from store-bought canned goods (many even say “Mason” on them) which are safe for canning. You’ll just want to make sure any jar you save can accommodate a new lid and screw band and that all jars are free of cracks, & chips.
Lids – Reusable or Disposable
You may purchase new disposable lids for every jar of canned goods. However, if you’re looking at reusable, I’ve had great success with Tattler. I bought a bunch of Tattler lids and gaskets several years ago and have used them multiple times. There is a slightly different process to getting a seal with the Tattler lids but I’ve been super happy with them and love the sustainability of reusing the lids and gaskets many times over.
Screw Bands – Reusable
Bands can be used many times over with proper care such as removing bands after freshly canned jars are sealed and washing them. These last for many many years or until they become rusted or bent. Bands come with new jars or you can purchase them separately.
Other Essential Canning Tools
Canning tools such as jar lifters, funnels, ladles, etc. can be found new or used in grocery stores, thrift stores, garage sales, or online. Investing in quality tools will ensure they last for many canning seasons, which helps you save even more money long-term.
How to Find Cheap Canning Supplies
I already touched on some options for buying canning supplies. But here are some additional tips for locating cheap canning supplies:
- Shop at garage sales, thrift stores, and auctions for used canning equipment. For jars, look for jars that are $0.75/each if used.
- The best-kept secret in canning supplies is at the hardware store, Menards. Our local store sells each case of jars for $2 to $3 dollars cheaper than Walmart or Target.
- Purchase canning jars, lids, and screw bands in bulk during sales or at Amish bulk stores.
- Buy from online sources such as:
- Look for deals on canning equipment in the fall when stores are clearing out their stock.
Is Canning Cost-Effective?
Canning can be cost-effective, especially if you have a surplus of produce, poultry, or meat. You’ll want to consider these 4 factors to determine just how cost-effective canning may be for you.
- Initial Investment – We already went deep into the equipment and supplies you’ll need for canning. Once you have your supplies purchased, you are set up for many years of canning. The longer you can and the number of seasons your canning spans, the more cost-effective canning is for you.
- Garden Surplus – Growing your own fruit and vegetables is super rewarding. Rarely can we keep up with what our garden produces. Seeds, watering, and compost are very cheap, making canned home-grown produce a huge budget-saver.
- Bulk Purchasing – Most everything I can that is not from my garden, is bought in bulk. I often purchase dried beans from Azure Standard (home-canned beans are way cheaper than commercially canned beans) and flats of fruit from The Fruit Truck. This practice alone significantly lowers the cost per jar.
- Convenience & Flexibility – Canned foods can be stored for an extended period, which lets you take advantage of sales, discounts, or seasonal abundance when the price is right. There is nothing like having ready-to-eat or easy-to-cook items readily available, which can be a huge time saver and help you avoid eating out or buying processed food.
How Much Does It Cost to Can a Jar of Food?
It would be nearly impossible to give a price breakdown of home-canned goods since there are so many factors such as time, ingredients, equipment expenses, etc. I’m sure you’ve seen rising food prices, which only makes gardening and canning that much more budget-friendly. On average, the cost of a home-canned jar of food can be as low as $0.25 or as high as $2.00.
If you want to do a very deep dive into costs, Colorado State University has a very thorough breakdown of all the potential costs for canning (dehydrating & freezing too), fruit & vegetable yields by the lb, ingredient costs, and charts for you to calculate costs.
Time Investment for Canning
Canning does require time and effort. I may be biased but I find the rewards of having a pantry stocked with home-preserved foods outweighs the time investment.
But really, if you think about it, canning is the ultimate form of batch cooking, allowing you to prepare large quantities of food in one session. During busy weeknights or emergencies, having healthy canned goods on hand saves time, money, and stress.
How to Can Food at Home
Below is a VERY basic overview of the canning process.
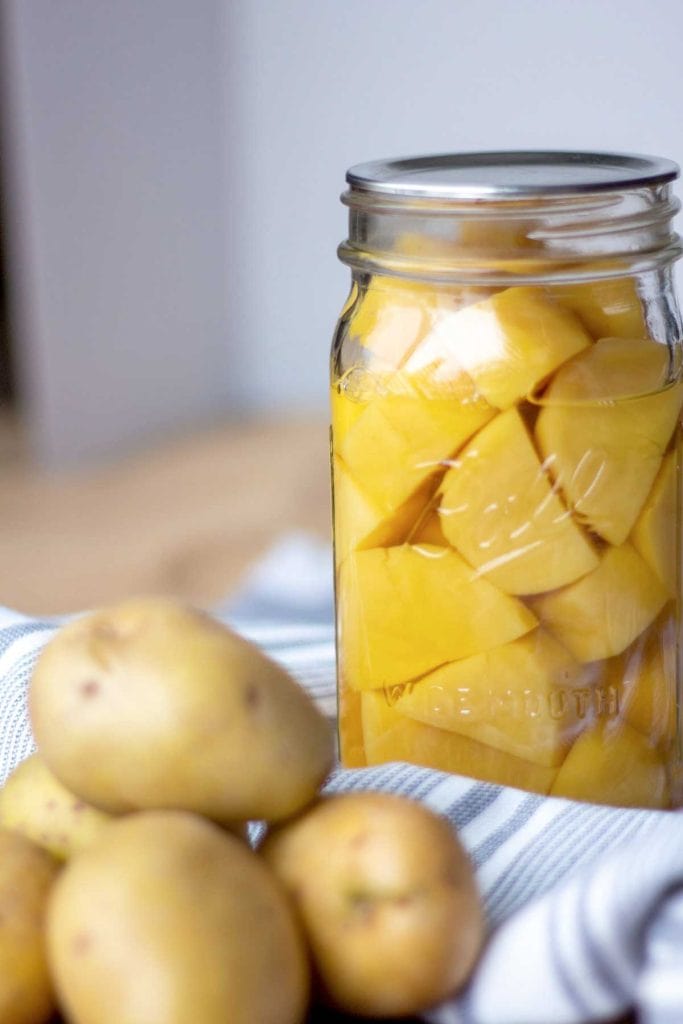
- Preparing the food: Wash, peel, chop, or slice the produce as needed.
- Sterilizing the jars: There are several ways you can do this (microwave, dishwasher, oven or washing) but they all result in jars that are clean and safe for canning.
- Filling the jars: Pack the prepared food into jars, leaving appropriate headspace.
- Processing the jars: Place filled jars in a water bath canner or pressure canner and process according to the recipe’s instructions.
- Cooling and storing the jars: Once processed, remove jars from the canner and let them cool completely. Remove the rings, check the seals, label the jars, and store them in a cool, dark place.
You’ll want to read through solid sources on the canning process and your specific recipe for more detailed instructions. My FAVORITE canning book loaded with instructions is the Ball Complete Book of Home Preserving. I cannot recommend that book enough, especially if you are a beginner canner.
Safety Tips for Canning
If you’ve decided to undertake the task of preserving your food, you’ll want to ensure you are following safe canning practices. A few quick tips are:
- Follow guidance from two of the most reputable sources, such as the National Center for Home Food Preservation or USDA Complete Guide to Home Canning. (there is a wealth of information on both sites!)
- Inspect jars, lids, and equipment for damage (such as cracks) or signs of wear before each use.
- Keep your canning area neat and tidy.
- Do not can produce that is overripe (unless you are making jam, fruit butters, or applesauce)
- Sterilize jars if you are processing them in a water bath canner for less than 10 minutes.
- Follow proper canning procedures and processing times to prevent spoilage.
Benefits of Canning
Alright, guys! We’re about to wrap up here. I know that was a LOT of information for you. There are some key benefits to canning, I want to highlight before I leave you today:
- Saving money by preserving seasonal produce or homegrown produce, which reduces food waste.
- Providing nutritious, home-cooked/prepped meals for busy nights or emergencies.
- Controlling the ingredients in your food by avoiding chemicals in produce and preservatives and unhealthy additives in the final end product.
- Supporting local farmers by purchasing in bulk during peak season.
Final Thoughts on Canning on a Budget
Canning on a budget is a practical and cost-effective way to enjoy the benefits of home-preserved foods. With careful planning, smart shopping, and a willingness to invest time and effort, you can build a pantry stocked with high-quality, home-canned goods that will save you money and provide nourishing meals for your family.
As an Amazon Associate, I earn from qualifying purchases at no extra cost to you. Thank you for your support!

1 thought on “Canning on a Budget: How to Preserve Food Without Breaking the Bank”