I’ve been swooning over a twig Christmas tree for a couple of years now. In all fairness, I think it’s actually more adequately called a driftwood tree…but tomato tomata.
Today I’m going to share with you how you can DIY your very own Twig Christmas Tree for less than $5 in materials.

First, here is the original inspiration. I saw this photo probably a hundred times on Pinterest. I fell in love.
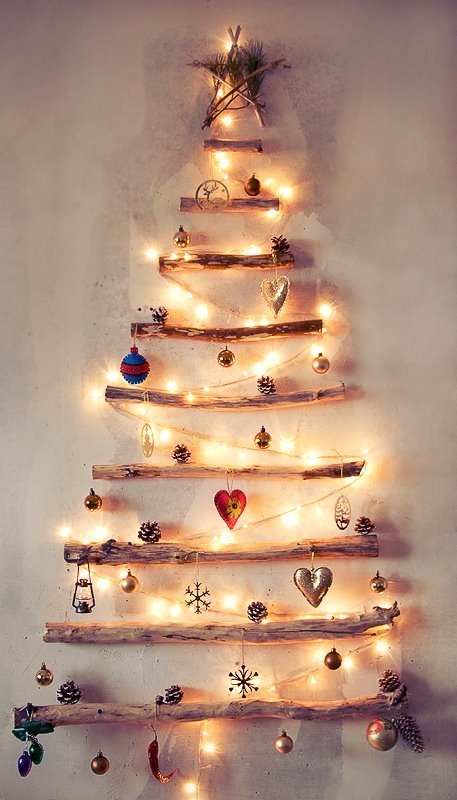
(I’d love to give proper credit to whoever made this beauty but I’m unable to find the original source)
Isn’t it GORGEOUS!!! I mean really. I LOVE it!!
Why this kind of tree for Christmas?
Last year was our first Christmas in a home after full-time RVing, we were sparse on the Christmas decorations! Meaning, we had Christmas stockings – that is it. In the past, artificial trees have been our tree of choice because of how easy cleanup is with them.
We decided to keep our spending to a minimum last year…
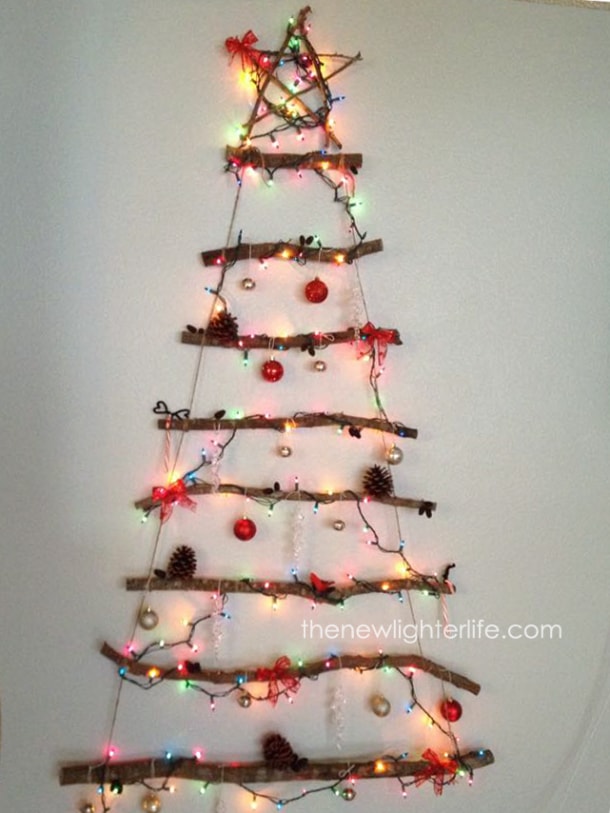
Enter our very own Twig Christmas Tree.
This beauty was so easy to make, I’m kicking myself for not making one while we lived in an RV!
So here is how we did it!
How to DIY a Twig Christmas Tree
Materials:
- branches
- jute string or twine
- staple gun and staples
- two angle aids scrap wood, string, or tape measurer long enough to lay along the side.
- saw (circular or scroll)
Directions:
- Find the stud on the wall you plan to hang your twig tree. Measure to figure out what the optimal width your tree should be.
- Gather twigs that are of similar diameter and are fairly straight.
- Lie them out on the ground to get them to the desired graduated pattern. (See that stump at the bottom? We were winging it and ended up NOT using it so let’s just pretend it’s not there.)

- Using one of your angle aids, lie the aid on the side of your “tree” to get the desired angle of your tree.
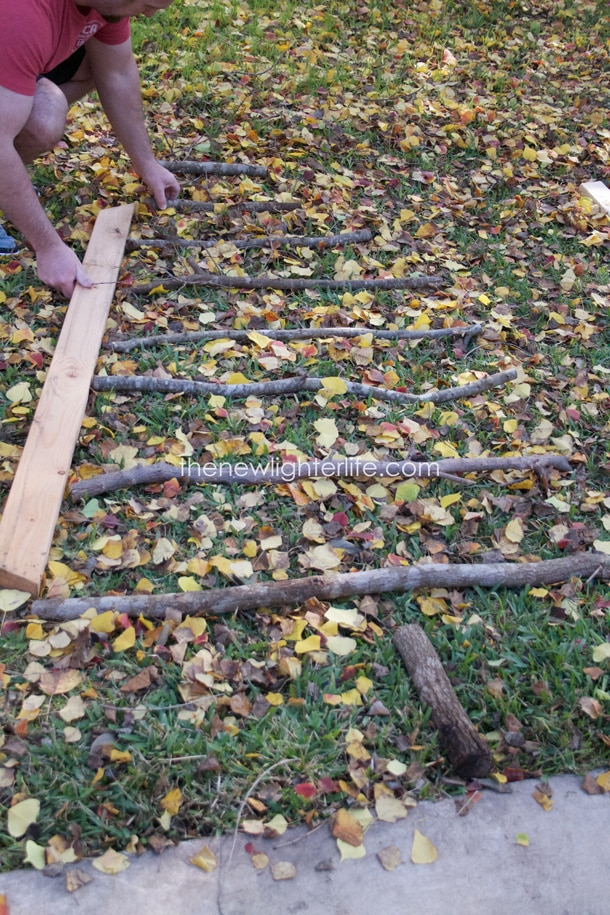
- Move the twigs flush up against your chosen angle aid.
- Take another similar angle aid and lie it on the other side of your “tree”.

- Following the 2nd angle aid, mark a line on your twigs to be cut.
- Using a saw, cut along the mark to shorten your twigs.
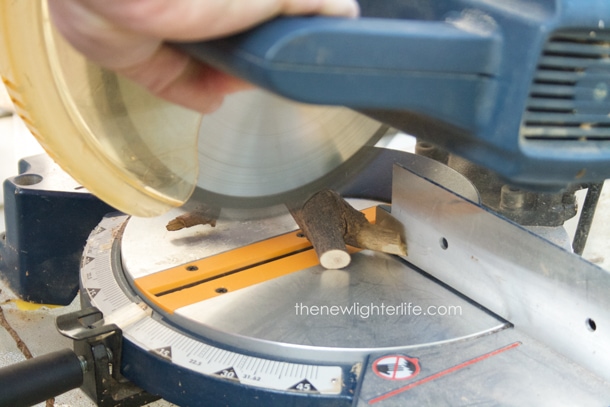
- Remove small branches from your twigs.
- Make sure your tree branches are positioned how you want them to be as a finished project.
- Tie your jute to one end of the bottom twig (the longest one), then staple it in place. Wrap the jute once and staple it in place again.
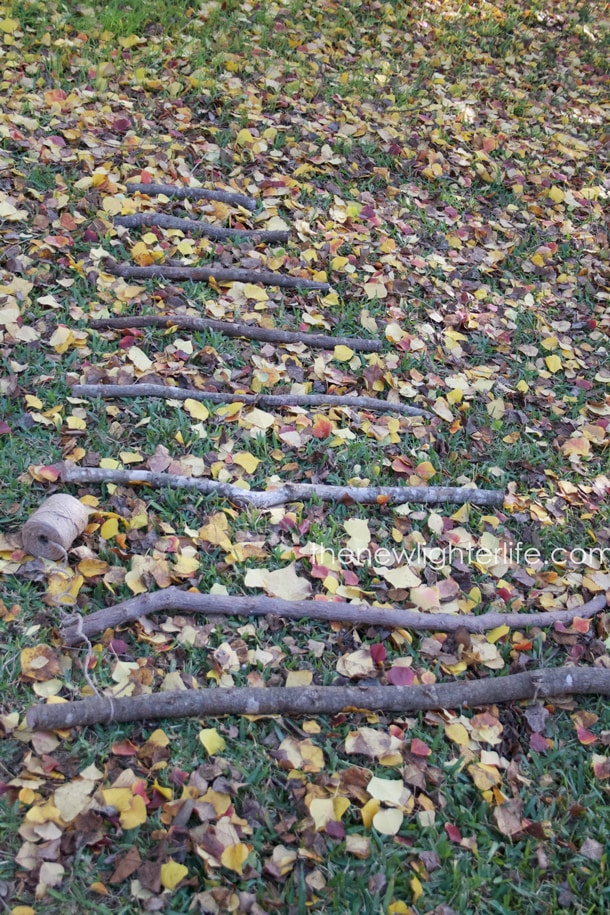
- Bringing the same piece of jute up to the next rung, wrap it around the twig 2 times, (the jute should be positioned slightly angled in), staple the jute in place.
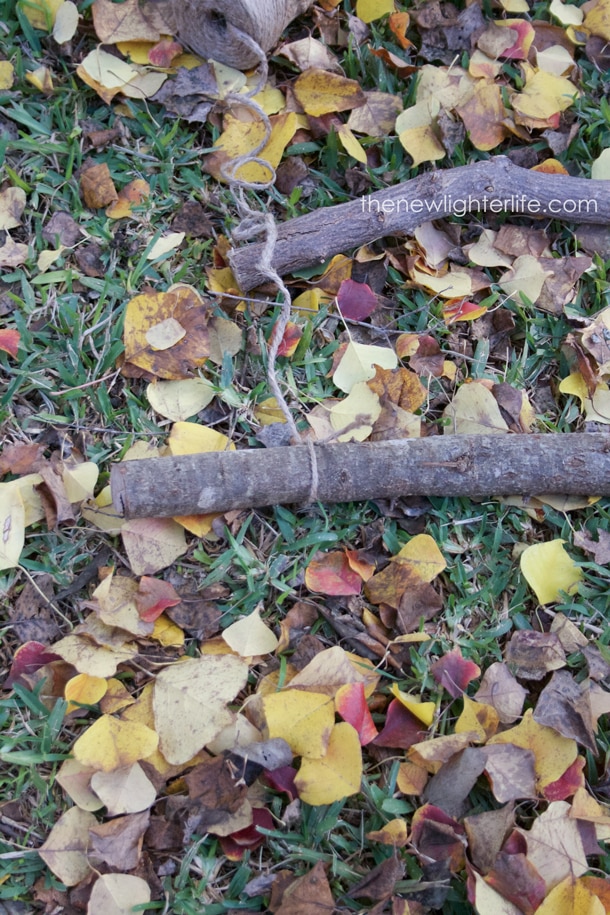
- Continue this process until you get to the top rung. Finish this angled side by wrapping the jute a couple of times around the rung and tieing the end off. Staple the jute in place one last time.
- Repeat the jute tieing, stapling, and wrapping process on the others angle of the tree.
- Holding your tree up against the wall, check to make sure it is positioned as you’d like.
NOTE: When we put our twig tree on our wall, we noticed we put some of the rungs too far apart so we wrapped the jute one more time around some of the branches. - When you are happy with your tree, lay the twig tree down on the floor again and reinforce with staples again.

- Wrap your Twig Christmas Tree with lights.
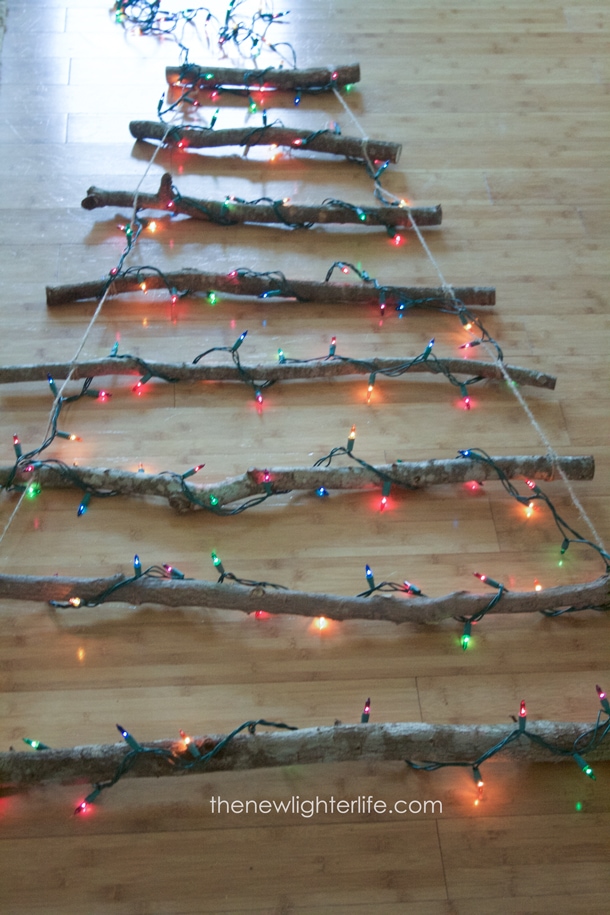
- Hang the tree with the staples hidden against the wall. (we simply drilled a hole through the top run of our tree and screwed a large screw through it and into the stud)
To Hang:
- Hold the tree up against the wall (it’s heavy), drill a hole through the horizontal center of the top rung.
- Find the stud again and screw a 3-inch screw in through the drilled hole in the rung and into the stud.
- Have fun decorating!
So this is what we did last year and that time of year is just around the corner! (can you believe it?!?!?)
Admittedly, I regret not taking better pictures last year. I will totally update with better pics once we pull this puppy out of the decorations.
This was such a fun little project for us. Okay…I’ll be real and tell you that Mark and I didn’t see eye to eye on different aspects of the project, but once it was finished we gave each other a high five and a kiss. Success!!
As an Amazon Associate, I earn from qualifying purchases at no extra cost to you. Thank you for your support!
