
We’ve worked our tails off completing our 1996 Winnebago Adventurer Remodel. Today, I’m going to take you through all the major updates we did and give you some Winnebago remodel ideas.
I’m happy to report that our Winnebago remodel is *almost* complete. Almost because we have light fixtures, outlets, and rugs to replace. I’d also like to do some work in the bunk room to make it more personalized and kid-friendly. I could list some more things we want to do but the bulk of the remodel is complete and we’ll do a little as we go.
Truth be told, most of the work we did was just so we could get moved in. We ran out of steam and grew tired from spending money on the camper. Our plan is to let the dust settle for a little bit.
Our Key Winnebago Remodel Ideas
I originally wrote this post back in 2013. Since then, we’ve remodeled another travel trailer and we’re getting ready to do another remodel on our 2002 Winnebago Class C. Here is my top list of Winnebago Remodel Ideas:
- Master Bedroom to Bunkroom Conversion
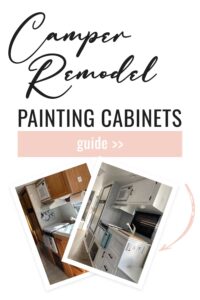
- Painting Camper Cabinets
- Wall Paint Throughout Camper
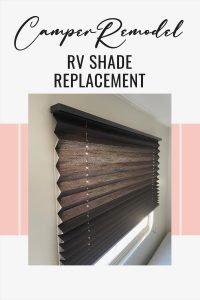
- Update RV Window Shades
- Updating Hardware
- LVT Flooring Update
- Subfloor Replacement
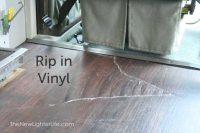
- Replacing Flooring (Sheet Vinyl) on a Raised Slide
- Refinishing Booth Dinette Upholstery
- Kitchen Backsplash Update
Some of the posts above were updates to our 2002 KZ Frontier 2405 travel trailer but they would be perfect for a Winnebago!
Back to the Past…
We’ve been living in this “new to us” camper for the past 4 days. We LOVE the new/old camper and it is so bright and open. We’re both so happy with the changes and today’s post is going to be image-heavy as we share most of what we did. In the following days, I’ll post some tutorials and give further details on how we accomplished our remodel.
The Major Remodel Throughout
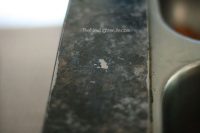
We painted the walls a soft gray. Cabinets were painted with Nuvo Cabinet Paint (Platinum White). Counters were painted with the Giani Granite Countertop Paint (Bombay Black). Before, the floors were a mixture of carpet and linoleum. Both were ripped out (except up in the cab area) and replaced with sheet vinyl.
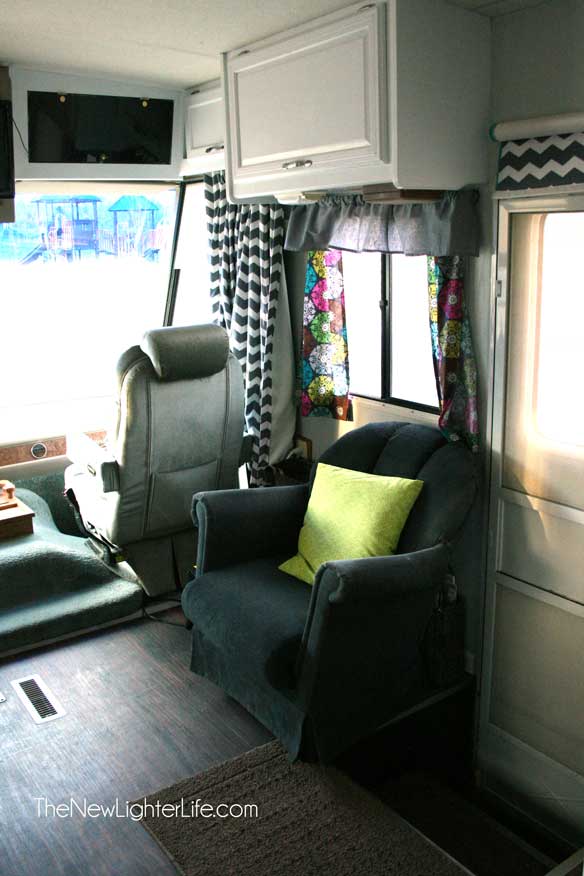
RV Entryway
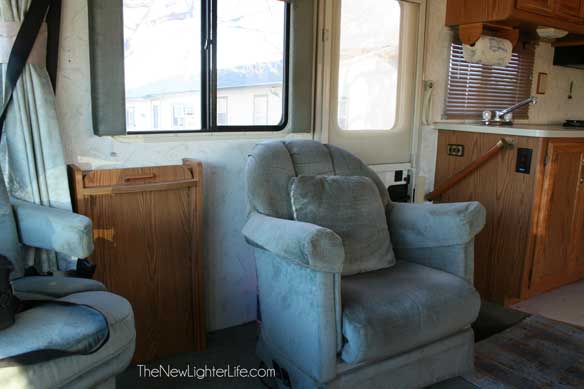
We removed the handrail and fold-out table. We also put fabric paint on the chair and updated the pillow. There was a roller blind which we replaced and covered. We also sewed the chevron print to the front window curtains (and it looks pretty psychedelic at night).
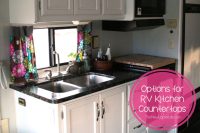
RV Kitchen Remodel Area
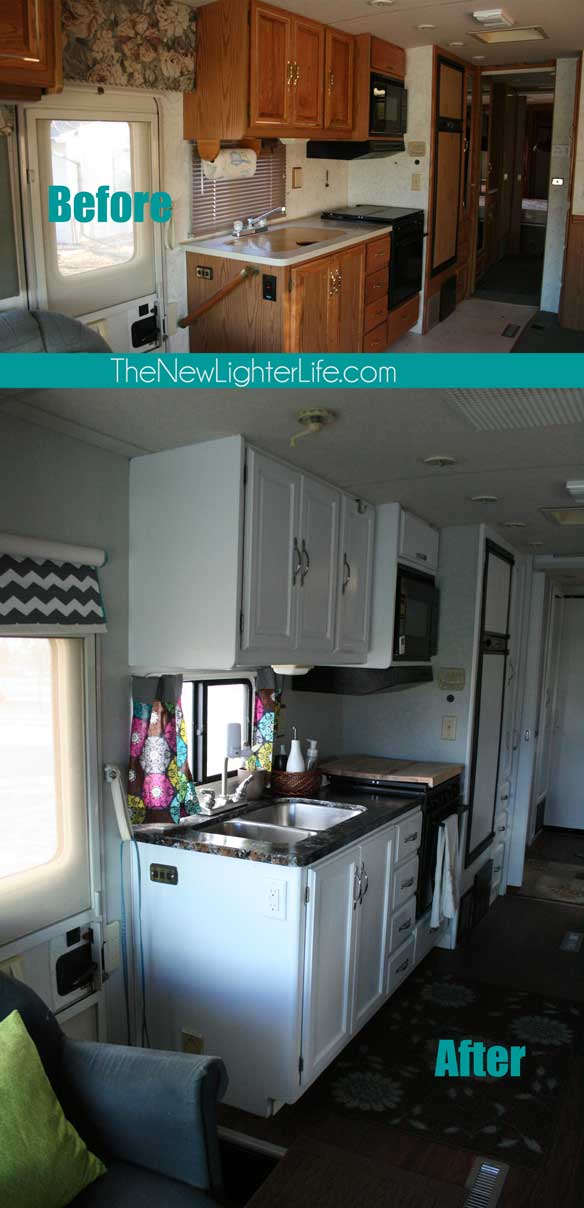
The rugs don’t match, but we must let it go for now. There are updated grates and some outlets changed out throughout as well. The rest of those outlets will hopefully be changed out within the next few months. But any of you who have done remodeling probably recognize it isn’t going to happen. Ha!
We also updated the faucet and added an Ikea butcher block to the stovetop. The fabric panel above the door was also removed.
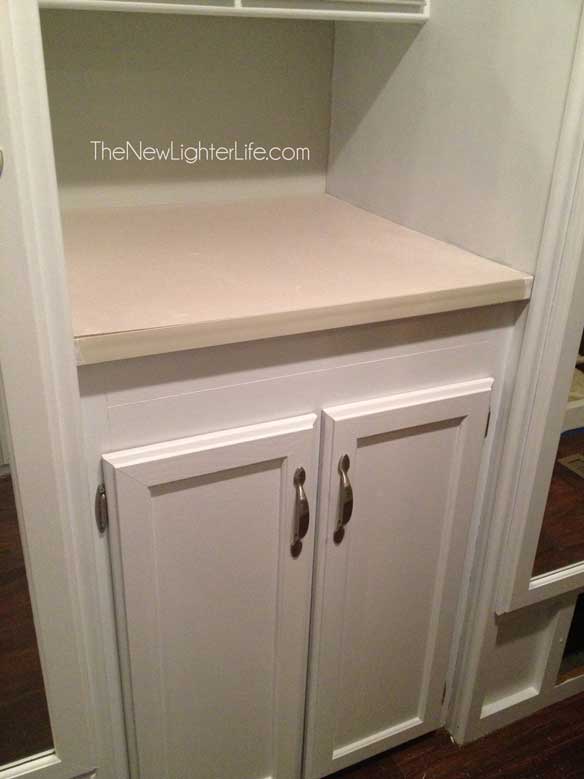
Here is a better picture of our countertop paint. It turned out so well and it made such a difference in the space.

Here is a view of another section of the countertop after we painted the cabinets. It looks so much better now.
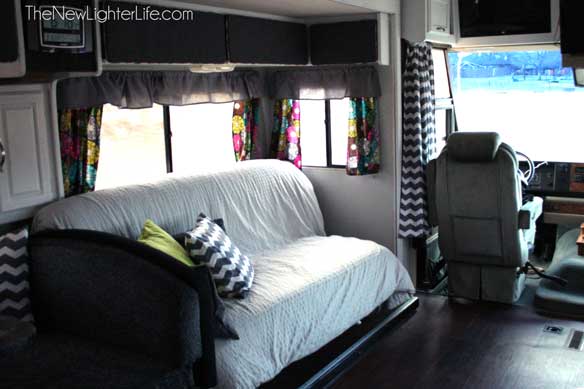
Living & Dining Room Area
Sadly I didn’t have a good picture of the couch so you get to see this poor-quality and fuzzy one. I’m going to say that my kids took this picture but I’m sure I did. At least you get a picture of the carpet and the couch we had before.
And now the update. We bought an Ikea sofa bed. It was the only queen bed we could find that would fit into the space. It is a very comfortable bed (not so comfortable couch).
In the picture, you get to see the cabinet fronts that were recovered. You also get a better view of the curtains, which Mark is crazy about (note – I’m being sarcastic but I think he’s regaining his masculinity every day we live in the rig).
There is also the view of the slide and some of the vinyl flooring Mark put in.
Now for the dinette…
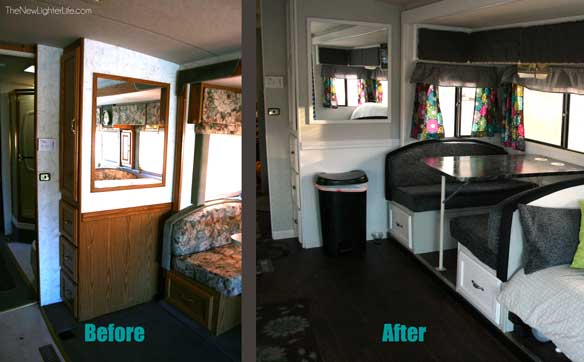
I recovered the dinette cushions and Mark put a new wood trim front on the slide
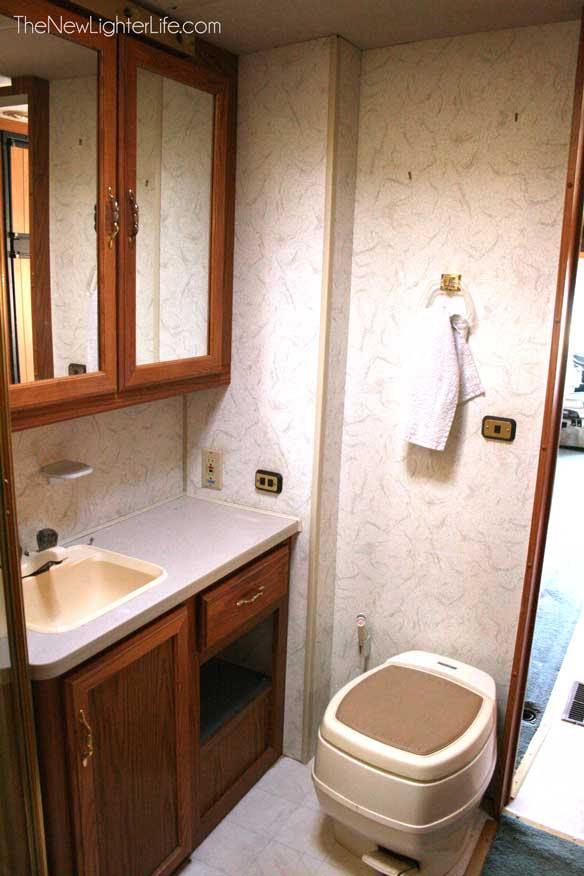
1996 Winnebago Adventurer Bathroom Area
This area had some of the same updates I previously mentioned.
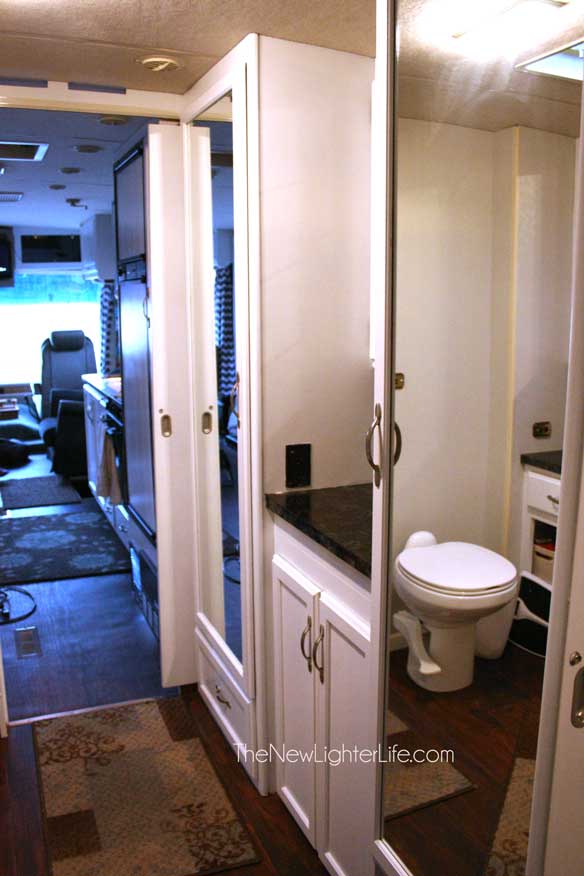
Mark also replaced the toilet.
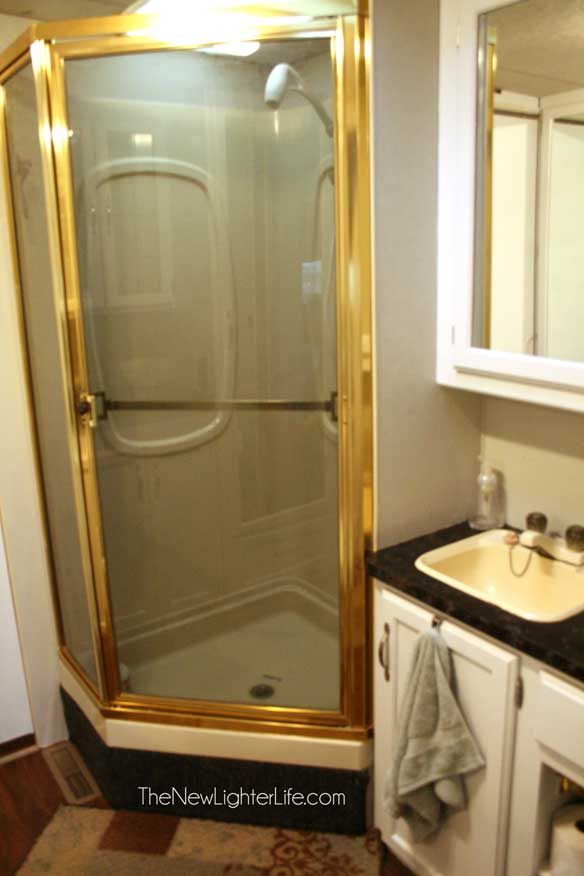
He replaced the showerhead and I recovered the bottom fabric face of the shower with the same fabric I used on the booth dinette. I’d love it if Mark replaced the sink and faucet (as well as the shower) but that’ll have to wait for the time being.
Here is an old view of the bathroom.
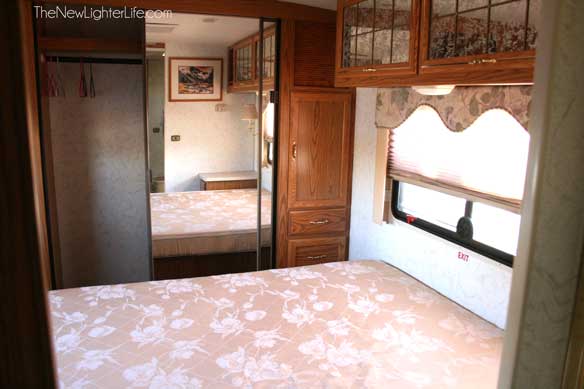
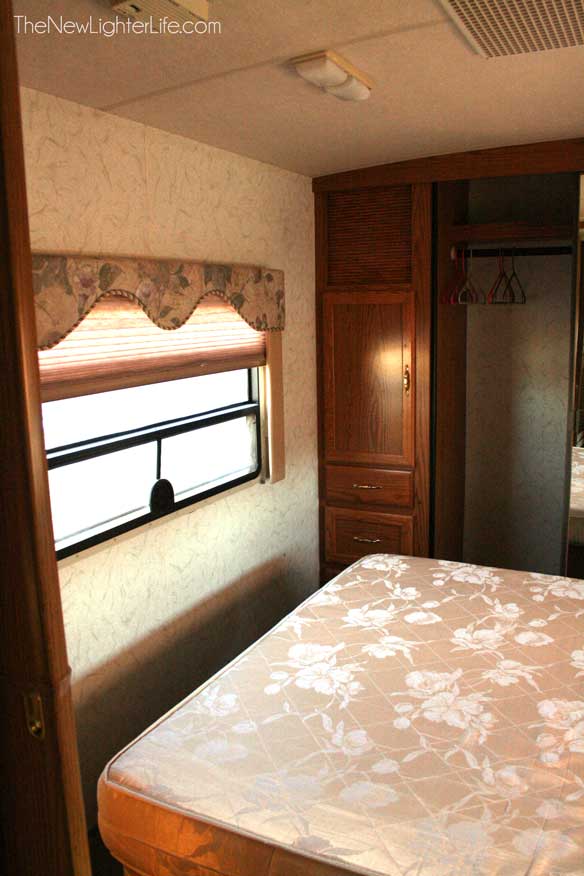
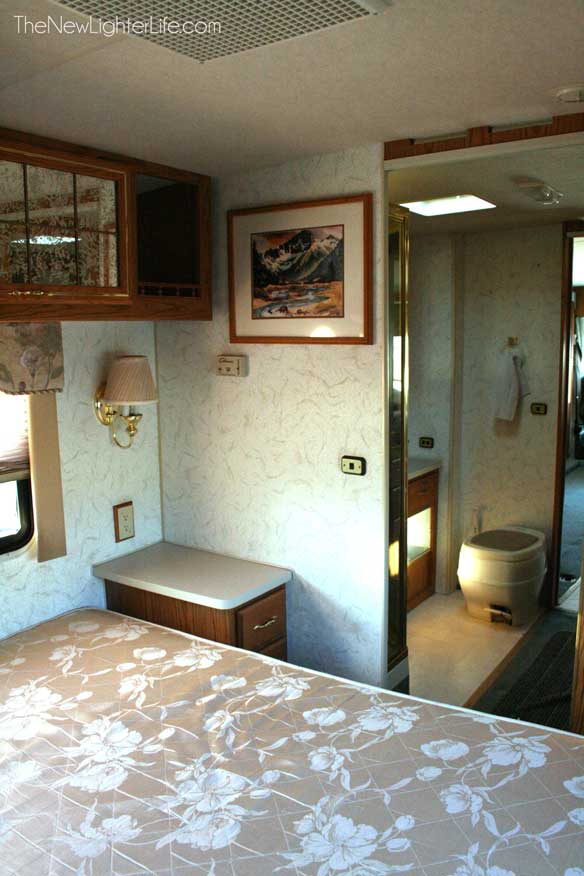
Master Bedroom to Bunkroom Update
Next, we turned the master bedroom, into a bunk room for our 4 children.
First the before…
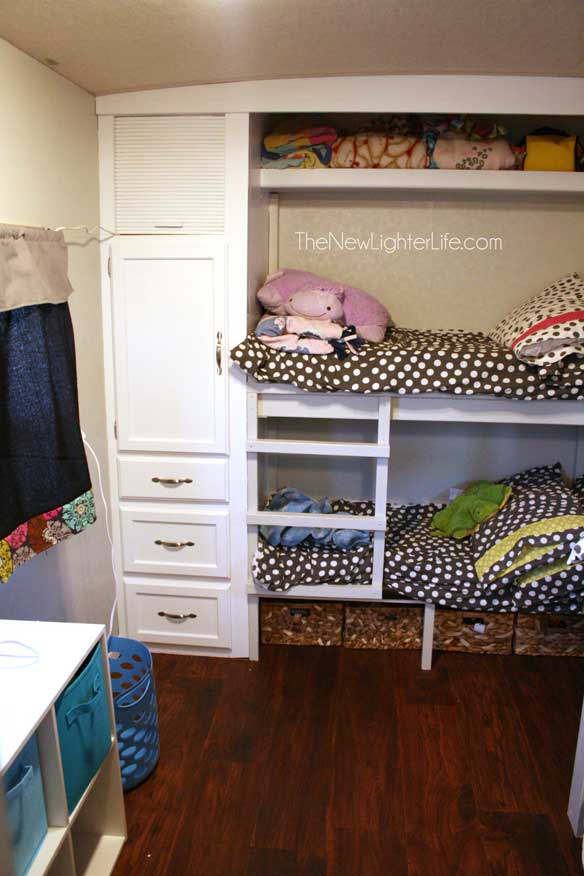
Mark had originally planned on installing bunks that could fold up during the day. He changed the plan because he had concerns about bracing and the fact that the walls do not have standards studs that run the entire length or at the proper intervals to support that kind of weight.
So we settled on having 2 smaller bunks for the 2 littlest in the opened closet area and 2 larger ones for the 2 older ones. We also got a Closetmaid cube shelf. I’d like to make some changes to their room and the wheels are turning on how we can make it more kid-friendly but they like it and have their little space. The baskets underneath store some of their toys as well as diapers and clothes that they are just about to grow into.

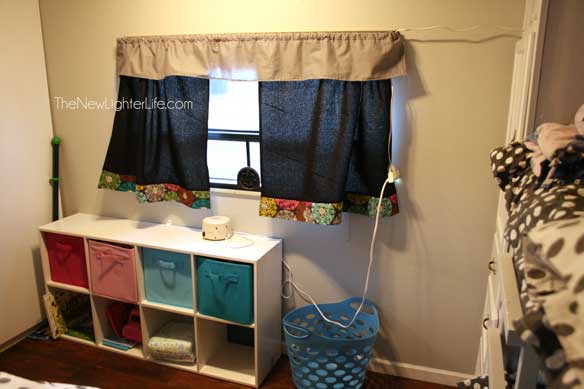
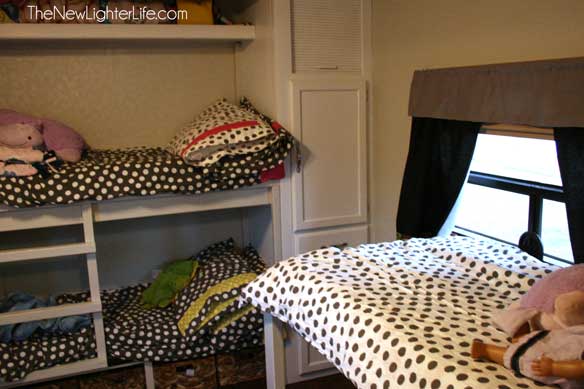
The bedding for the kid’s bunks came from duvets I bought from Ikea. I sized down comforters to fit their beds and sewed the colored strip to add color and help us keep each set straight. I also made fitted sheets and sewed the curtains (which are probably my least favorite thing I sewed).
But that’s it for now. Hopefully, this post gives you some more Winnebago remodel ideas for your RV. The next update will be more details about our cabinet paint job.
Blessings,
I am enjoying your web sit very much. Found you through Pintersest. We are fixing an 88 Aluma Light RV that we are going to live in on our farm until we build our house. I was painting the cabinets today and was thinking what am I going to do with the ugly chair by the door. I didn’t know you can spray paint fabric! How is the paint holding up on your chair?
This might be a great solution, thanks.
Hi Lee! I did NOT find a good paint for the chair. We initially used a fabric spray paint. It seemed to do the job but over a very short time, it faded considerably and I can’t recommend the spray. I had thought about recovering the chair but never did get around to it.
Love what you did . How did u paint the cabniets? I too want to get rid of the brown .
Hi Marla, we detailed how we painted our cabinets in this post. (I was not a fan of the brown either) 🙂
Hi I was wondering if you put anything on the wall paper walls before painting. We have a 1972 we want to paint just don’t want the paint and make the wallpaper come off.
We didn’t have wallpaper in ours. It was just pressed board but if it’s not peeling off, I’d just paint over it. 🙂
What did you use for the counter tops? They look amazing! My fiancee and our 10 year old boy are moving into an rv nd I need to fix it up! Love your page.
Hi Brittany! We used Giani countertop paint but were not happy with the durability. Sorry to be bearer of bad news but I’d recommend a different option. Enjoy the adventures!
how did you paint the counters? They are gorgeous.
We used a Giani countertop paint but were not happy with the results. They may have changed their formula but 3 years ago, we were not happy with the durability.
Any issues with the slide and the new flooring?
We did not have issues with the slide once we got the trim piece the right size, you can read about it here. We don’t own the RV anymore but it worked for the year that we lived in it fulltime.
Our rv is very similar to yours we are wanting to mirror the b k bedroom of yours but are having a small issue, does yours have the basement ac system in the back? There are some vents built into the bed frame we want to take out.
Hi! I saw you don’t have the rv anymore, but we are looking at a 1999 Winnebago Suncruiser, and your remodel has REALLY inspired us. I have a few questions, if you don’t mind!
Did the kids like the bunk room? Did you mind sleeping in the living room? We don’t think we will mind so that we can have a smaller RV… Did you ride in a seperate vehicle or did you figure out how to safely strap some car seats in? We will have 3 in car seats when we go on this adventure and are thinking I will drive a car since there are such safety concerns with car seats in Motorhomes:(
Great job! You said you used fabric paint on the chair. Can you elaborate? What kind? Were you happy with the texture of the fabric after painting? Did it stiffen the fabric at all? Thank you!
What did you use on your refrigerator? I love the white panels. Did you paint or contact paper or something else?