Potatoes are probably one of the easiest crops to grow! However, understanding the potato planting season can be a game-changer for your homegrown potato harvest. Whether you’ve been gardening for years or you are a green-thumbed beginner, today I will walk you through the nuances of planting potatoes, from understanding the best planting times to harvesting and storage tips. So let’s dig into all the secrets to getting a bumper potato harvest!
Understanding the Potato Planting Season
Knowing when to plant potatoes is crucial to a successful harvest. Different varieties of potatoes require different growing periods and thrive in different seasons. The potato planting season depends on the climate, soil conditions, and the average date of the last frosts in your area.
When to Plant Potatoes in Spring
Since potatoes are not hardy plants, spring is the ideal time for planting in most regions. As a general guide, the best time to plant potatoes in spring is approximately 2-4 weeks before your last frost date for your USDA gardening zone. Just remember that your soil temperature needs to have warmed to at least 40°F (5°C). If you want to make sure that your soil is at the proper temperature, you can use a soil monitor.
When to Plant Potatoes in the Fall
In some regions, potatoes can also be planted in the fall for a second crop. To determine the ideal time for planting a fall crop, you must know your first frost date for your USDA gardening zone. Count back 15-20 weeks from this date to find the optimal planting time. The number of weeks you need to count back will depend on the variety of potatoes you are growing.
Choosing the Right Potato Varieties for Your Climate
Potato varieties are classified according to their maturation period: early-season, mid-season, and late-season. Each type has its ideal planting time and temperature preferences.
Early-Season Potatoes
Early-season potatoes, often referred to as ‘new’ potatoes, require 75 to 90 cool days to reach harvest time. These are best planted as soon as the ground is ready and are an excellent choice for regions prone to warm or hot summers.
Common Early-Season
- Red Norland
- Irish Cobbler
- Rio Grande Russet
- Bintje
Mid-Season Potatoes
Mid-season potato varieties require 90 to 100 cool days to reach harvest. They typically will store for about a month, making them excellent for steady consumption.
Common Mid-Season
- Yukon Gold
- Amarosa
- Kennebec White
- French Fingerling
Late-Season Potatoes
Late-season potatoes require 120 or more cool days to reach harvest. These are ideal for northern regions where the weather stays mild all summer. Late-season potatoes can be stored for a few months, making them perfect for winter consumption.
Common Late-Season
- Russett Burbank
- Elba
- German Butterball
Preparing for Planting: The Art of ‘Chitting’ Potatoes
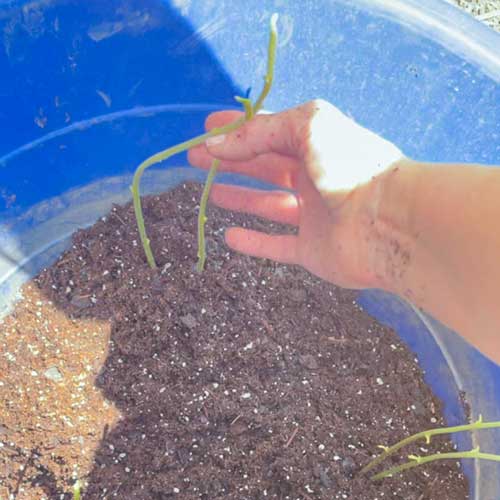
Before planting potatoes, you can give them a head start through a process called ‘chitting.’ This process encourages seed potatoes to develop shoots before they are planted. Lay the seed potatoes in trays with their eyes pointing upwards and place the trays in a cool, light, frost-free place. This step is entirely optional and I’ve planted many potatoes without chitting them first.
I forgot about a few potatoes down in my basement and my shoots were over a foot long! These can even be planted. Here is a side-by-side of the freshly planted potatoes and a photo of the thriving plant taken a few days ago.
Planting Potatoes: Methods and Techniques
There are several methods to plant potatoes, each with its unique benefits. Whichever method you choose, just remember that potatoes are heavy feeders so you want to be sure to add plenty of compost or other soil amendments prior to planting.
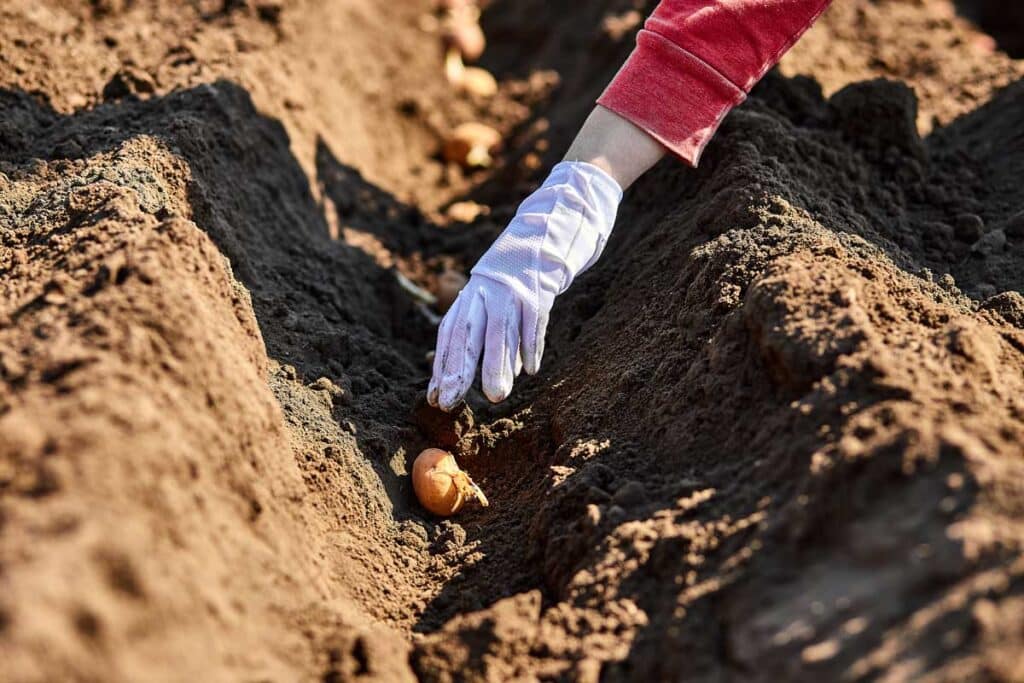
Trench Method
The trench method involves digging a shallow 6″ trench and planting the seed potatoes with their “eyes” facing up. Cover with 1″-2″ of soil and continue to build soil up around the sides in “hills” as the potatoes grow. This method keeps the soil loose for growth while preventing exposure to sunlight.
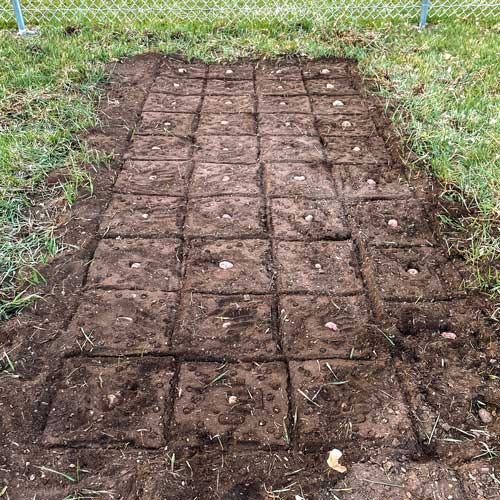
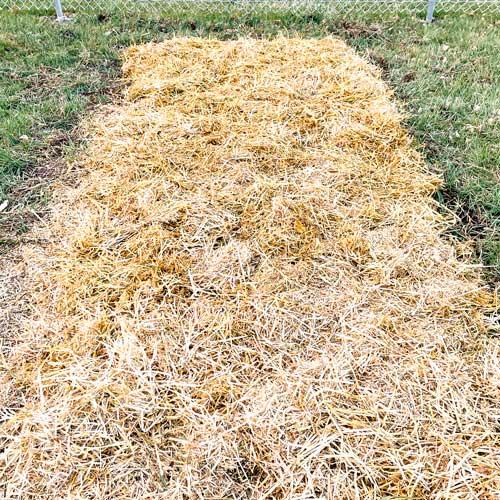
No-Dig Ruth Stout Method
The Ruth Stout method for growing potatoes involves scattering the seed potatoes directly on the soil (or even the grass) and covering them with deep mulch as they grow. I followed this method last year and it was the easiest thing I did garden-wise! This is a great approach if you are a lazy gardener, just remember that you might attract rodents with this method.
I planted my plot in the community garden this way last year. Unfortunately, I don’t have pictures of the abundant potatoes harvested, but I’m a HUGE fan of this method.
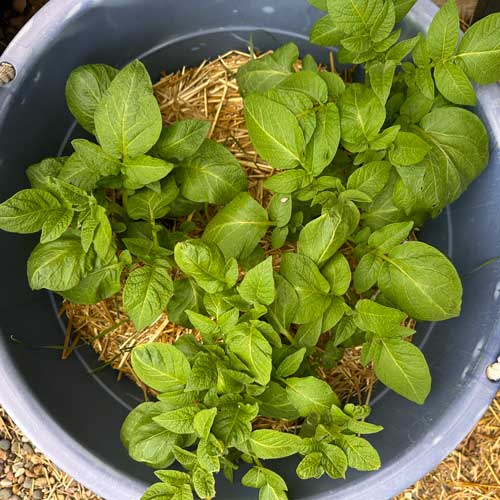
Container Method
The container method involves planting potatoes in containers with about 6″ of soil at the bottom. More soil or hay is added as the potatoes grow. This method is ideal for small spaces and makes harvesting a breeze. You can read more about my container-planted potatoes here.
Watering and Feeding Potatoes
Potatoes need consistent moisture, though you never want the soil to be soggy. Water plants once or twice per week, providing one to two inches of water in total. The most critical period for watering is when plants are in bloom.
As for feeding, my favorite way to fertilize my potatoes is with fish emulsion. All you need to do is mix 1 tablespoon of emulsion with 1 gallon of water and spray water at the base of the plants weekly. Just remember to stop fertilizing once the blossoms have faded.
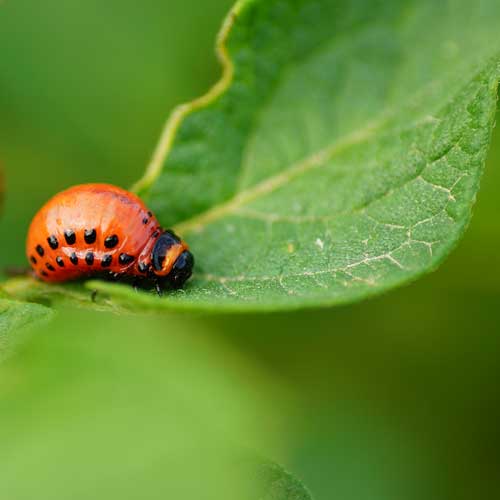
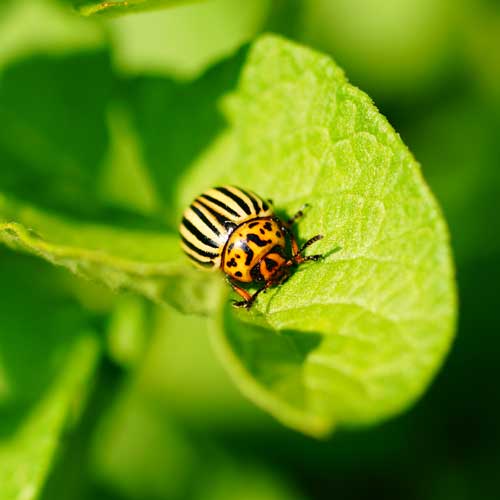
Dealing with Potato Diseases
Potatoes are susceptible to a variety of pests and diseases such as blight, scab, potato beetle, aphids, & slugs. The best way to avoid and control these potential issues is to practice crop rotation, companion planting, use disease-resistant varieties, space properly, avoid watering the leaves, and keep an eye on any early signs of infestation.
Harvesting Potatoes
The earliest and most tasty potatoes are “new” potatoes. Shortly after your potato plants flower, you can carefully dig in the ground by hand and remove any small potatoes. Just be sure to not disturb the plant too much or you won’t have any mature potatoes to harvest later.
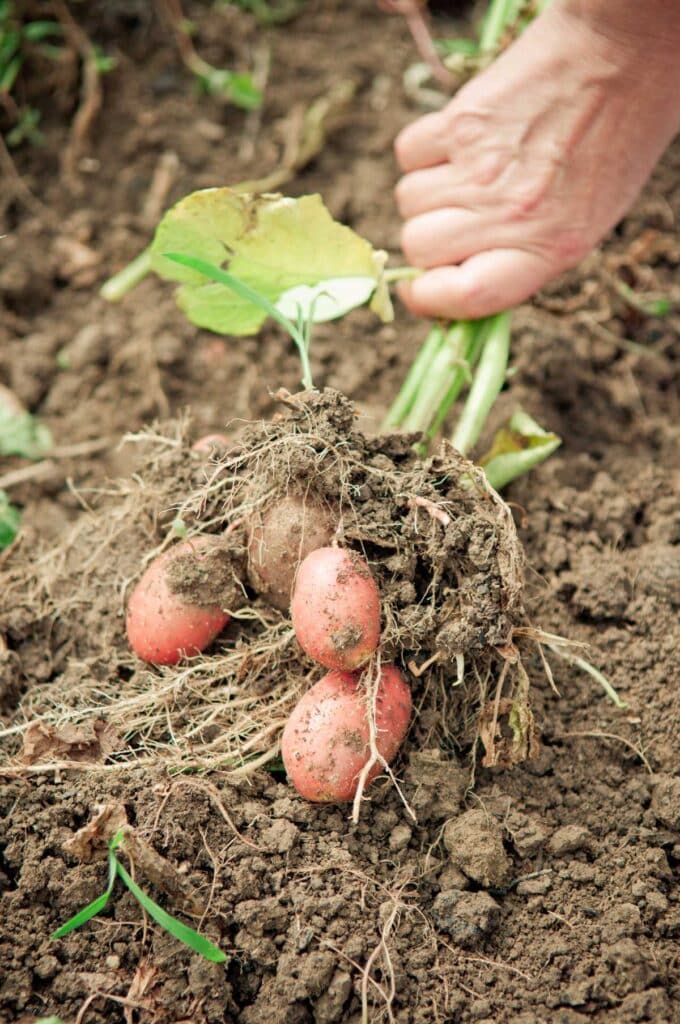
For full-sized potatoes, wait until after the tops of the plants have died. Carefully dig up the entire plant using a garden fork, doing your best not to bruise or pierce the potatoes.
Curing Potatoes
For best storage, your newly harvested potatoes need to cure properly which thickens the skin and dries potatoes slightly for long-term storage.
- Rinse potatoes but do NOT scrub them, which will remove the skin.
- Pat potatoes dry with a clean towel.
- Lay potatoes out so they are not touching one another.
- Cover them with a towel so they are protected from light
- Let them set for 7 to 10 days to finish curing.
Storing Potatoes
You will want to store your cured potatoes in a single layer in a cool, dark place. Properly stored potatoes can last up to eight months.
According to Oregon State University, the following potato varieties are best for long-term storage.
- Elba
- Katahdin
- Red Chieftain
- Yukon Gold
- Burbank Russet
- German Butterball
- Yukon Gem
- Rose Finn Apple Fingerling
- Russian Banana Fingerling
- Red Pontiac
- All Blue
- Kennebec
For even longer storage times, you may want to can your potatoes, which you can read about here.
Closing Thoughts
Starting your potatoes on time is crucial for a successful harvest. Whether you are planting early-season, mid-season, or late-season potatoes, each variety has its own unique requirements. By following my simple instructions you’ll be well on your way to a bountiful potato harvest!